
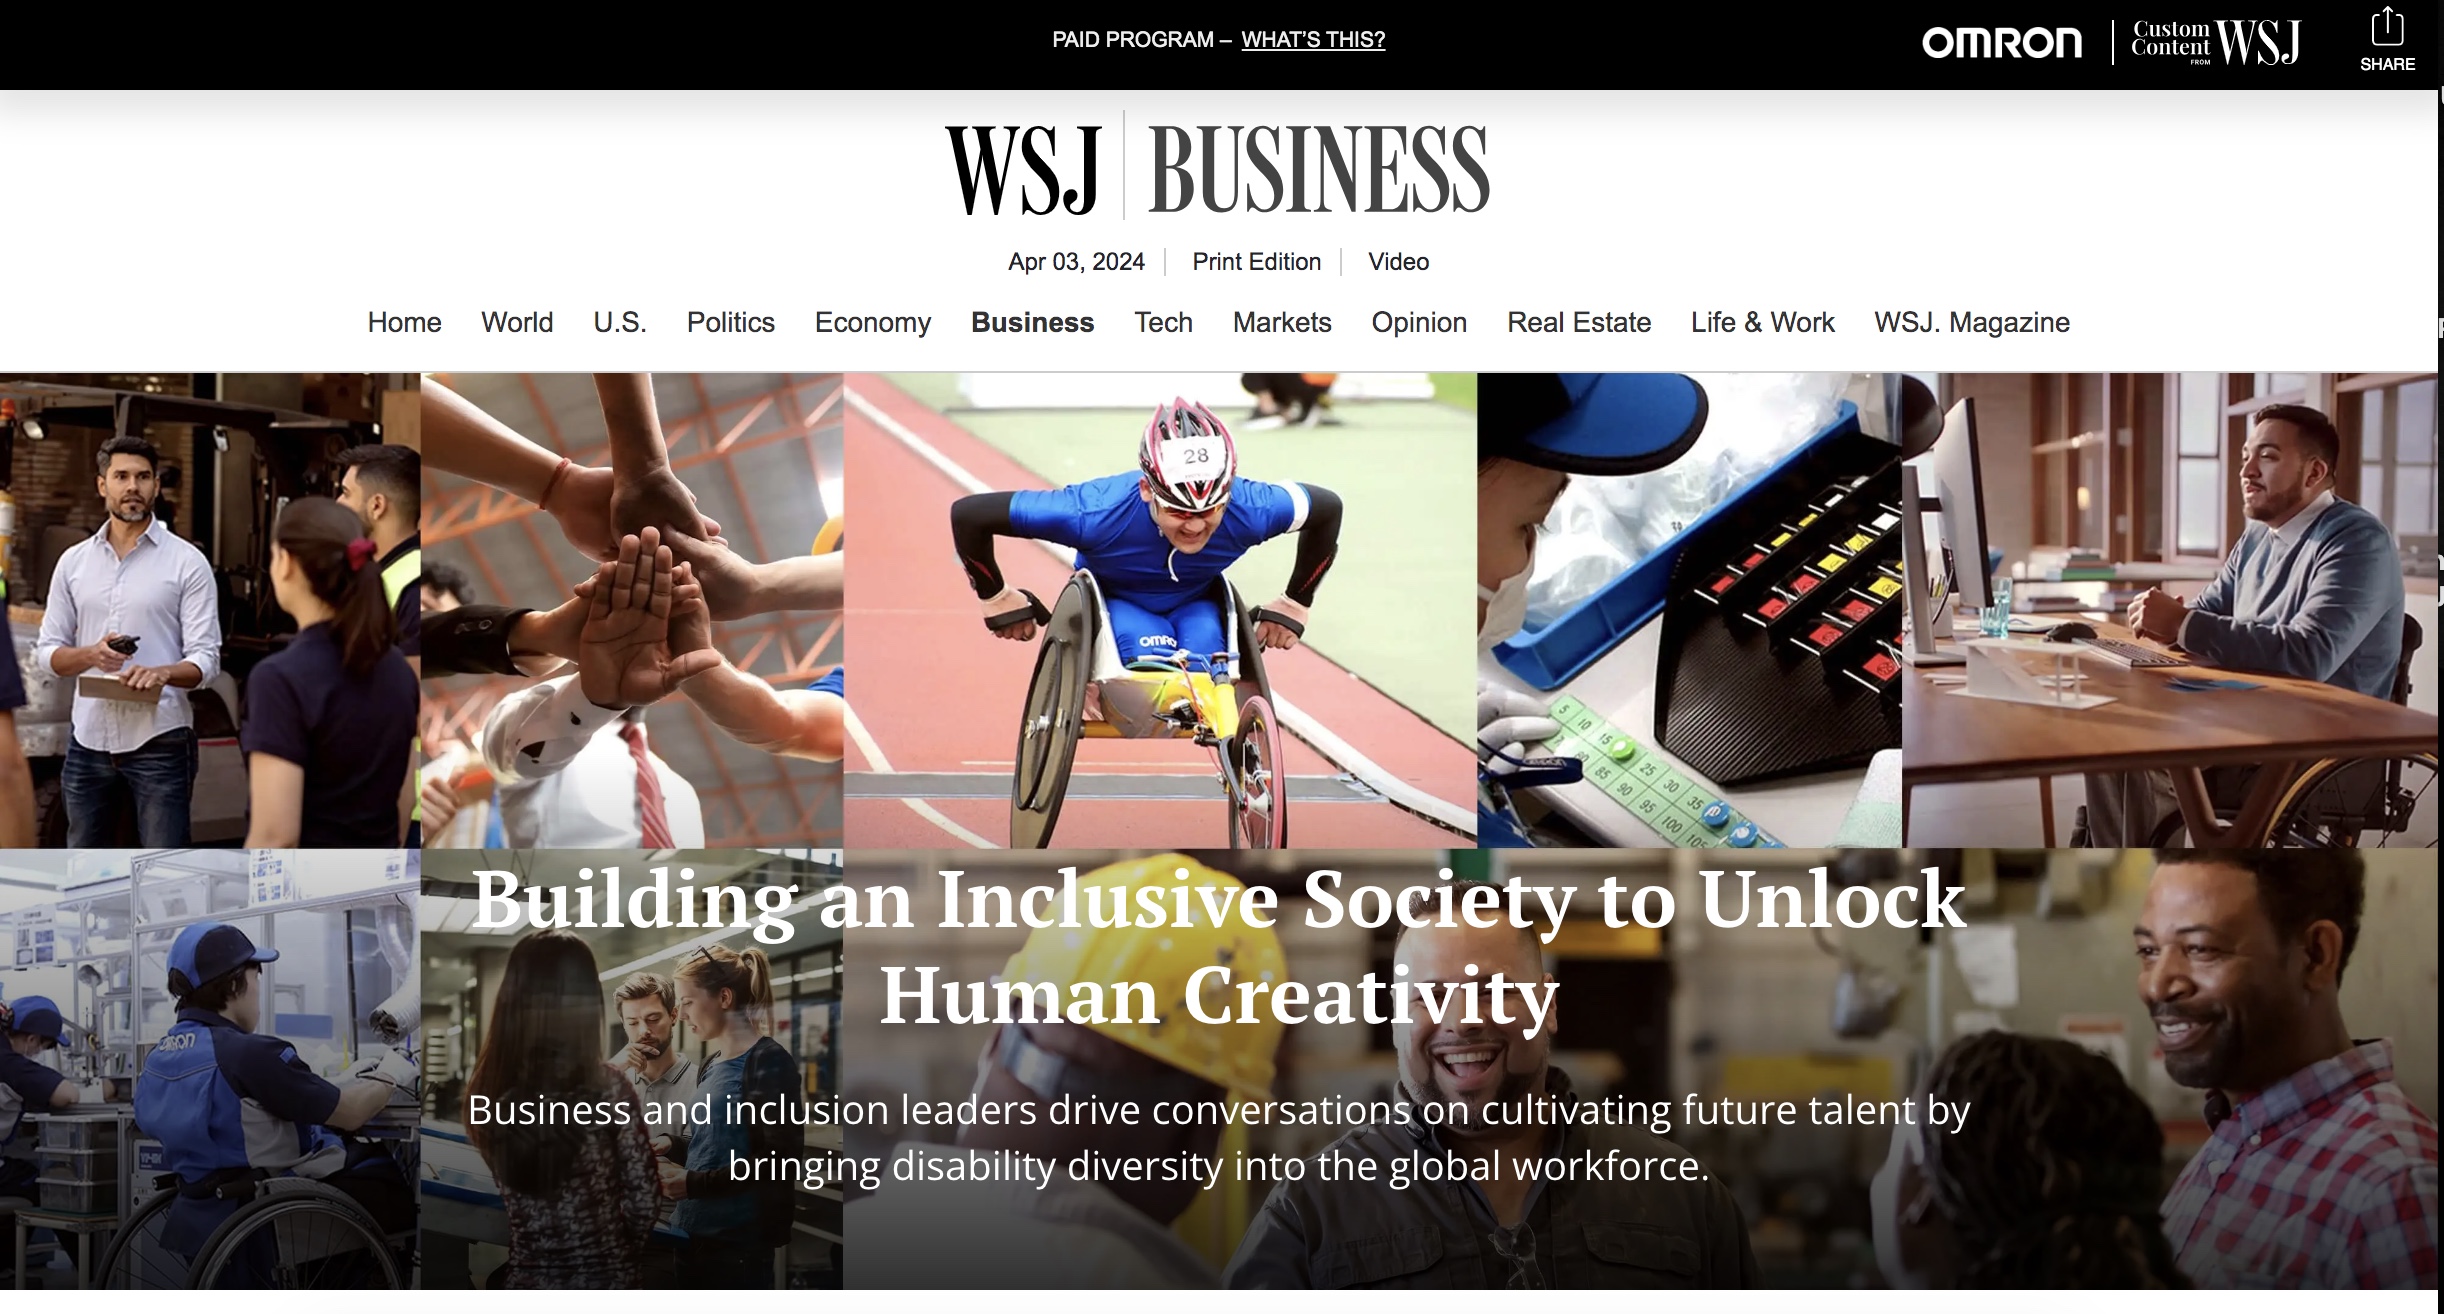
Wall Street Journal – OMRON and Building an Inclusive Society

Here’s a link to an interview I did recently with OMRON America’s Tim Hill, OMRON Latin America’s Yolanda Bolanos, Teng Zeng at OMRON Robotics and Caroline Casey, Founder of the Valuable 500. It was a pleasure to interview such committed supporters of DEI and people with disabilities worldwide. https://partners.wsj.com/omron/innovating-for-tomorrow/building-an-inclusive-society-to-unlock-human-creativity It is free to read for all.
At the WSJ page, you can click on certain segments of the interview to hear the speakers in more detail. Below is a taster of the full text.
According to the Valuable 500—an international collective of CEOs committed to ending disability exclusion—one-in-five people experience disability in some form. In the U.S., this figure rises to one in four. Despite the enormity of the issue and global progress on this front, professional opportunities for disabled workers remain severely limited in some countries and sectors.
“In my view, DEI is about nurturing diverse perspectives, giving equal importance to each opinion and creating a workplace where everyone can express themselves,” says Christina Connelly, VP of Human Resources at OMRON Americas and Executive Sponsor of its DEI Workgroup.
Connelly explains that as firm supporters of equitable practices for over five decades, the global technology leader “brings together people with different abilities, personalities and perspectives, and empowers them to take on challenges while creating value for society.”
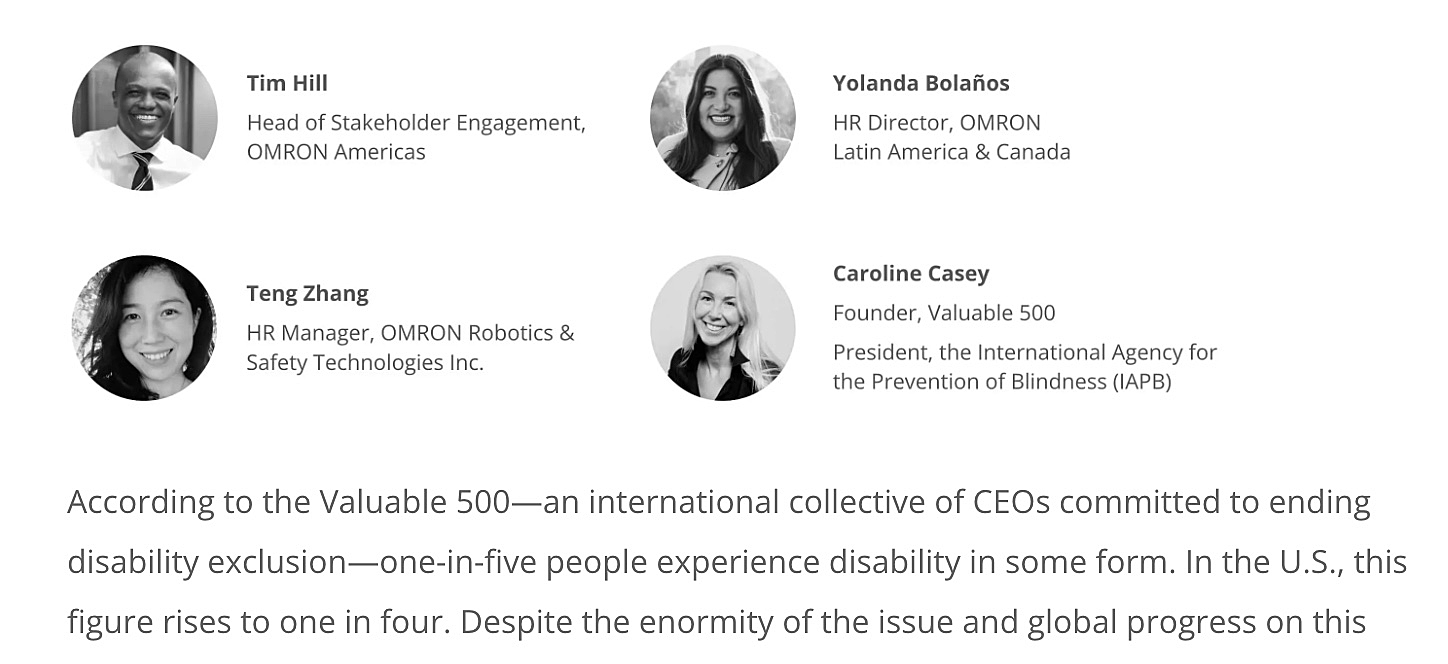
Understanding that DEI efforts require ongoing discussion, four experts from around the world came together to share the challenges, outcomes and hopes associated with inclusive integration. The following conversation features Tim Hill, Head of Stakeholder Engagement at OMRON Americas; Yolanda Bolaños, HR Director at OMRON Latin America & Canada; Teng Zhang, HR Manager at OMRON Robotics & Safety Technologies Inc.; and Caroline Casey, Founder of the Valuable 500.
According to the Valuable 500—an international collective of CEOs committed to ending disability exclusion—one-in-five people experience disability in some form. In the U.S., this figure rises to one in four. Despite the enormity of the issue and global progress on this front, professional opportunities for disabled workers remain severely limited in some countries and sectors.
“In my view, DEI is about nurturing diverse perspectives, giving equal importance to each opinion and creating a workplace where everyone can express themselves,” says Christina Connelly, VP of Human Resources at OMRON Americas and Executive Sponsor of its DEI Workgroup.
Connelly explains that as firm supporters of equitable practices for over five decades, the global technology leader “brings together people with different abilities, personalities and perspectives, and empowers them to take on challenges while creating value for society.”
Understanding that DEI efforts require ongoing discussion, four experts from around the world came together to share the challenges, outcomes and hopes associated with inclusive integration. The following conversation features Tim Hill, Head of Stakeholder Engagement at OMRON Americas; Yolanda Bolaños, HR Director at OMRON Latin America & Canada; Teng Zhang, HR Manager at OMRON Robotics & Safety Technologies Inc.; and Caroline Casey, Founder of the Valuable 500.
How can companies ensure the voices of disabled employees are consistently spotlighted?
CC: First, I want to pick up on the fear of the language around disability. “Disability” covers a vast spectrum of lived experiences, and it’s okay to say the word. Sometimes, discomfort with the language can mask this diversity. I am registered legally blind, but my experience is incomparable to those of others. Eighty percent of disability is unseen, so unless there are what Yolanda describes as “safe spaces” for employees to self-declare disability, normalization is impossible. That’s why we need to demystify these terms through meaningful conversations and accessible services that elevate those voices.
Tim Hill: These perspectives can also be platformed in ways that offer more human connection. One of our HR analysts, Keigo Tozawa—also a member of our Americas DEI workgroup—underwent inclusive leadership training and experiential learning at OMRON Taiyo in Kyushu, Japan. He discovered a system started by a mentally disabled employee who struggled with expressing himself: workers would write their daily feelings and concerns on a whiteboard, in a highly visible area on the factory floor. This exercise helped employees relate to one another and was a valuable best practice shared with our workgroup. That’s why disabilities shouldn’t be magnified as weaknesses. We encourage all employees to transform their unique potential into value through mutual knowledge, cooperation and ingenuity.
How does inclusivity drive business outcomes?
YB: We see this not only from a business perspective, but a societal one. Some governments and organizations are trying to bring disabled people to the table. At the same time, OMRON has been pioneering inclusivity for over 50 years—it’s a collaboration between business and society.
CC: What business values and includes, society follows. There is no chance that we’re going to end the exclusion crisis without organizations like OMRON because when they share what they’re willing to learn from us, that will trickle into society. Business is the most powerful force for change on this planet, and you can’t force integration unless companies understand the value. The consumer spending power in this market is $13 trillion. Leaders are realizing that to serve those markets and as a point of growth and differentiation, they need this talent in their ranks.
To read the entire article please go to the WSJ Page linked here.
Kew Releases State of the World’s Plants and Fungi 2023 & Global Fungal Review
State of the World’s Plants and Fungi 2023/plus open-access, global review of fungal diversity
[October 11th, 2023] Kew writes: Our fifth report in the State of the World’s series lays out the current condition of the world’s plants and fungi globally, and is titled ‘Tackling the Nature Emergency: Evidence, gaps and priorities’
It is the second report that is accompanied by a full volume of expert-reviewed scientific publications from our partners, the New Phytologist Foundation. Their special collection on ‘Global Plant Diversity and Distribution’ includes open-access papers published in the journals New Phytologist and Plants, People, Planet.
In parallel, an open-access, global review of fungal diversity is published in the Annual Review of Environment and Resources. More info here: https://www.kew.org/science/state-of-the-worlds-plants-and-fungi Twitter link to Kew Mycology here: https://twitter.com/kewscience/status/1711676629380923597?s=12&t=R0_LjyTJmE7FJQt-GVxvVg
You can download the SOWPAF 2023 PDF here
The Global Fungal Review paper PDF may be downloaded here:
Myco/Health Benefits of Reishi: the Short(-ish) Version
The list of suggested health benefits for the Ganoderma lucidum fungus is huge. I have dozens of academic papers, and less formal articles, on the topic. Here I’m posting just a few, to give an overall impression for the readers who don’t want to pore over volumes stuffed with complex terminology (I confess, I like that stuff).
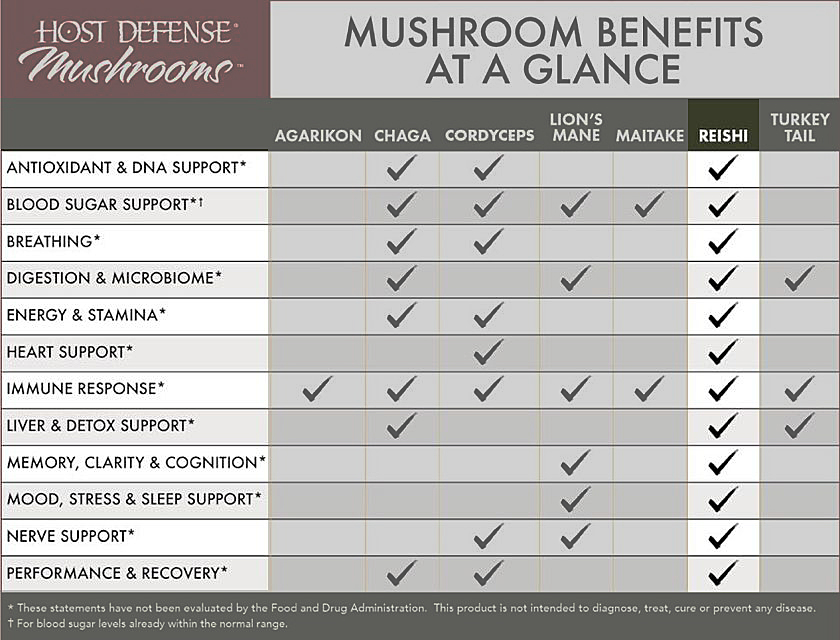
I’m also including, for balance, the entry for Reishi at the Memorial Sloan Kettering Hospital excellent ‘About Herbs’ site. They are at the cautious, objective end of the evaluation scale. But we begin with a table from the ultimate Medicinal mushroom advocate, Paul Stamets. This is from his Host Defense Mushrooms commercial site.
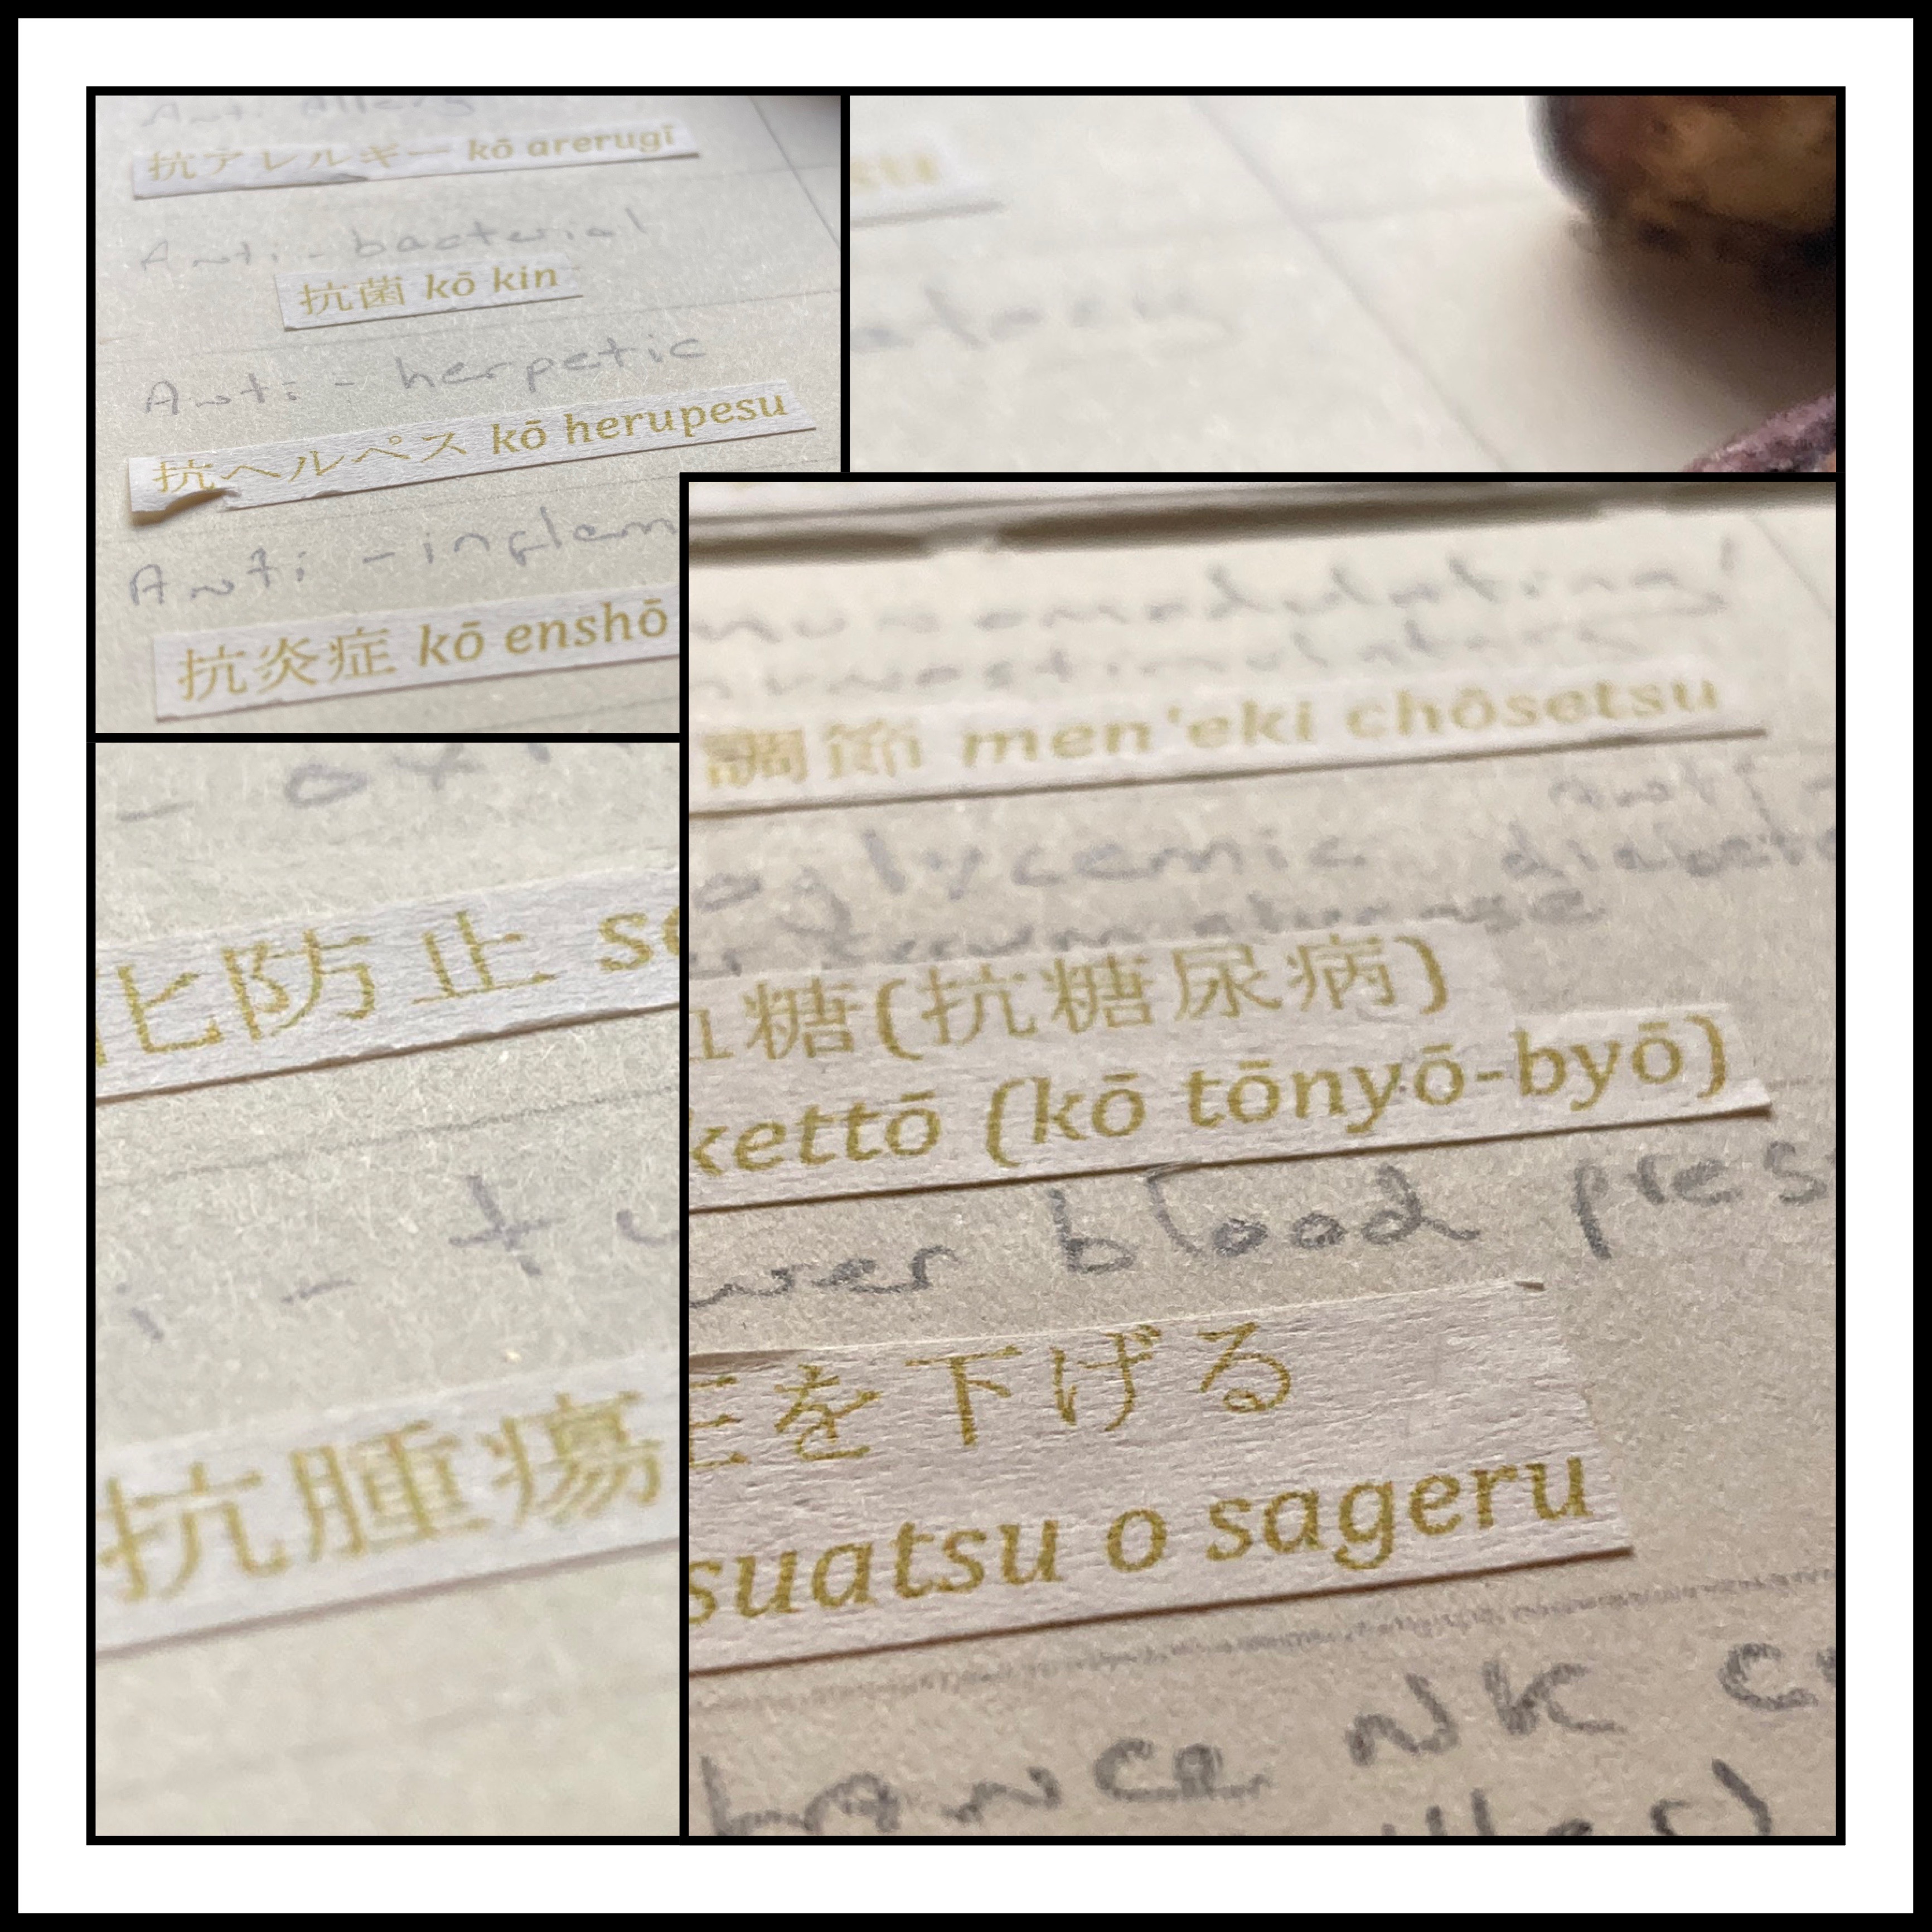
A quick glance at my notes reveals that the following Medicinal attributes apply to Reishi (it’s not an exhaustive list): Anti-aggregant; Anti-allergy; Anti-bacterial; Anti-herpetic (it’s used against herpes); Anti-inflammatory; Anti-oxidant; Anti-tumour (boosts NK (natural killer) cells; Anti-ulcer; Anti-viral (it’s in the anti-HIV ‘cocktail’); Cholesterol lowering; Hepatoprotective and Anti-Hepatosis (liver protect and heal); Immunomodulating; Lowers serum glucose (Anti-diabetic); works against Colitis/IBD.
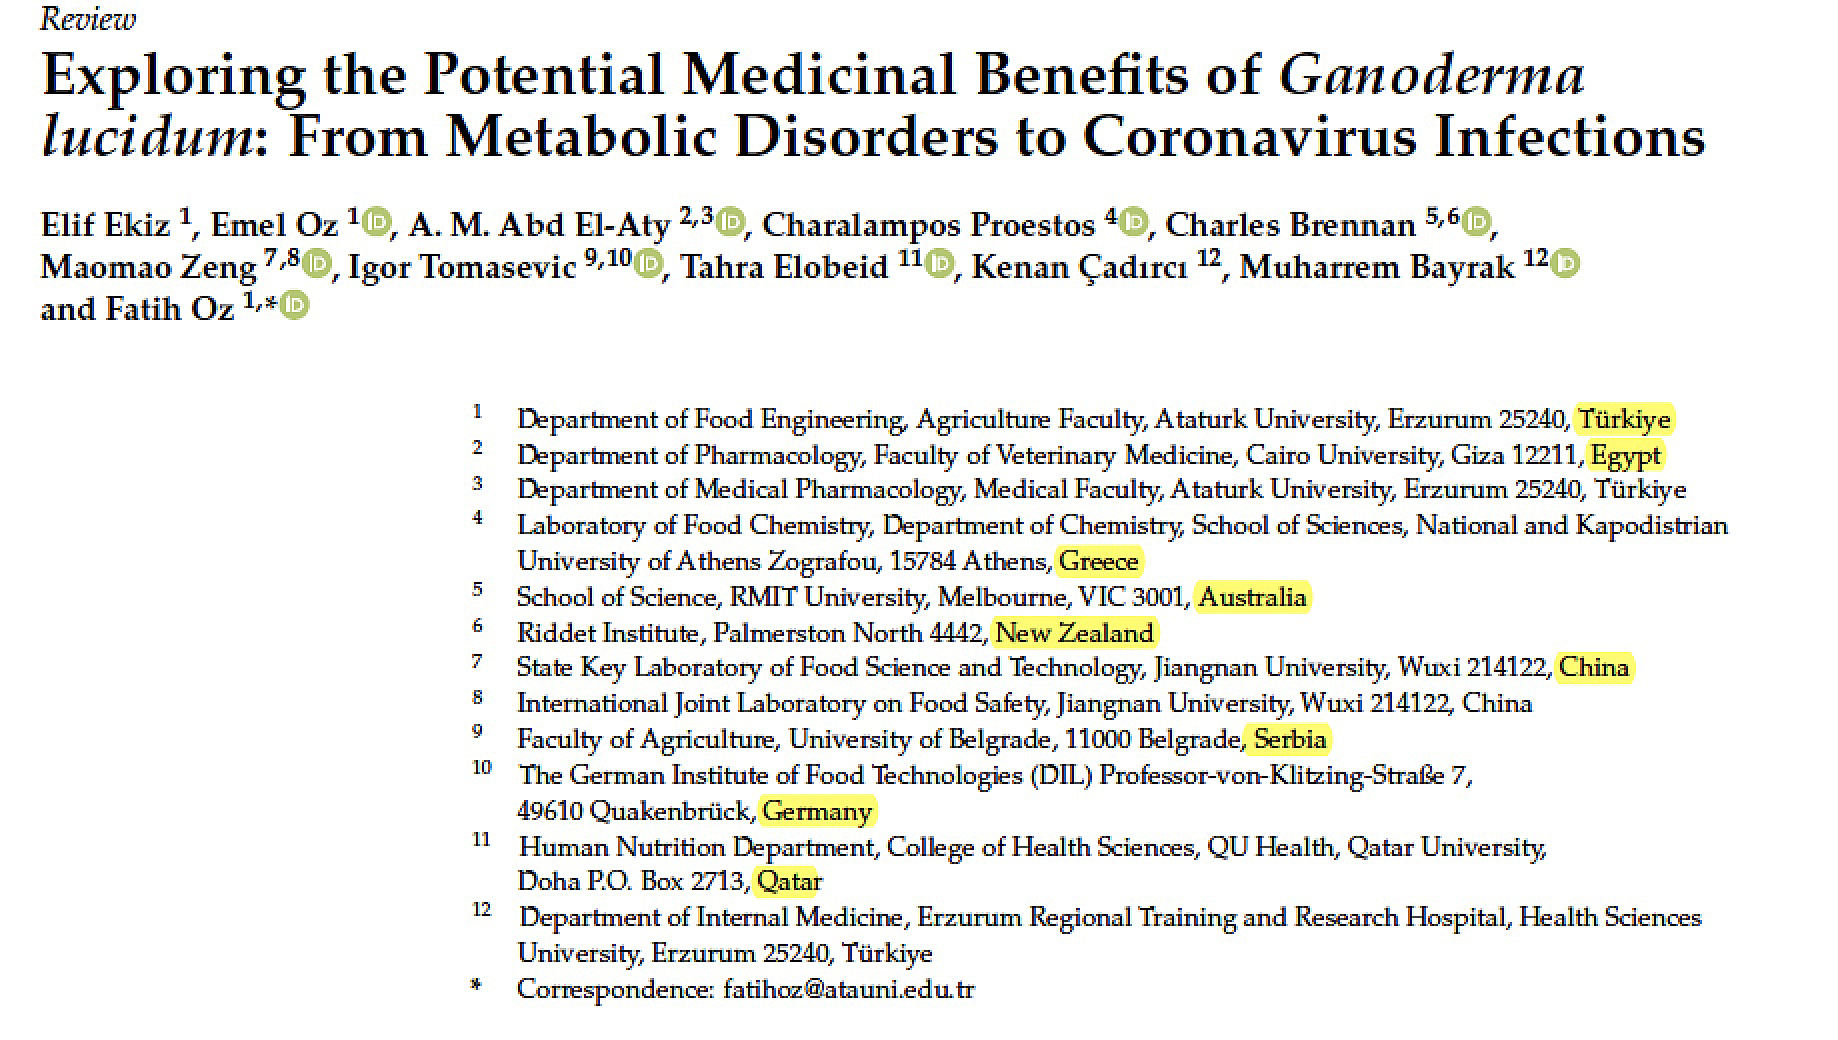
Naturally, these claims are extremely difficult to prove. Most of the research is in vitro, and it’s hard to prove that these effects work outside the lab. That said, if ‘follow the money’ being chucked at Reishi research across the globe, it is quite astounding. Here is just one example of the cross-border collaboration taking place:
Certainly Ganoderma lucidum – known as Linghzi in China – plays an important role in TCM (Traditional Chinese Medicine) though this excellent piece in the North American Mycological Journal argues strongly that its ‘ancient history’ is based more on speculation than actual fact. “Belief in the antiquity of use is somehow supposed to make this polypore more acceptable as a an empirically verified scientific medicine,” argues author Dianna Smith, “. “This is unfortunate. Certainly, there are numerous fungi used in Chinese cooking, which are also recommended for maintaining health and even enhancing it if not in tip-top shape. However, it is impossible to find supporting evidence that Ganoderma ling zhi has a two to seven-thousand-year history of use in China”.
One thing is for sure, the Chinese are buying Reishi like never before. Indeed so is everyone. One study reports a market value of 104.78M USD by 2025 for Reishi mushroom extract (www.marketwatch.com).
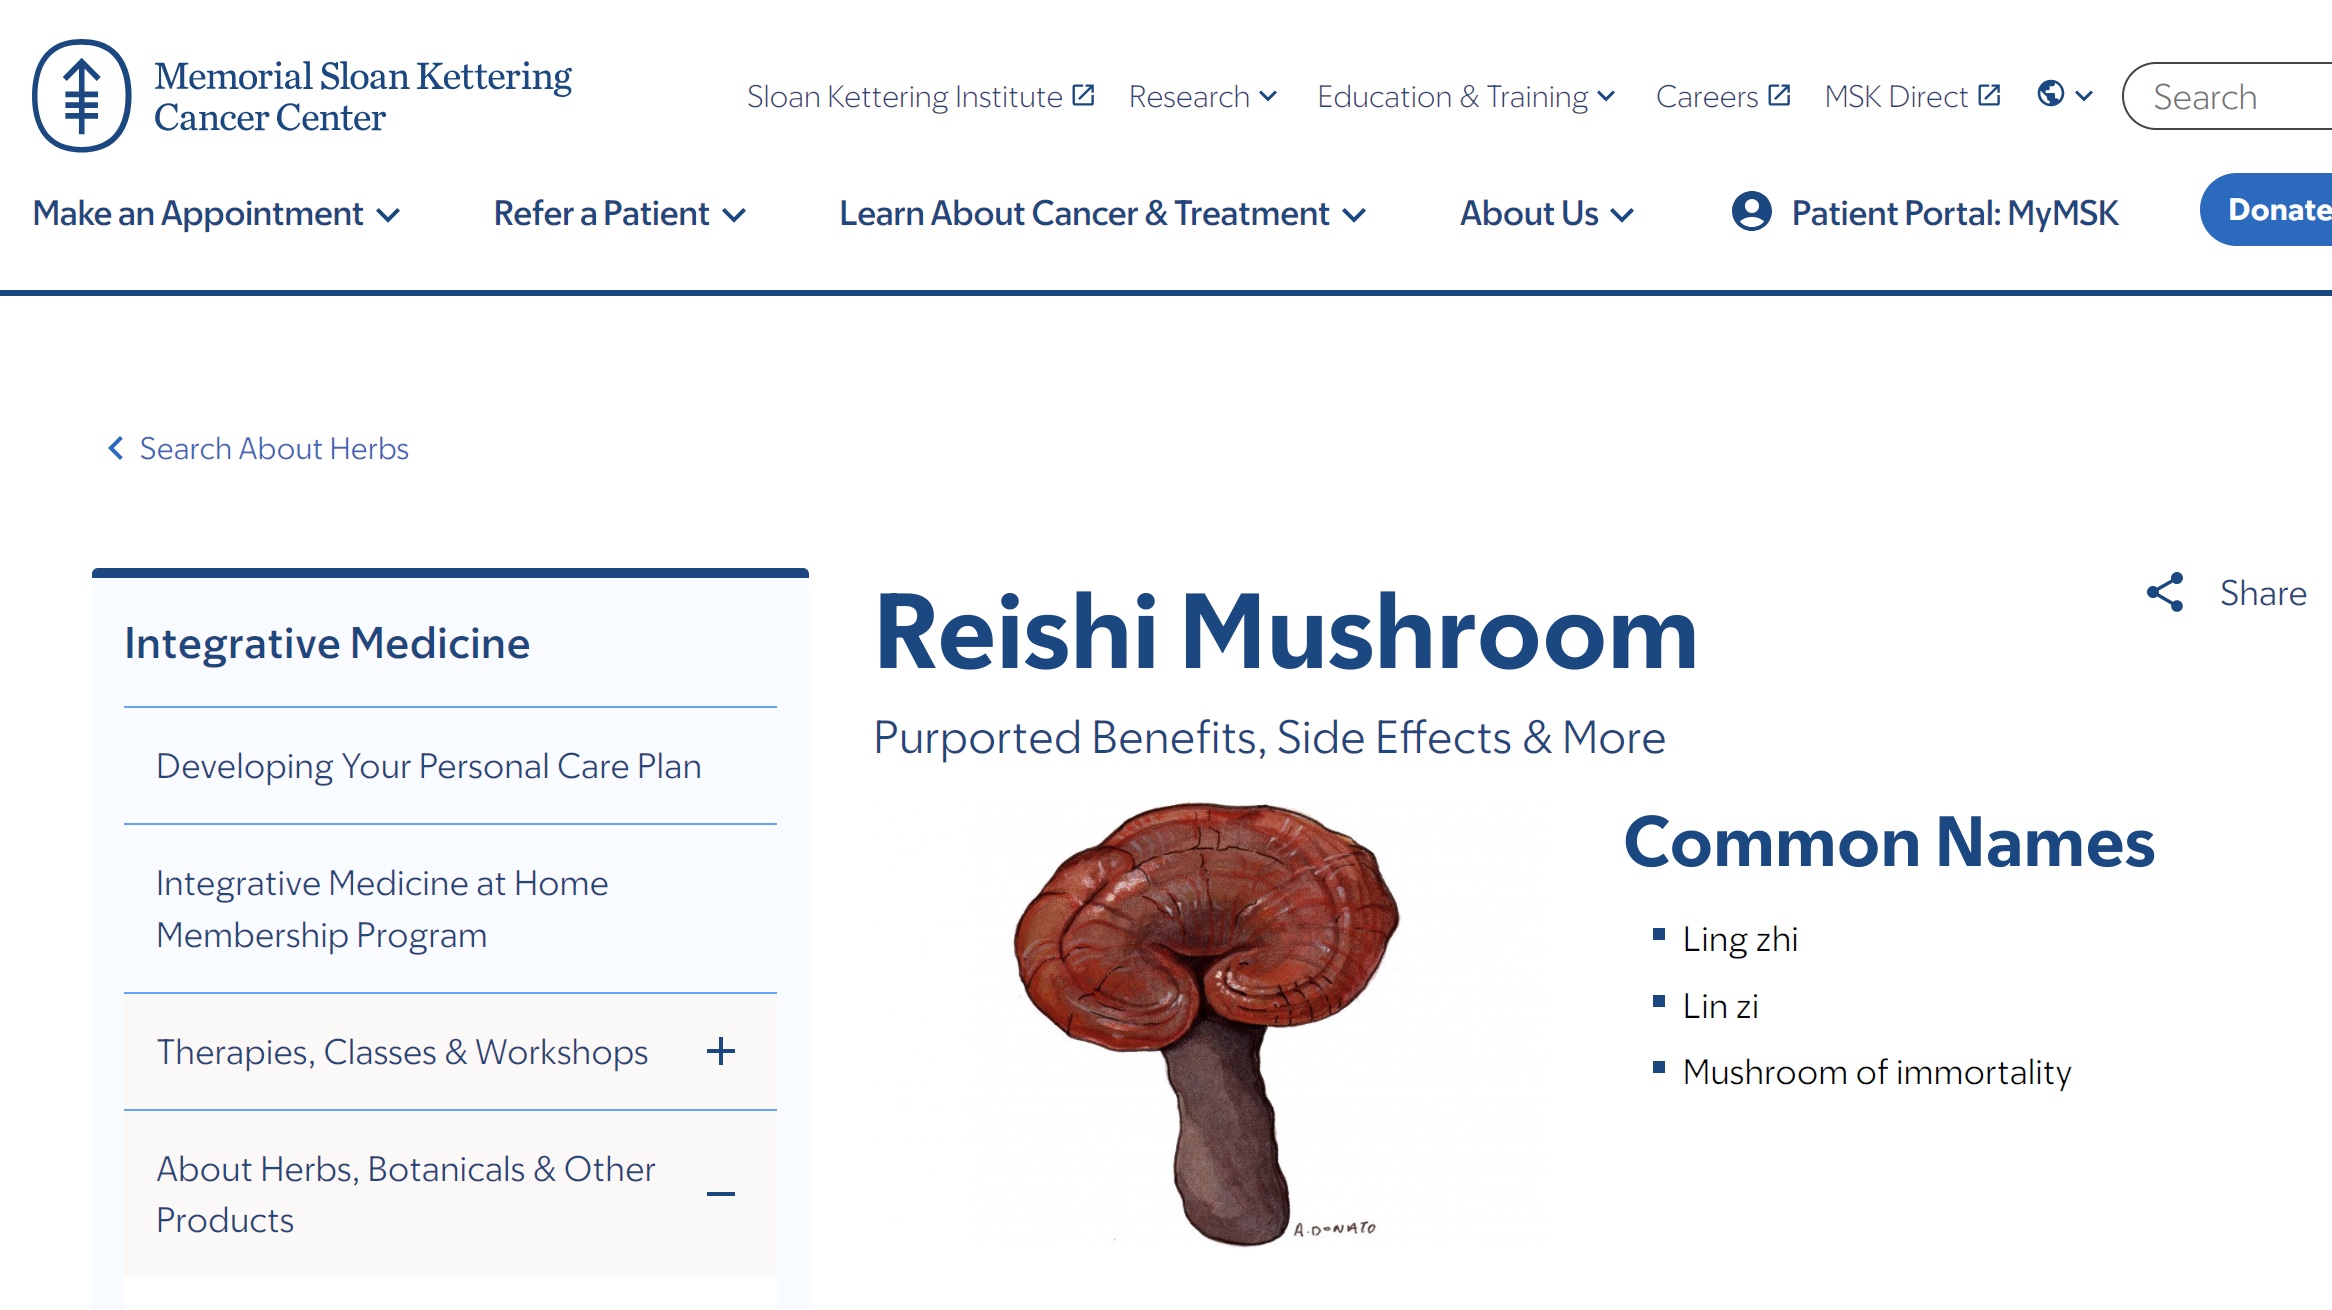
Memorial Sloan Kettering reins in some of the more extreme claims, and advises ‘more research is necessary’. Here’s their synopsis for ‘patients and caregivers’. They add the text below, ‘for health care professionals’ (warning, nerdy science language follows):
Beta glucans, polysaccharides present in reishi, demonstrated antitumor and immunostimulating activities (18) (40). Its triterpene compounds may inhibit tumor invasion by reducing matrix metalloproteinase expression (16), and tumor metastases by limiting attachment to endothelial cells (17). Findings also indicate that reishi induces natural killer (NK) cell cytotoxicity against various cancer cell lines via activation of the natural cytotoxic receptors (NKG2D/NCR) and mitogen-activated protein kinase (MAPK)-signaling pathways, which result in exocytosis of perforin and granulysin (31). Reishi polysaccharides were shown to increase expression of the major histocompatibility (MHC) class I and costimulatory molecules on melanoma cells, resulting in enhanced antitumor cytotoxicity (32). In ovarian cancer cells, reishi induced G2/M phase cell cycle arrest, activated caspase 3 to induce apotosis, increased p53, and inhibited Akt expression (27).
Finally, here’s a link to the multi-nation 2023 paper on Ganoderma lucidum briefly mentioned above: https://www.mdpi.com/2304-8158/12/7/1512
Intro to JTA Sightseeing Database 観光資源情報データベース/Kizakura (Kizakura Co. Ltd.) and Kappa Country
The Japan Tourism Agency (JTA) Sightseeing Database is a great resource (searchable, in Japanese too) if you don’t mind the lack of fancy pictures. The link to their main page is here. 日本語リンクはここです I’ve been writing pieces for them for several years now. My locations have included a World Heritage Site (Sericulture in Gunma), a National Park (Kamikochi and environs, Gifu/Nagano), a Samurai Town and Geopark (Hagi, Yamaguchi), and Sake Breweries and Historical Sites (Fushimi, Kyoto), amongst others.
In their words: “The Japan Tourism Agency (JTA) has set up this website for searching English-language texts on sightseeing destinations in Japan. The texts, totaling around 7,000, have been prepared for the JTA’s “Promoting Multilingual Support for Sightseeing Destinations around Japan” project. The objective of the database is to provide regions in Japan and the private sector with content they can use to supplement or refer to for creating their own texts for media, such as interpretive signs, pamphlets, and websites”.
Have a poke around to see what takes your fancy. Here’s one example of some of my stuff.日本語のテキストは以下の英文に続く

Kizakura (Kizakura Co. Ltd.) and Kappa Country
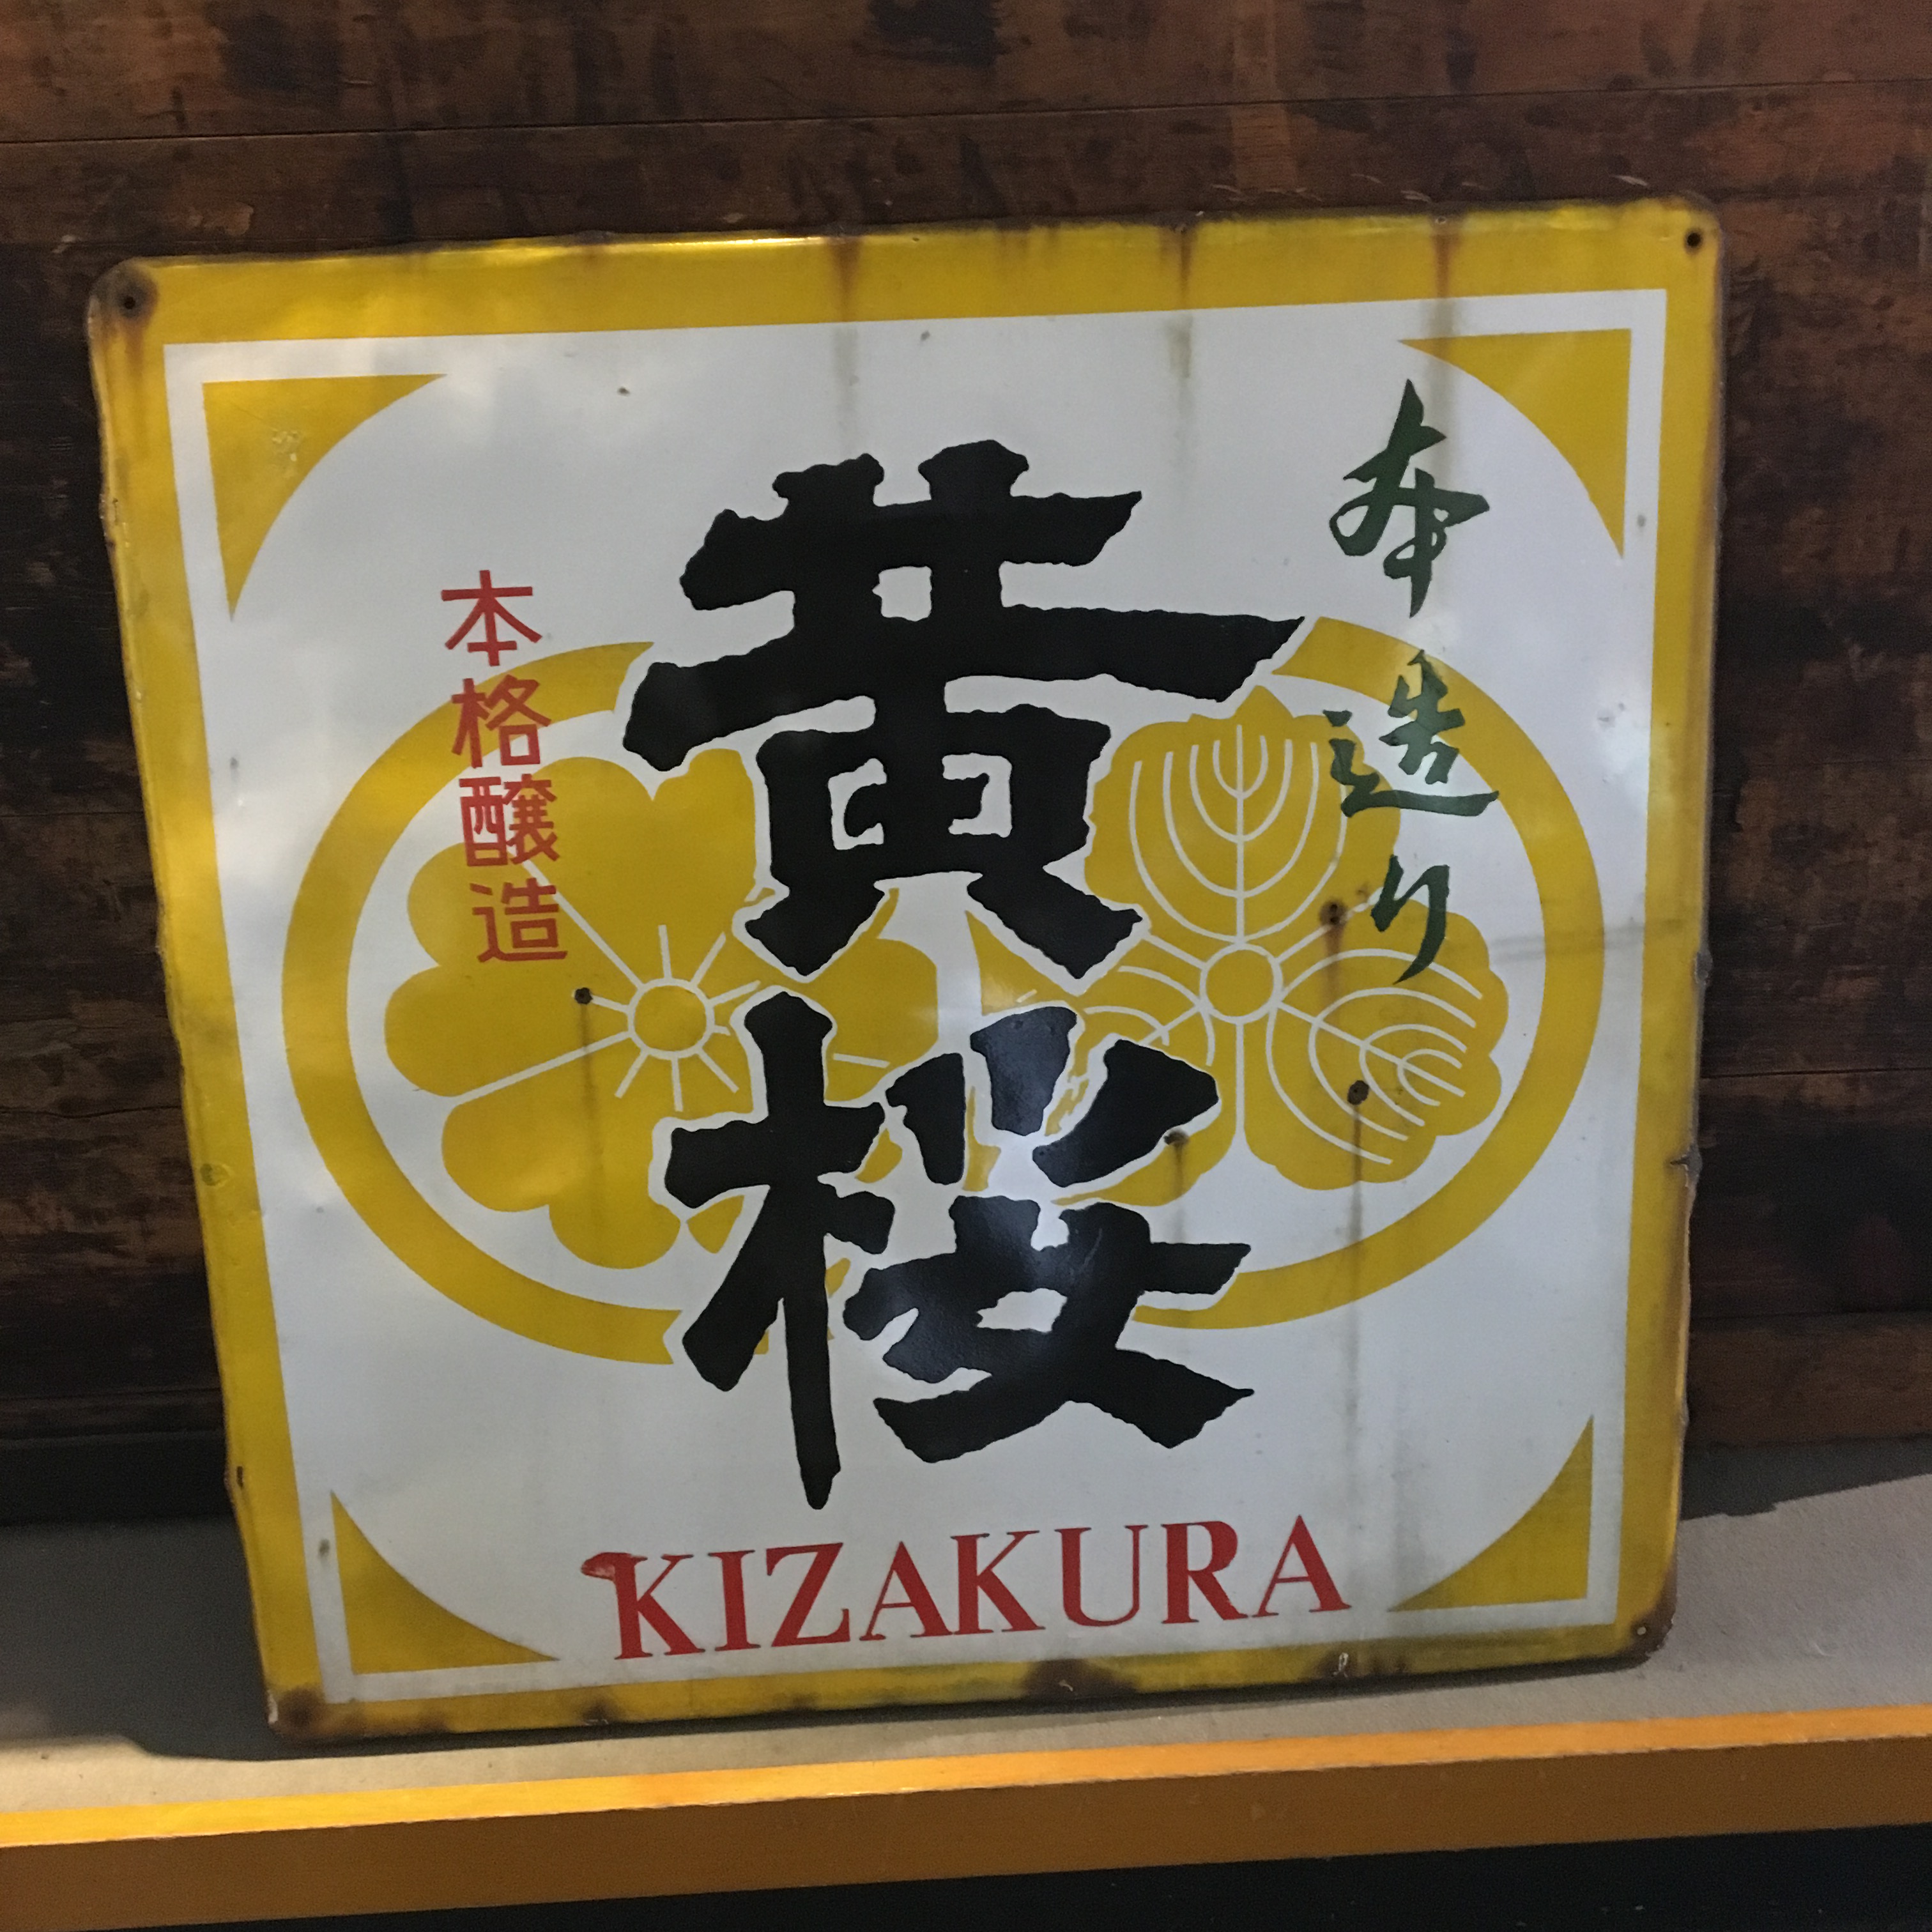
A relative newcomer to the Fushimi sake scene, Kizakura was founded in 1925 by Matsumoto Jirokurō (dates unknown) when he split off from his family’s brewery. Unlike most of the breweries in Fushimi today, Kizakura also brews beer.
In 1995 the company established Kizakura Kappa Country in its old brewery buildings to showcase its products and explain the company’s history. Traditional straw-wrapped barrels are stacked at the entrance. These bear the company emblem, Kizakura—literally “yellow cherry blossom.” A garden patio contains tables and features a cherry tree with yellow springtime blooms.
One old sake warehouse has been converted into a small museum that explains the origin of Fushimi sake and displays posters showing how the company has developed since its founding. In the first room, a small diorama illustrates ancient brewing techniques, from the first washing of the rice to thepressing that separates the finished sake from the lees.
In one corner of the room, there is a faucet that draws directly from a natural spring called Fushimizu. All of the beer and sake made at Kizakura is made with this spring water. By tradition, the springs of Fushimi are open to the public.
In the next room an old wooden sake press (sakafune) is on display. On the other side of a glass panel is its twenty-first century equivalent, capable of doing many times the work in a fraction of the time.
©JTA Sightseeing database, created 2019 https://www.mlit.go.jp/tagengo-db/en/R1-01265.html
Associated Address:228 Shioyamachi, Fushimi-ku Kyoto-shi , Kyoto
Japanese here: 黄桜(黄桜酒造株式会社)とカッパカントリー
伏見の酒処の比較的若い企業である黄桜は、1925年に松本治六郎(生没年非公開)が一族の蔵元から独立し設立された。 今日の伏見のほとんどの蔵元とは異なり、黄桜はビールも醸造している。
1995年、同社は製品を紹介し、会社の歴史を説明するために、古い蔵元の建物内に黄桜カッパカントリーを設立した。 伝統的なわらで包まれた樽が入り口に積み重ねられている。樽には会社の徽章である黄桜が付いている — 文字通り「黄色い桜」である。庭のパティオにはテーブルがあり、春に咲く黄色い桜が見所になっている。
古い酒蔵の1つは、伏見の日本酒の起源を説明する小さな博物館に改築され、創業以来の会社の発展を示すポスターが展示されている。 最初の部屋の小さなジオラマには、米を最初に洗うことから、完成した日本酒をかすから分離する圧搾まで、古代の醸造技術が展示されている。
部屋の片隅には、伏水と呼ばれる天然の泉から直接引き出される蛇口がある。 黄桜で作られるビールと日本酒はすべてこの湧水で作られている。 伝統的に、伏見の湧水は一般に開放されている。
隣の部屋には、古い木製の酒槽搾り(酒舟)が展示されている。 ガラスパネルの反対側には、21世紀の同じ機械に相当するものがあり、何分の一かの時間で何度も作業を行うことができる。
How to Make Simple Medicinal Mushroom Extracts (part two – the water decoction)

On Your Mark, Get Set, Boil and Simmer
This is second part of the method described in an earlier post, what is known as a double or dual extraction.
To recap, we are looking at a duel extraction process here, with two steps, using alcohol and water. That is to say, steeping the mushrooms in alcohol (making a tincture) and boiling the mushrooms in water (making a decoction). You can do this with the same batch of mushrooms. Indeed, this is the least wasteful approach, and the most cost effective. You get more out of your mushrooms this way.
However, if you decide to make a tincture with one batch of mushrooms, and a decoction with another set of mushrooms – the other half of your harvest, perhaps – and keep them separate, that’s fine too.
Making the decoction
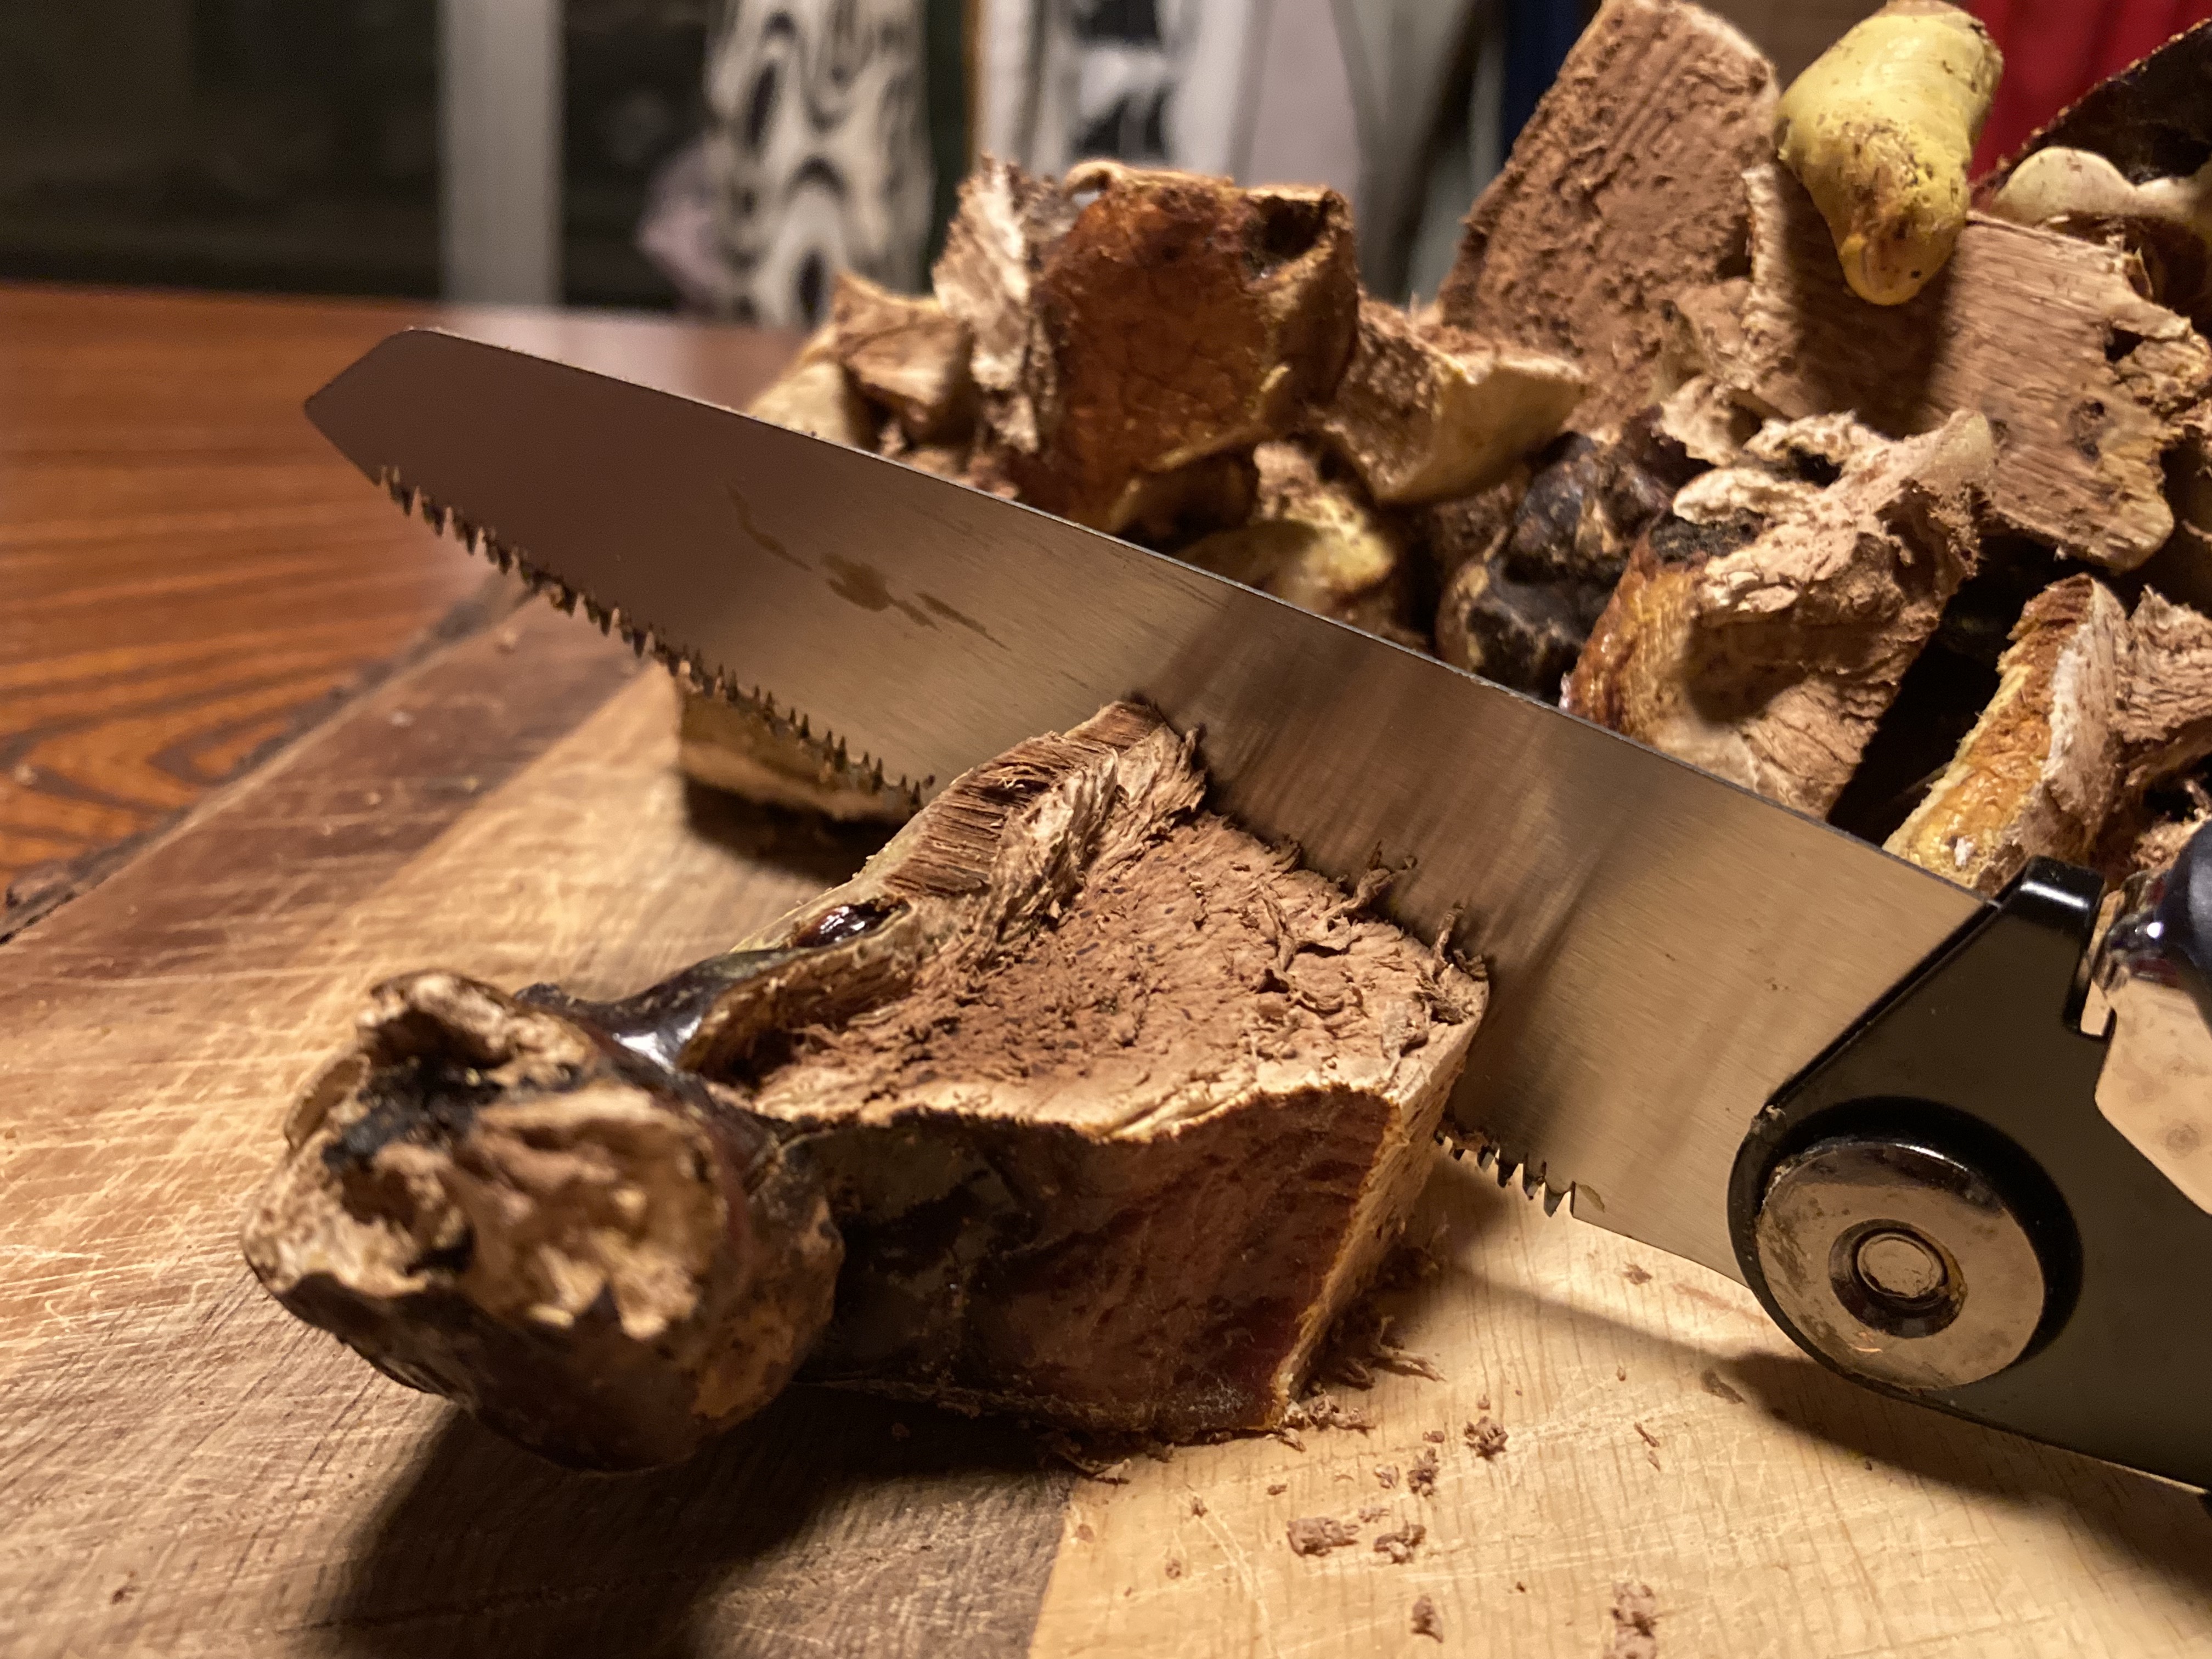
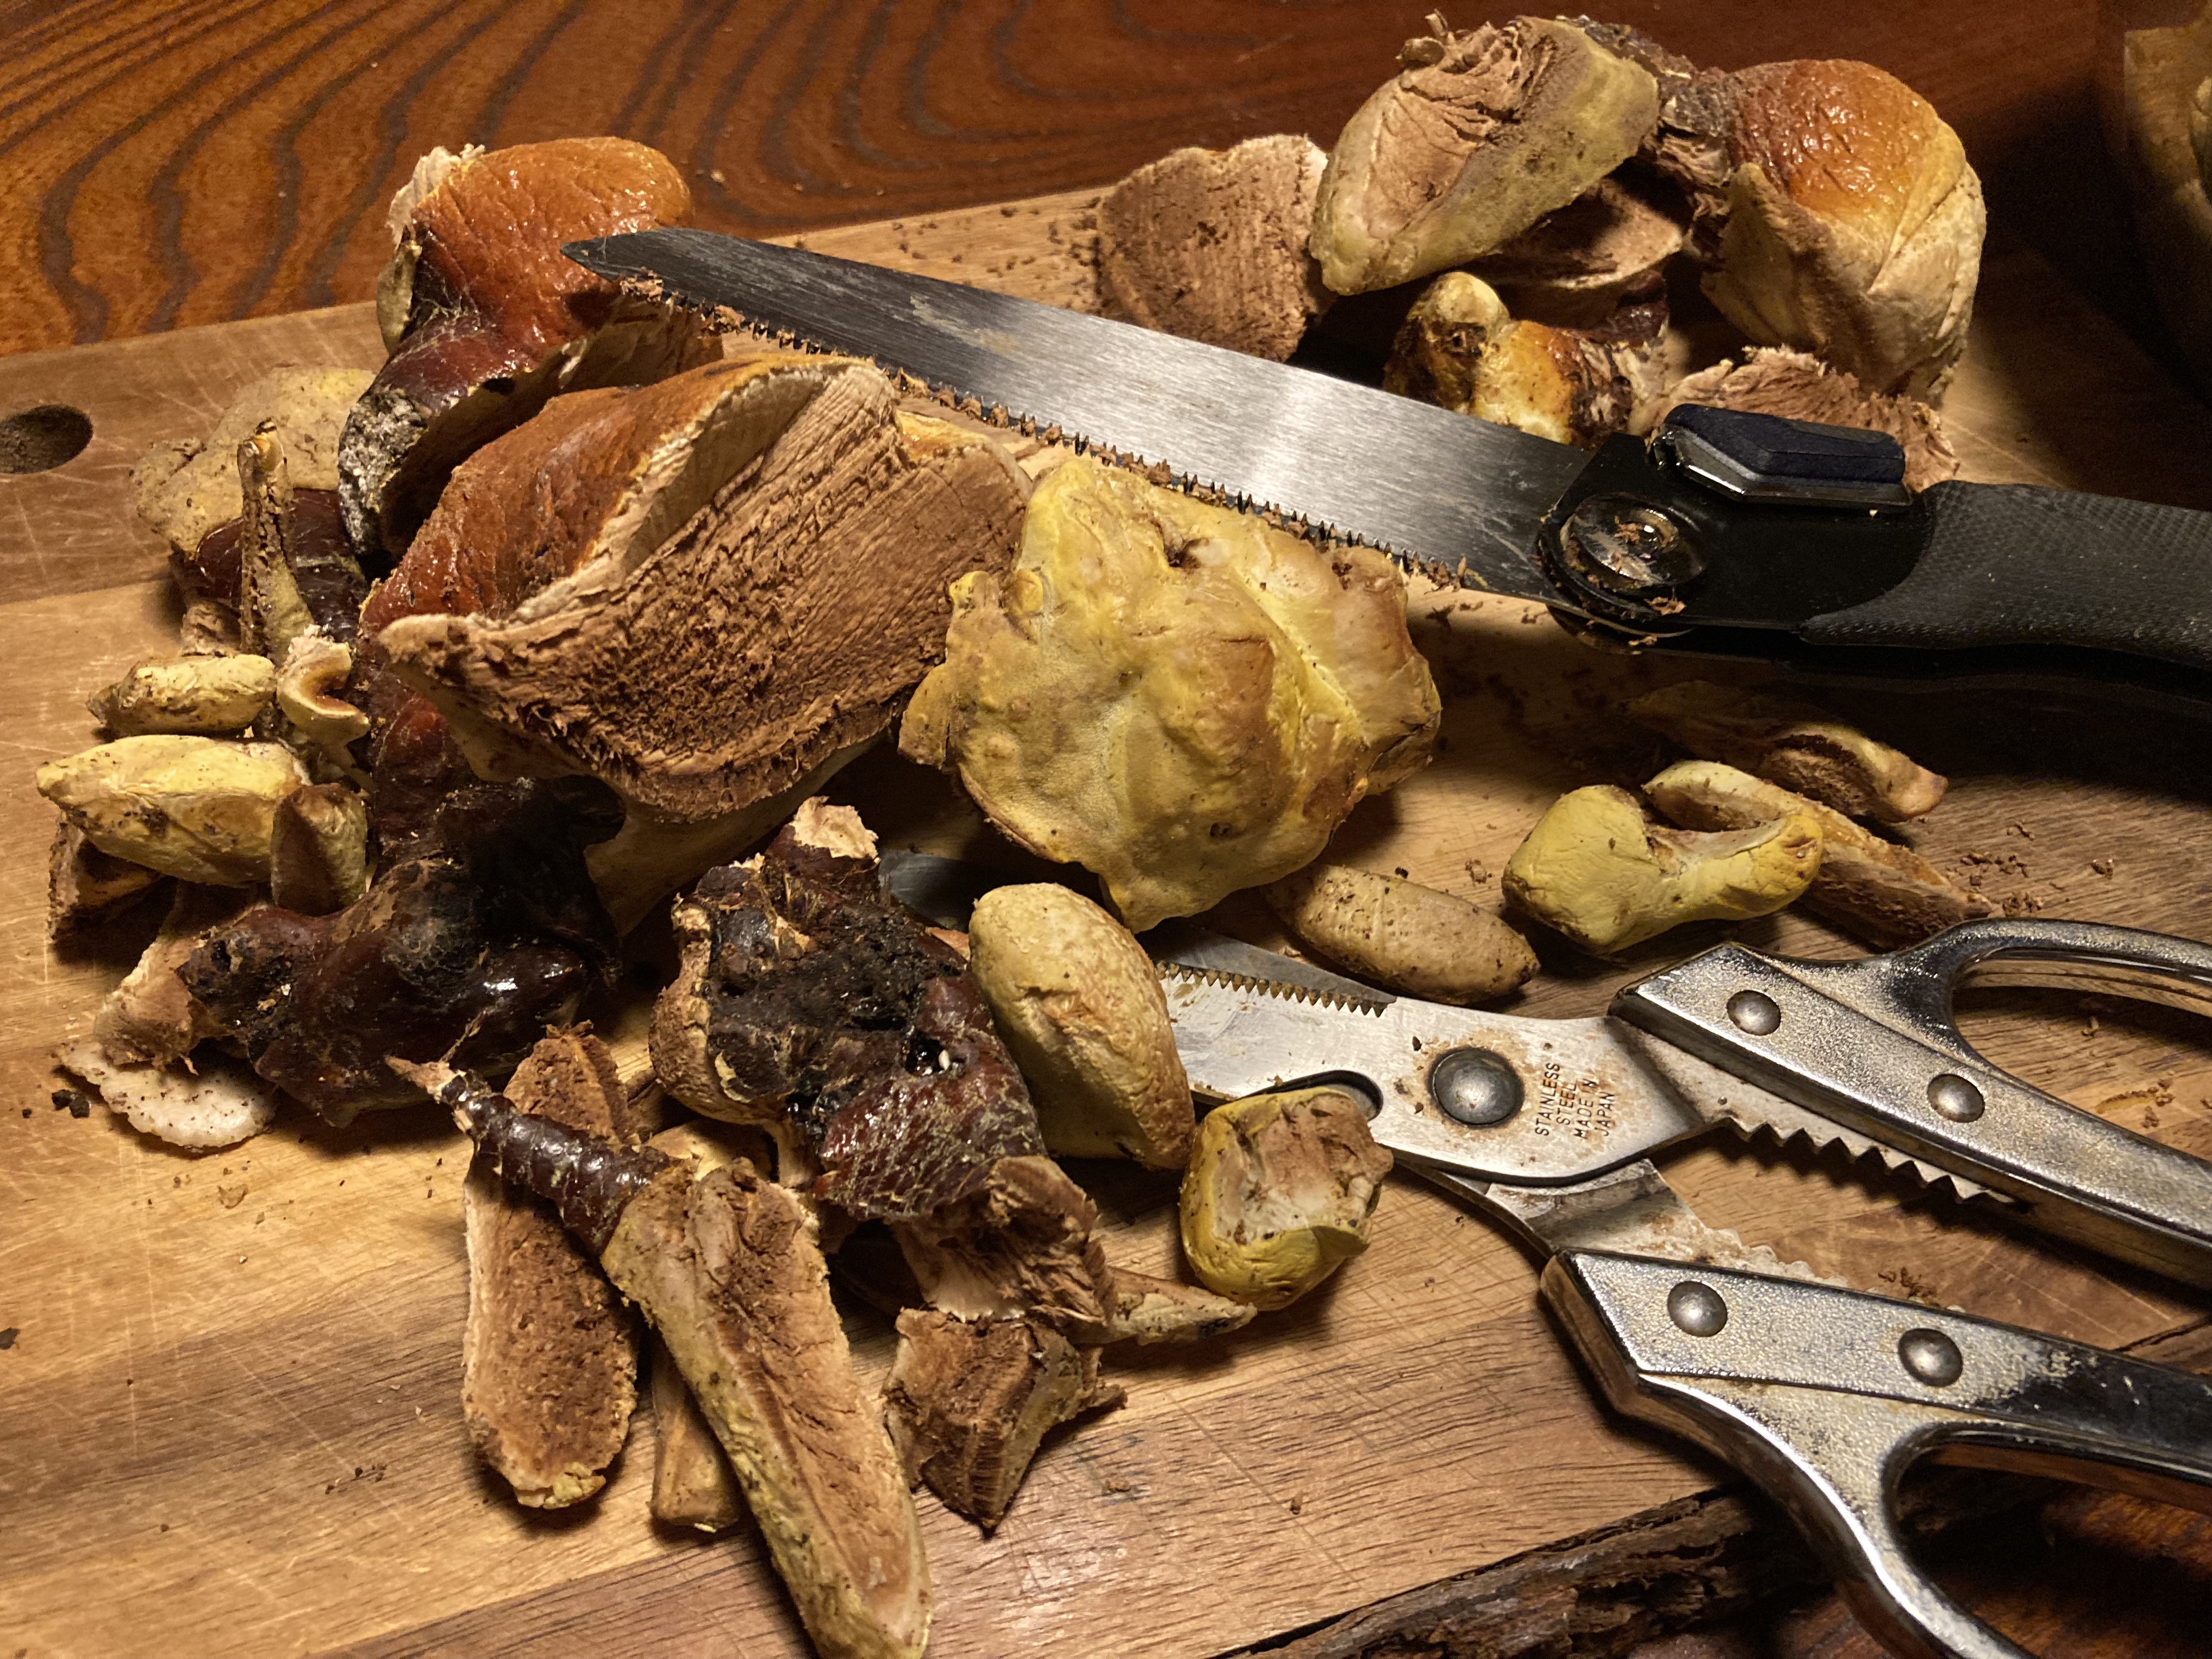
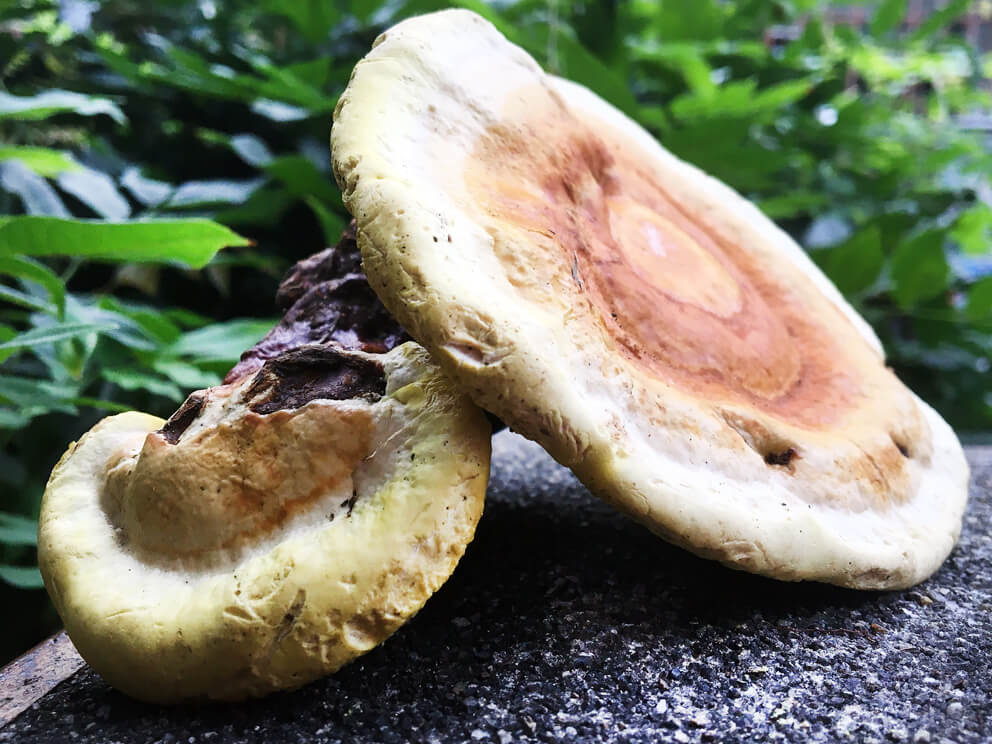
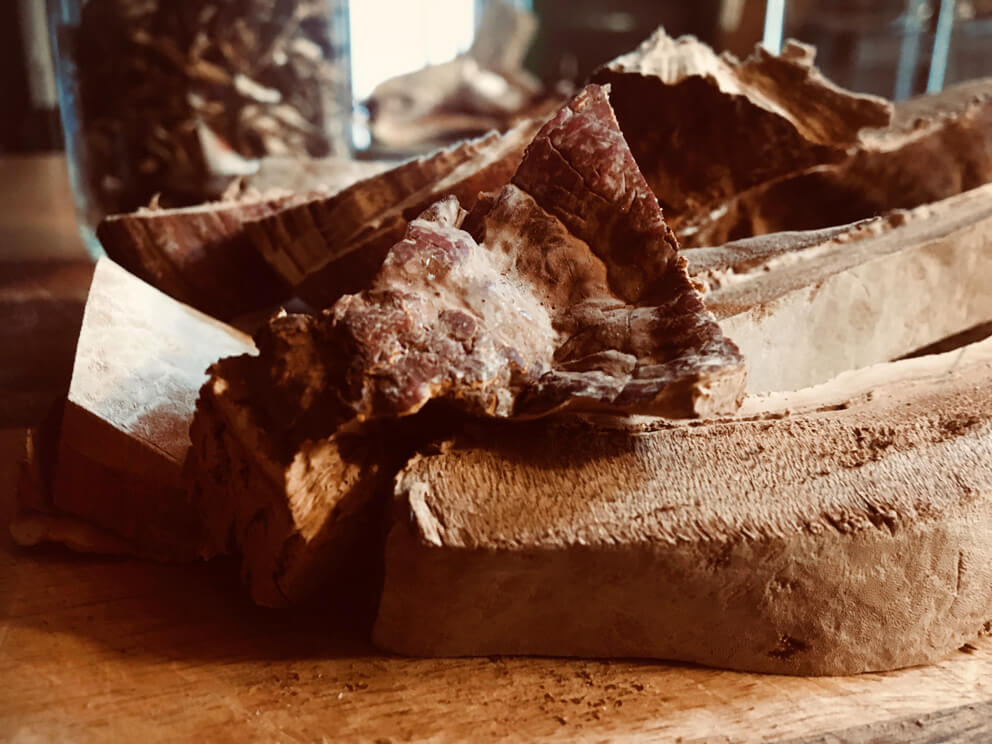
To begin your ‘marc’, the mushrooms left over from the alcohol soak, or fresh mushrooms, and soak them in water in a large pot. If you are using fresh mushrooms, make sure to scrub off as much dirt – and bugs – as possible. I generally rinse fresh mushrooms, soak them in water for a while, then dry them overnight in my drier. This stops any moud creeping in. The green meanies seem to go for reishi as soon as you bring them out of the forest. Here’s what my drying process looks like:
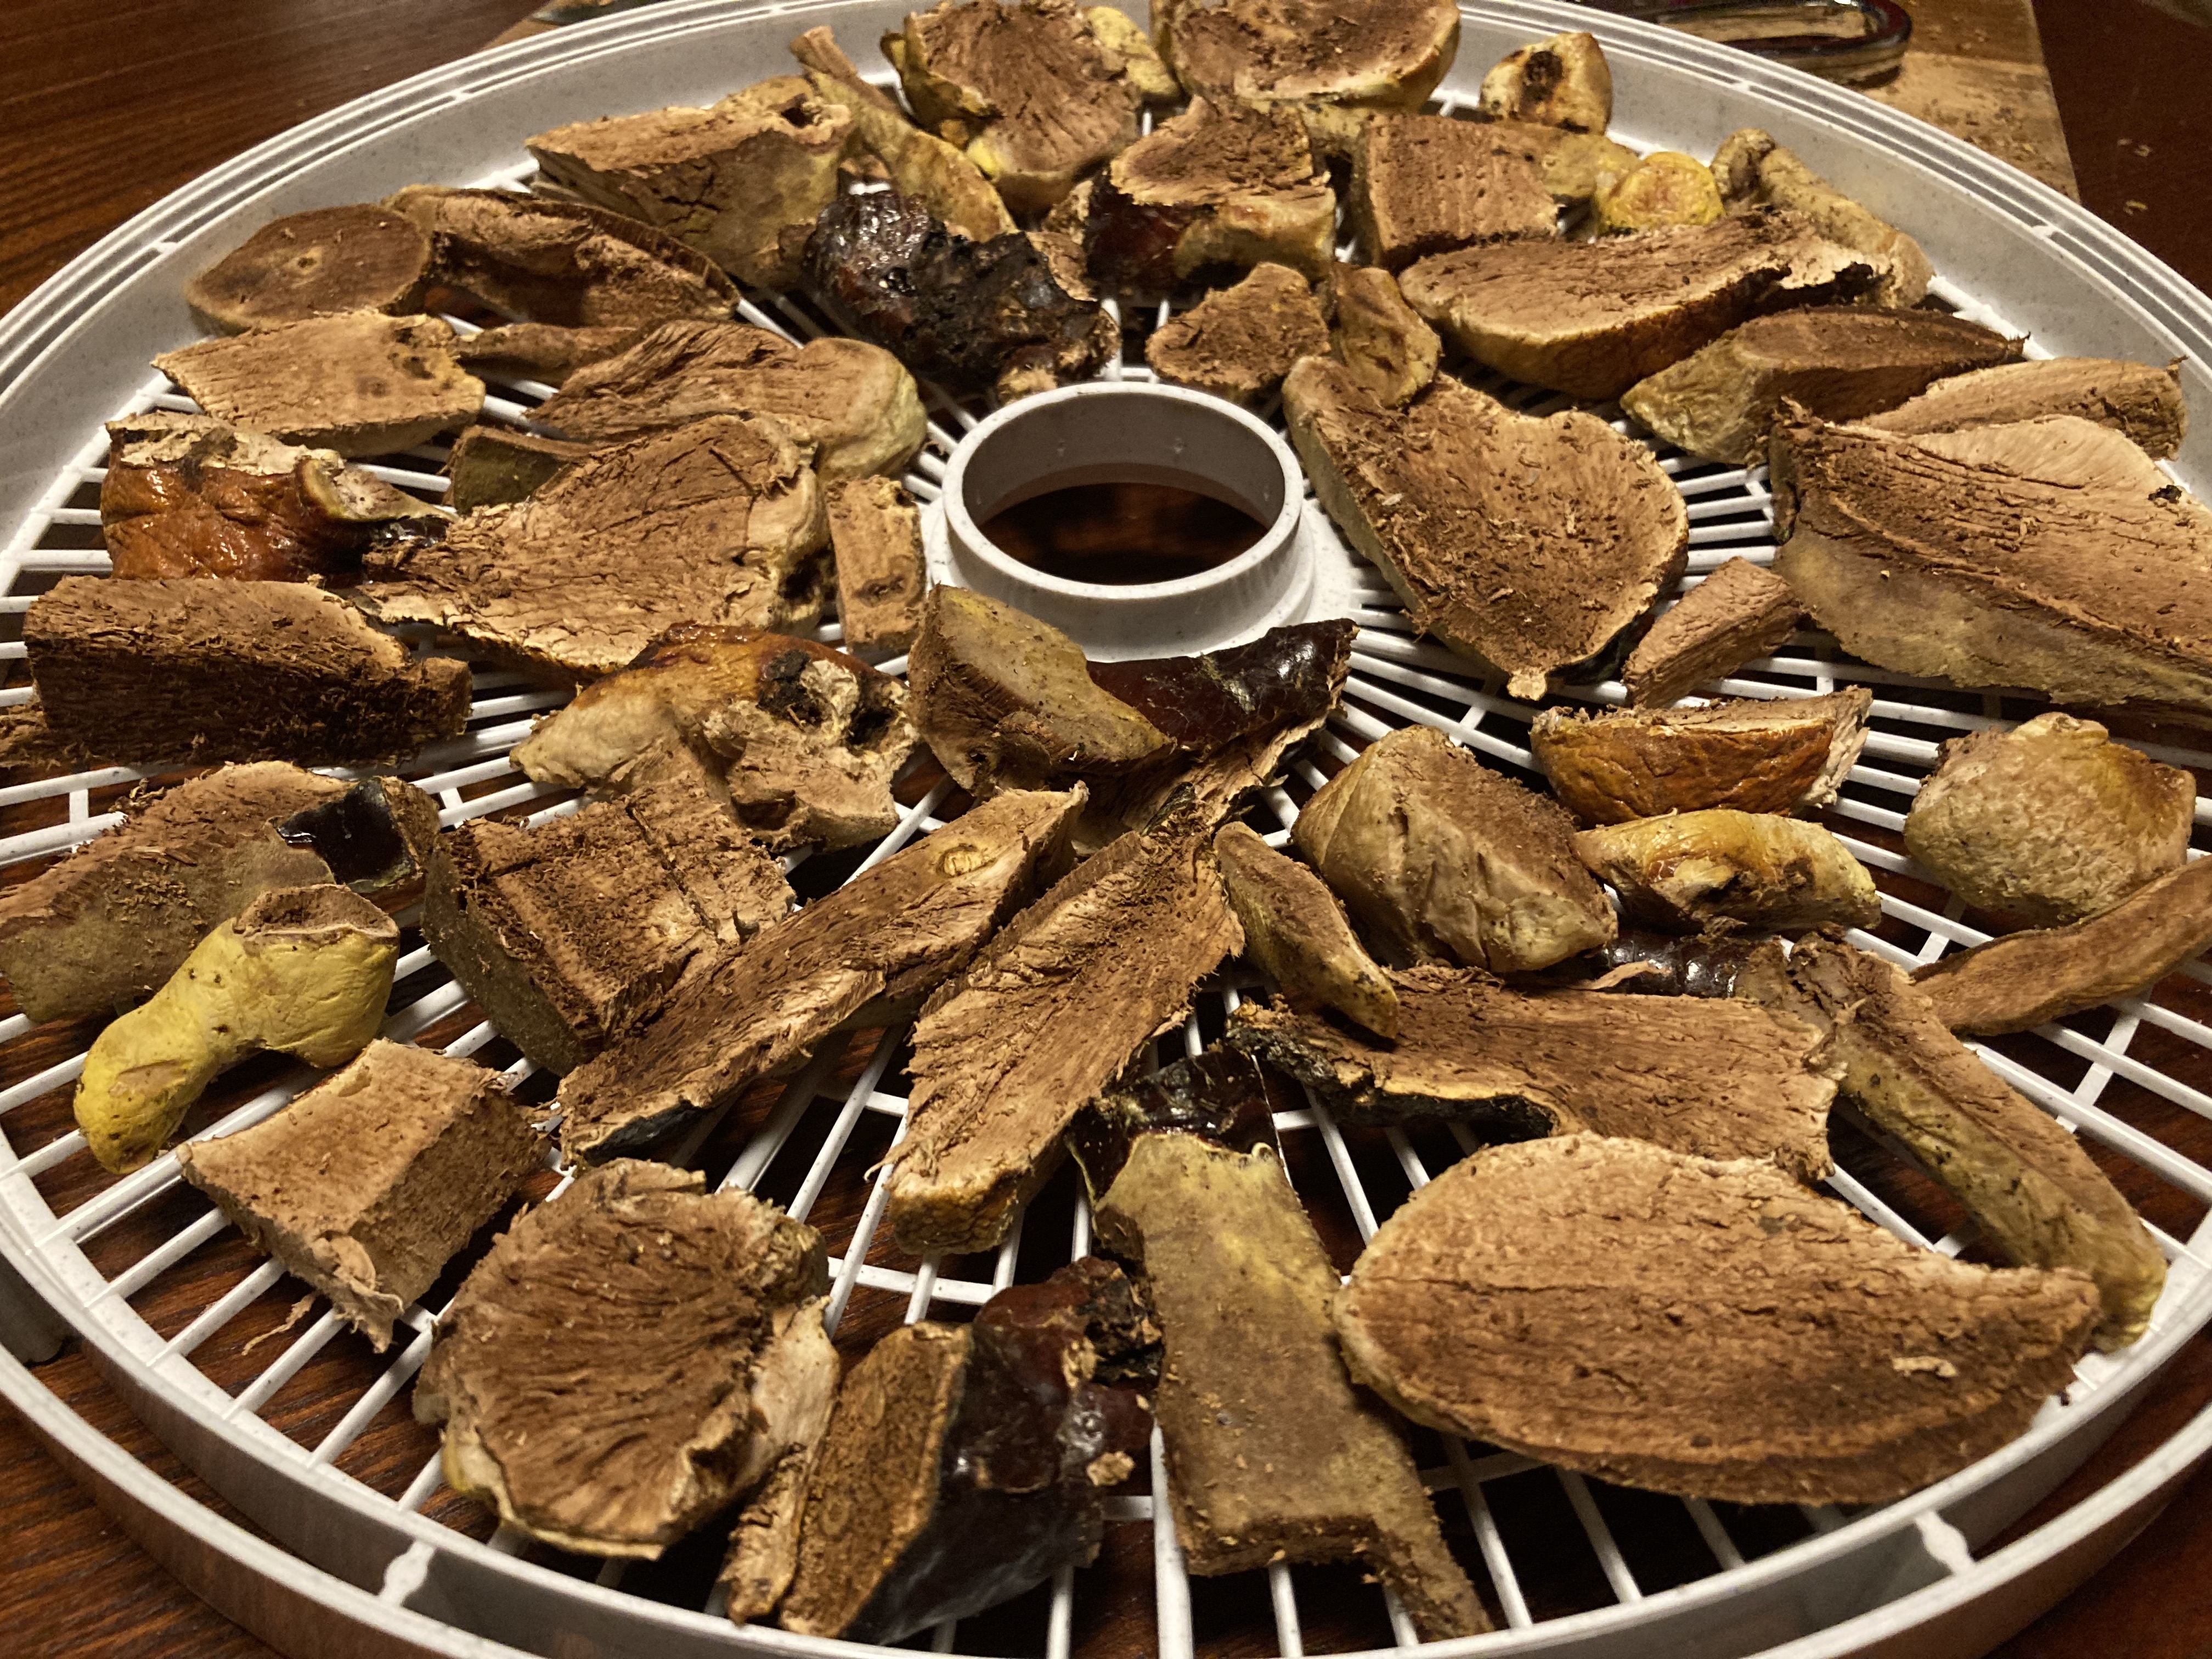
As you’ll not, I sliced these reishi up to dry. They were pretty tough, so it took some effort. I used a saw, a chisel and finally scissors to get them down to size. Younger specimens are easier to slice.
Boiling/Simmering and a Recipe
A quick net search will show you that there are many different recommendations for how long to heat the mixture. I follow my Japanese ‘Mushroom master’ Shuji Sano’s advice.
- Take 50 grammes of Medicinal mushrooms
- Add them 2 litres of water in a large saucepan
- Bring to a boil, then reduce to a simmer
- Let the mixture simmer for an hour, or until the liquid has reduced by half
- Filter off the liquid (I use a kitchen drain net)
- Et voila, you have a litre of Medicinal mushroom decoction.
Sano-san combines 40 grammes of Reishi (Ganoderma lucidum) with 10 grammes of Artist’s Conk (Ganoderma applanatum). How you take it is up to you. Mrs A and I add 25 ml to our morning smoothies, along with several drops of the Medicinal mushroom tincture mentioned previously.
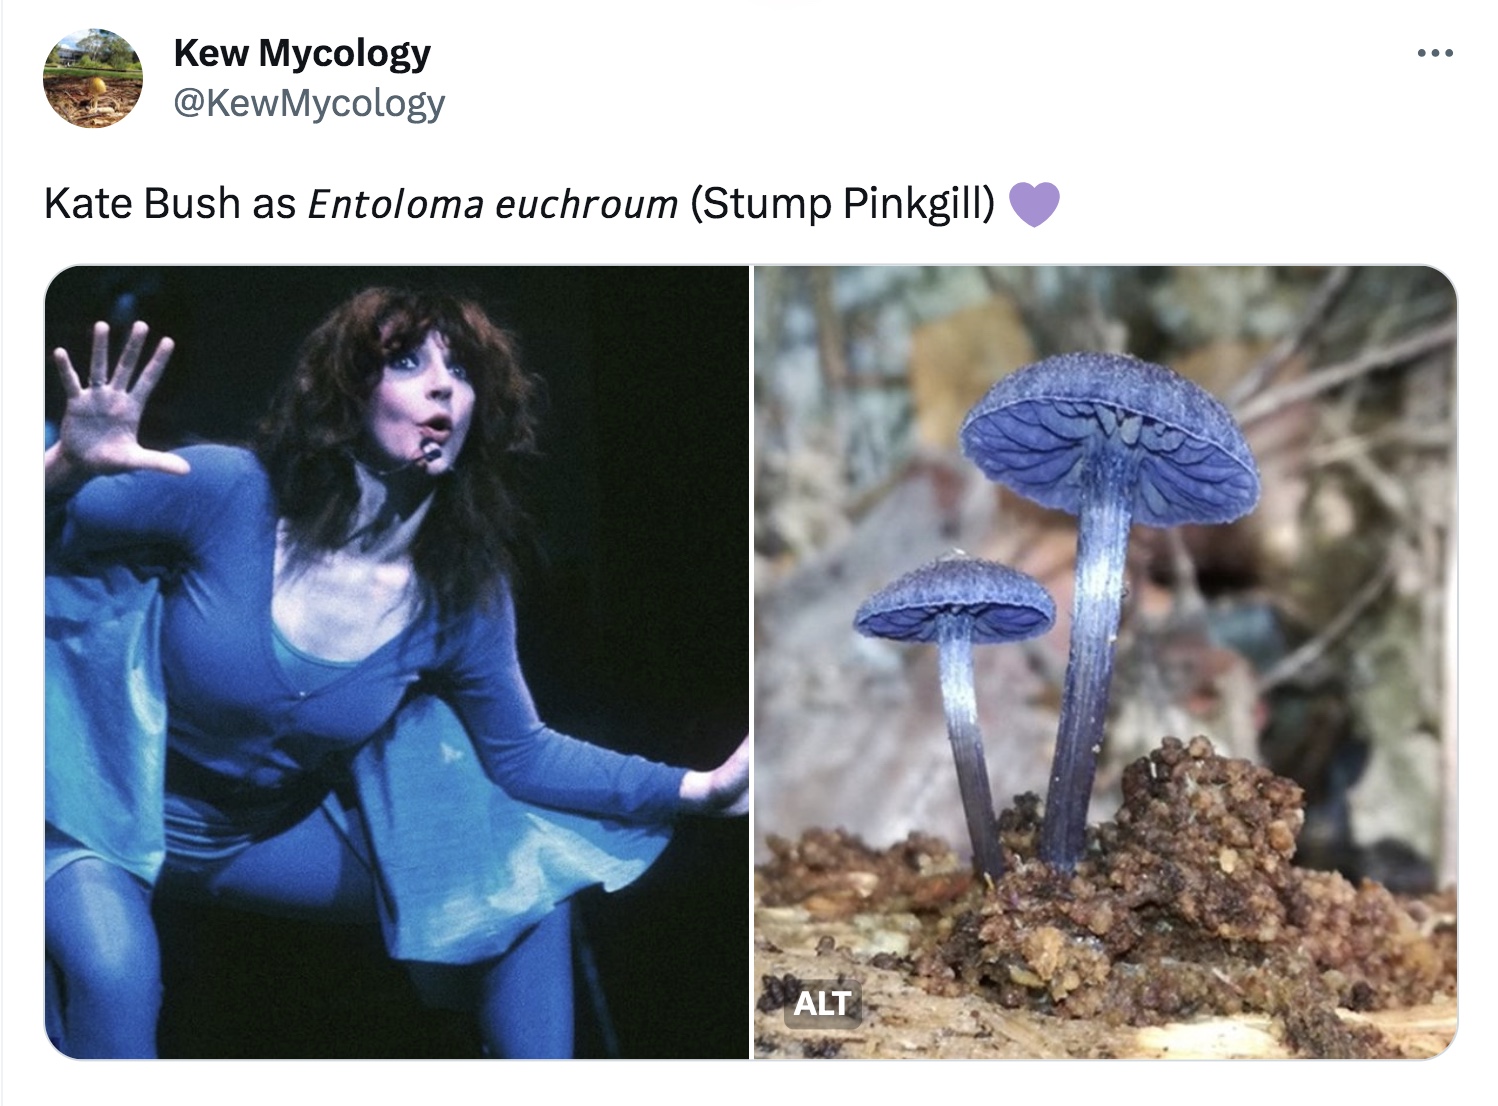
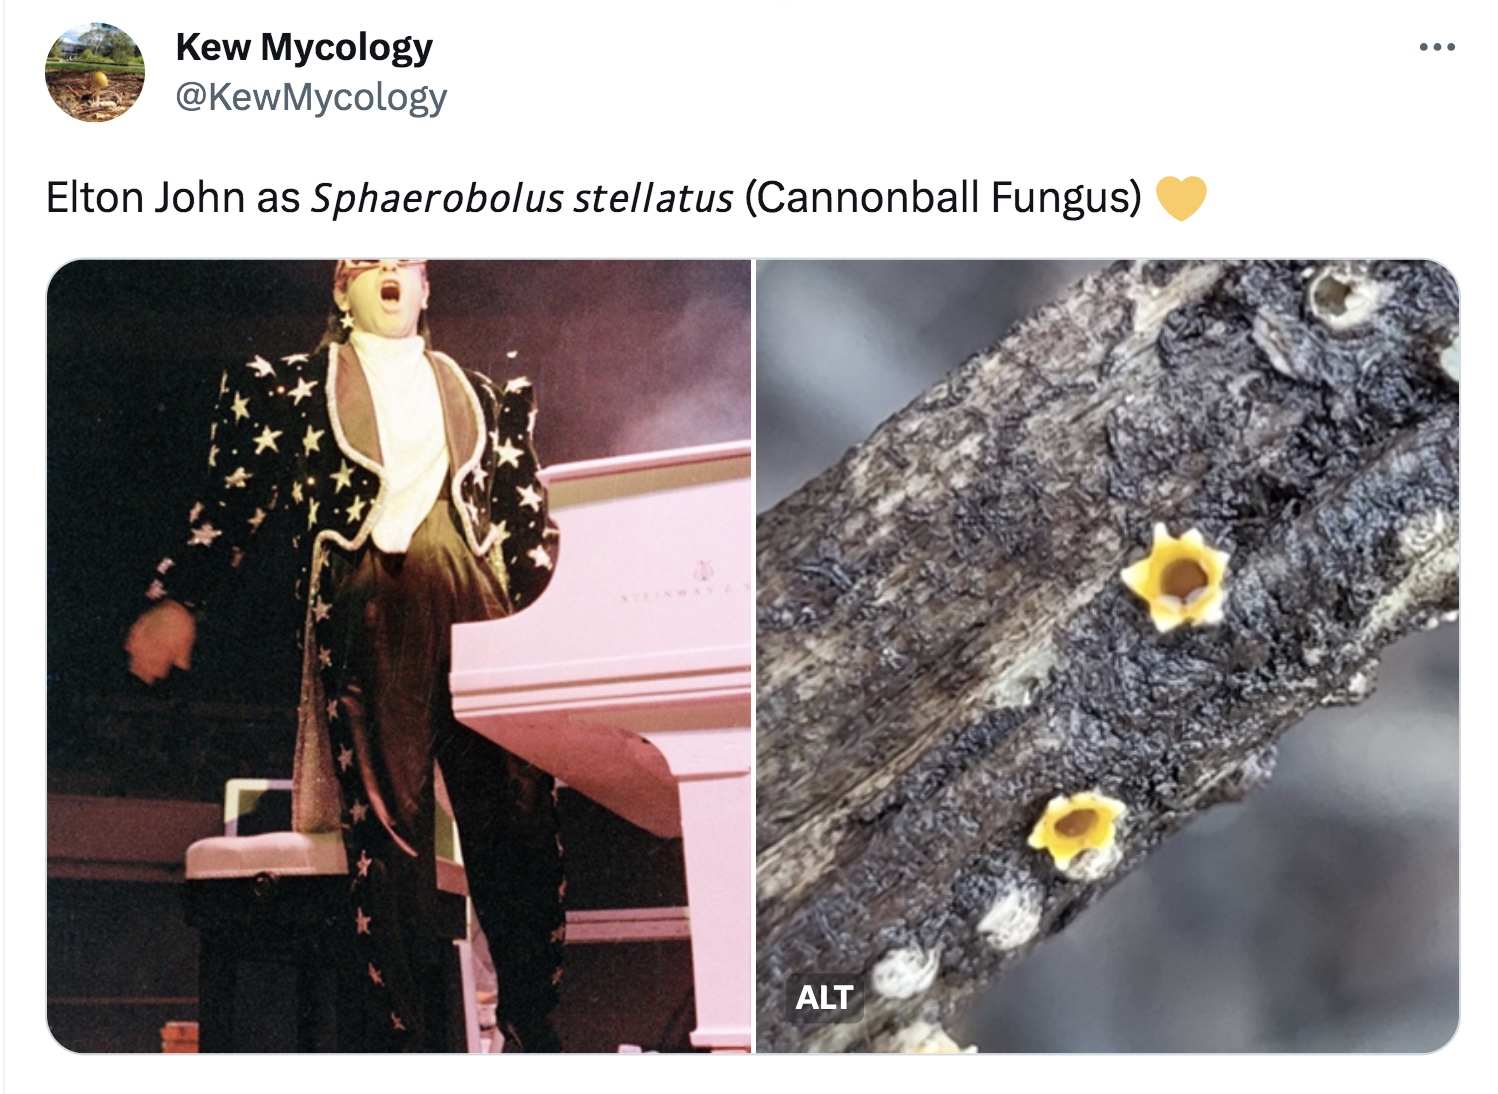
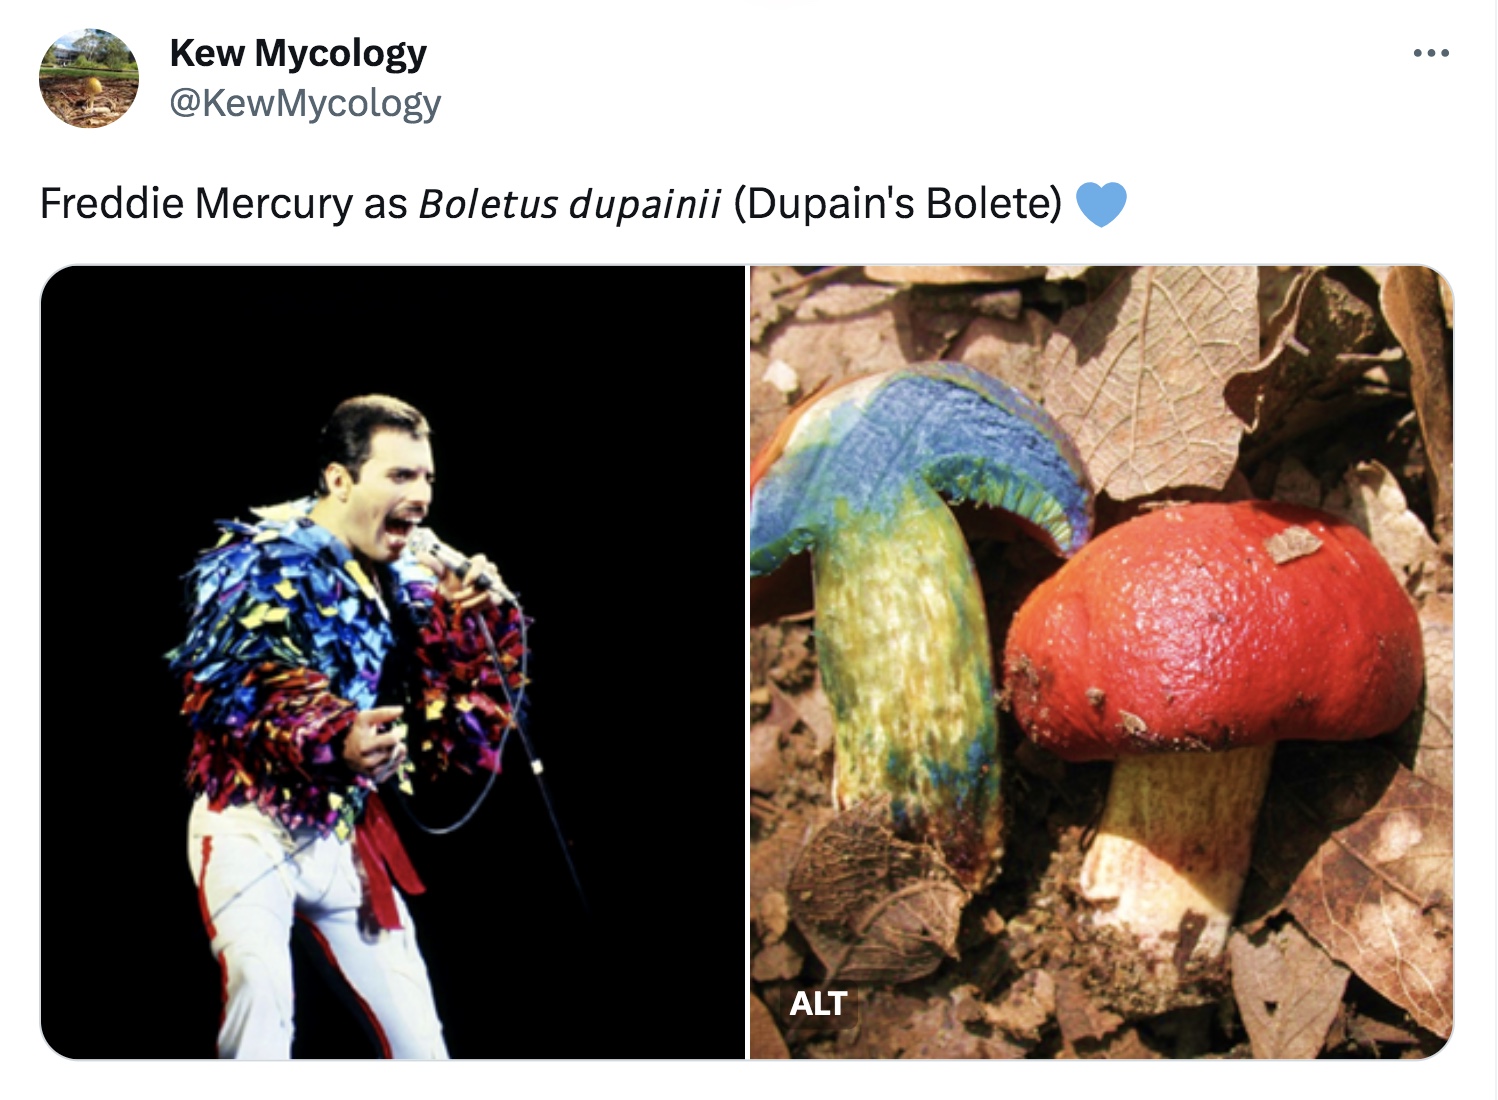
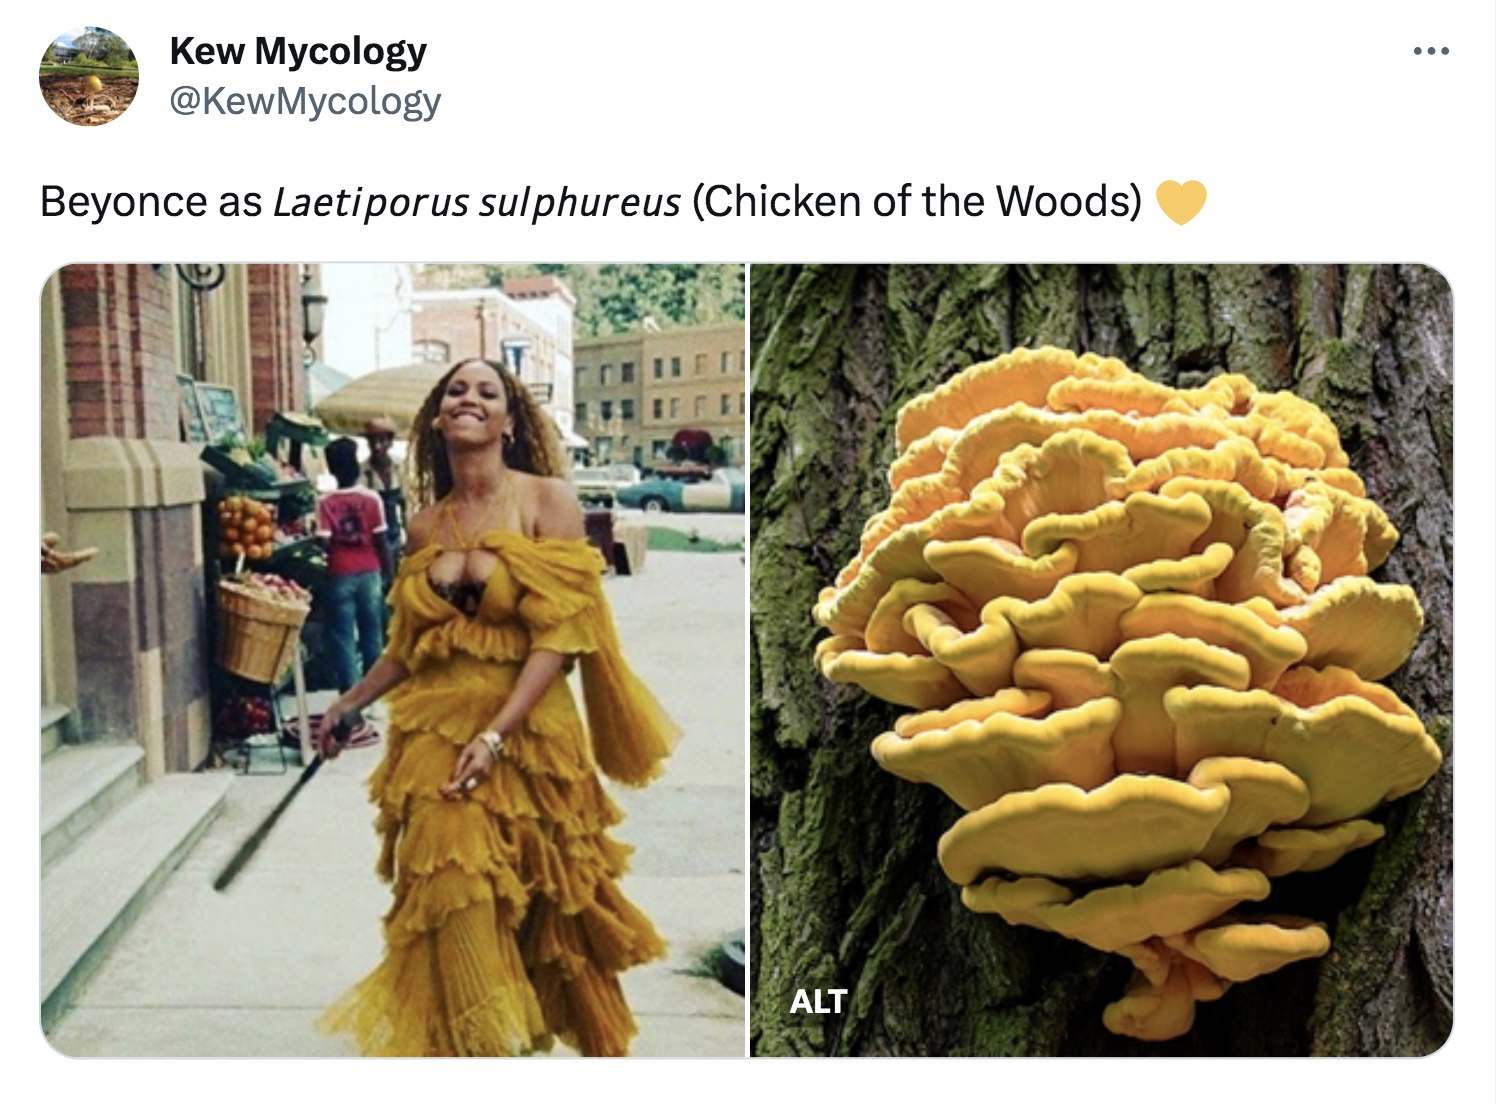
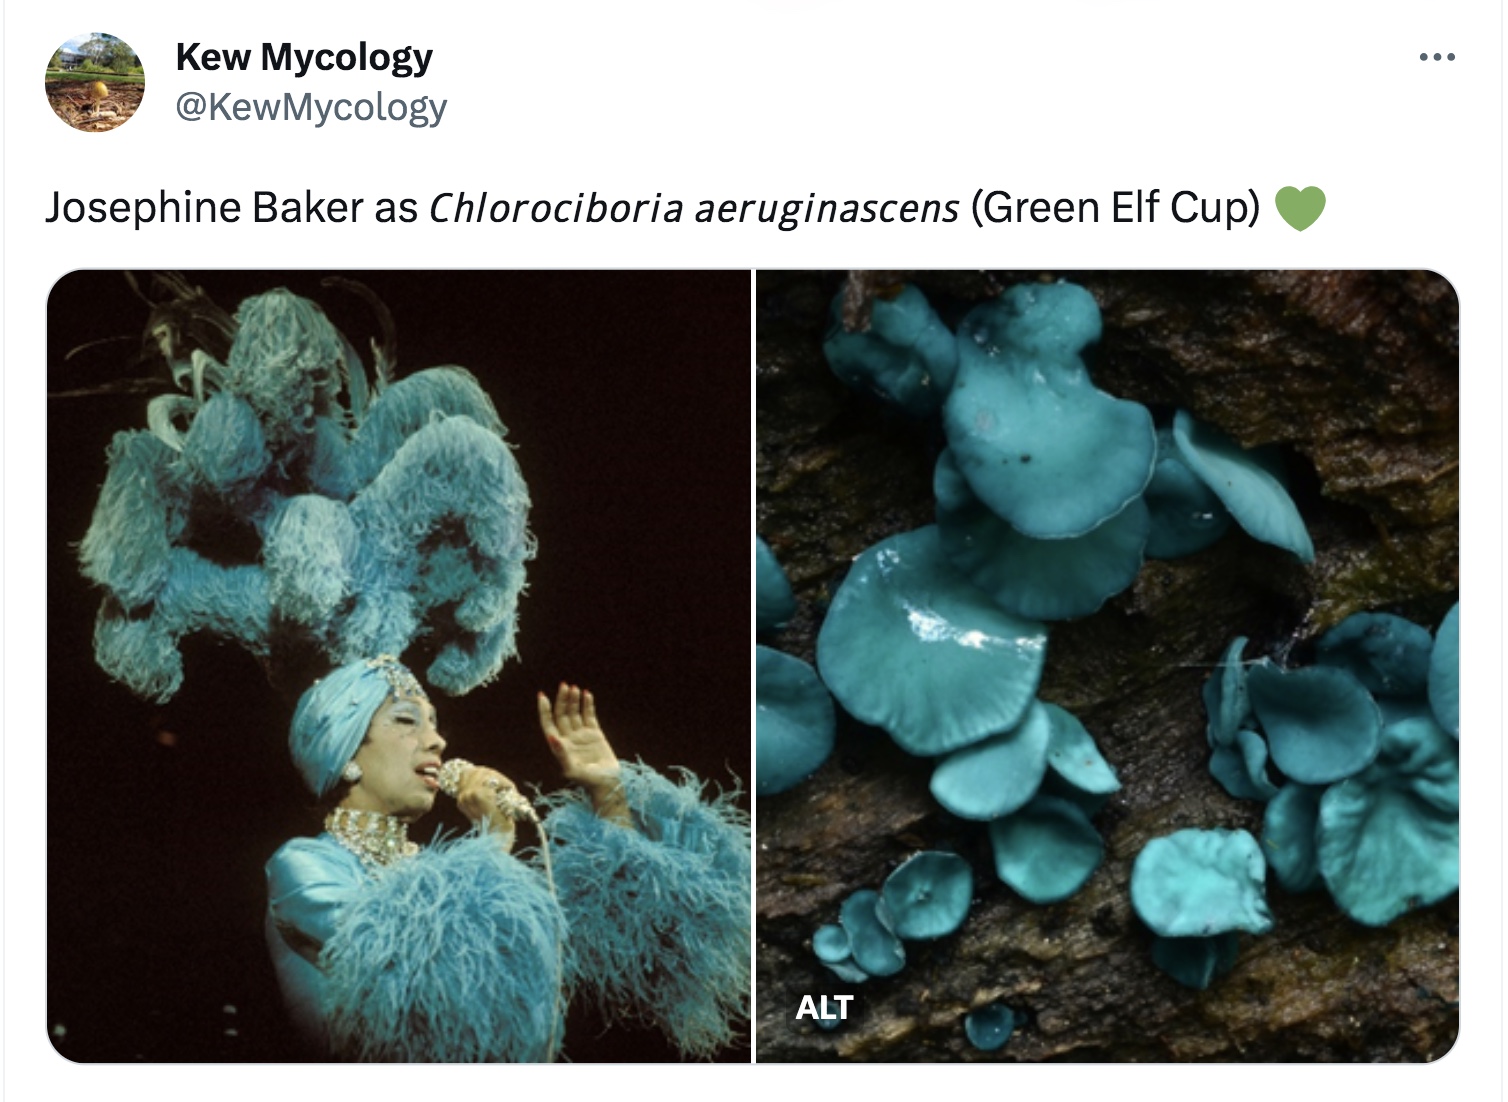
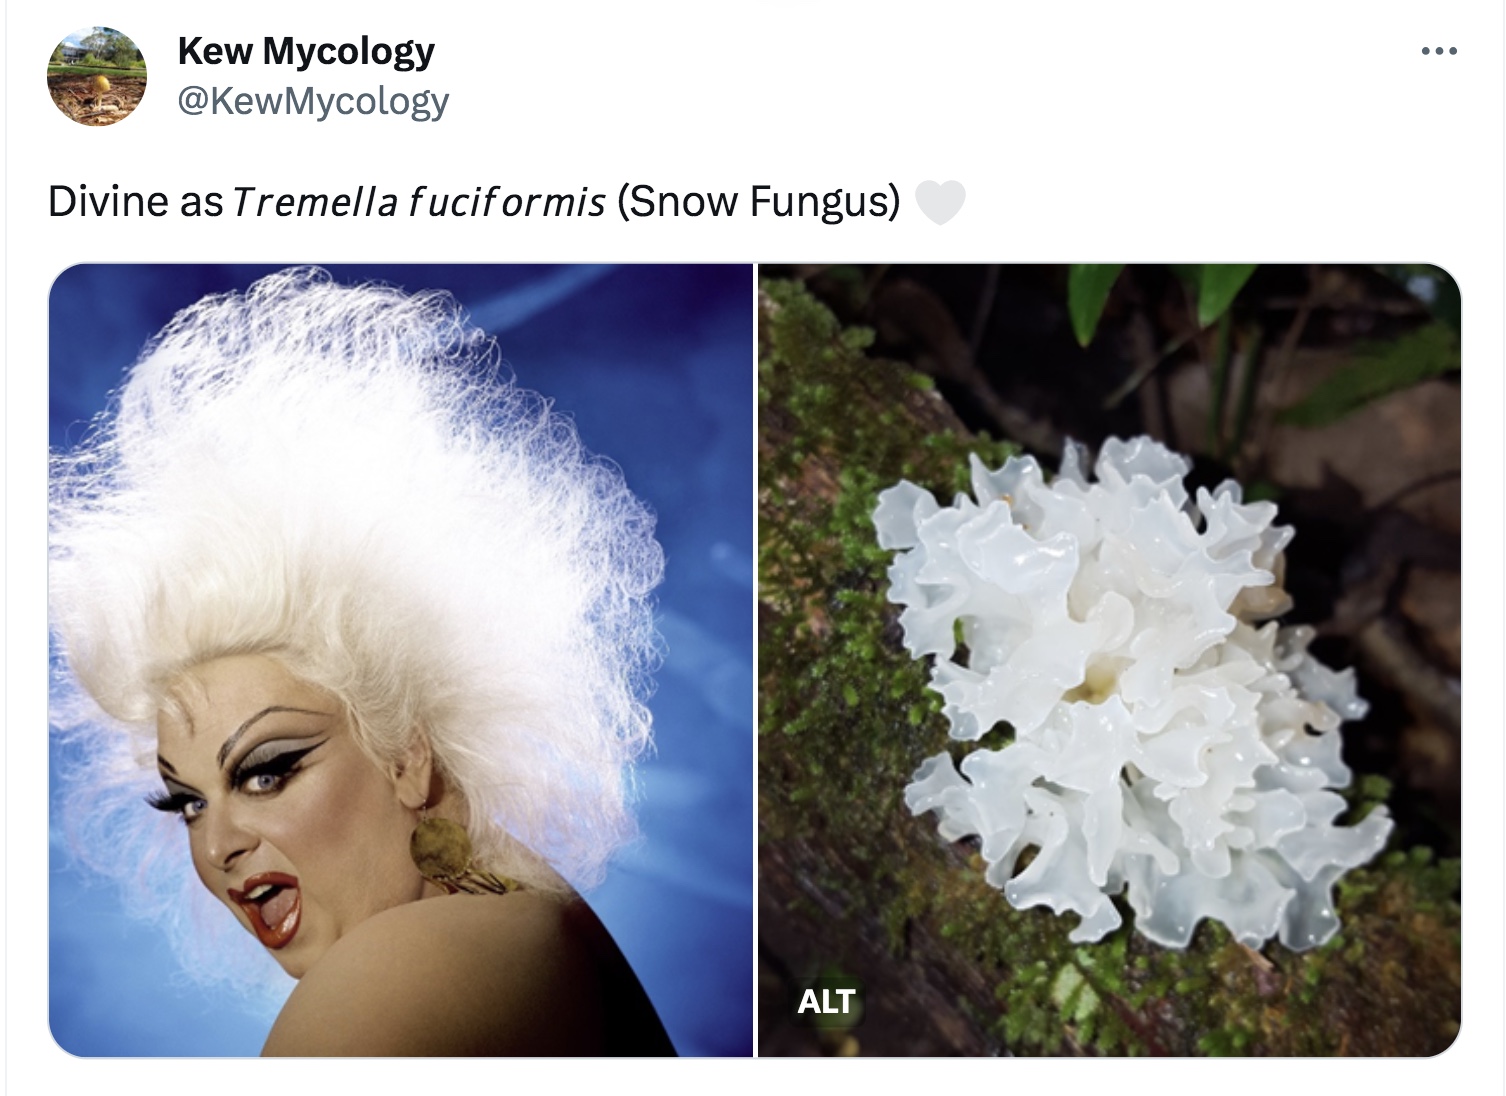
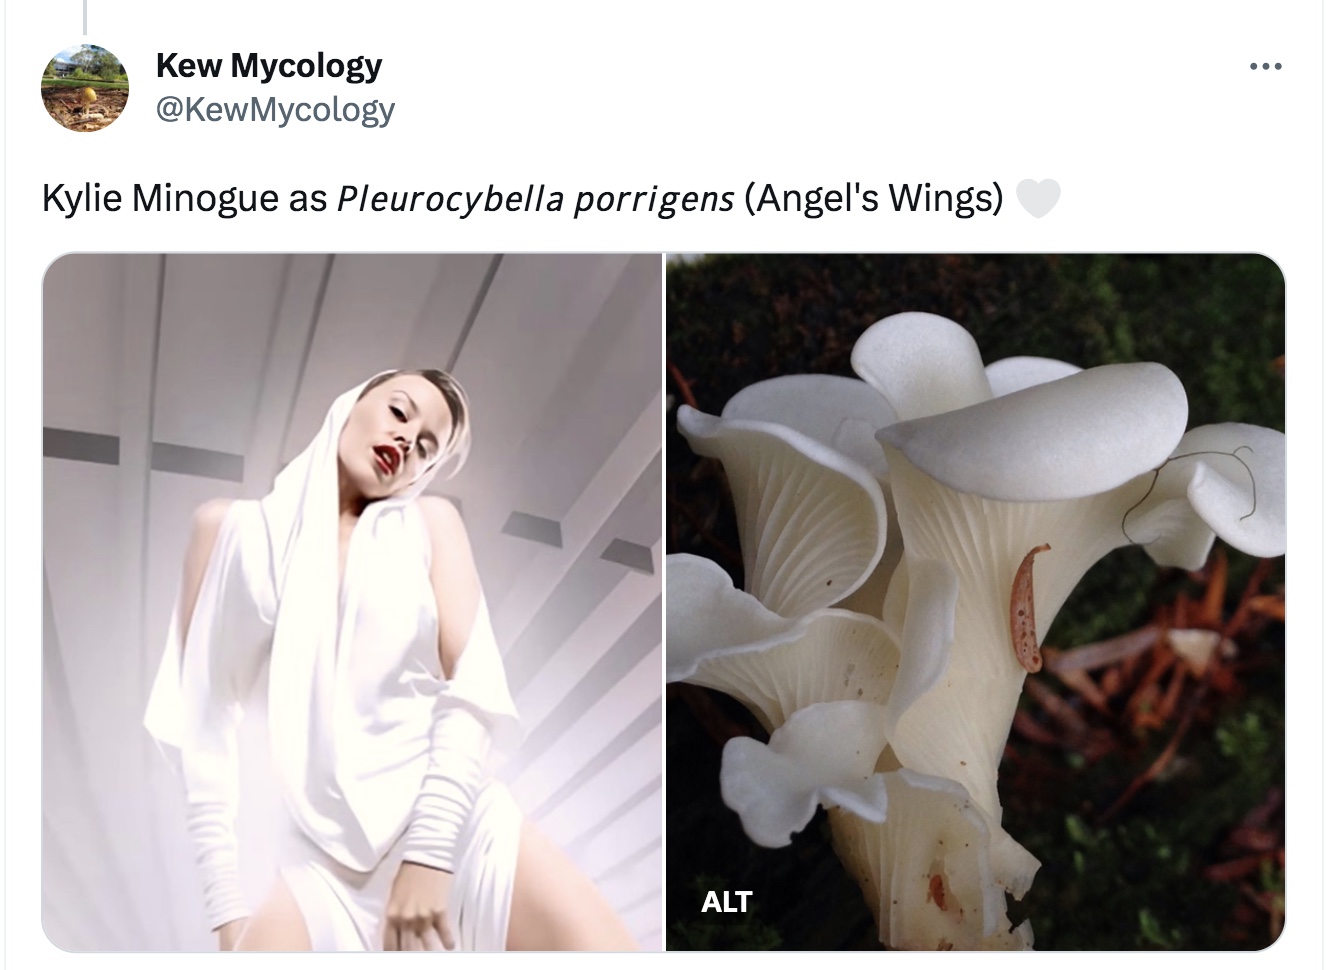
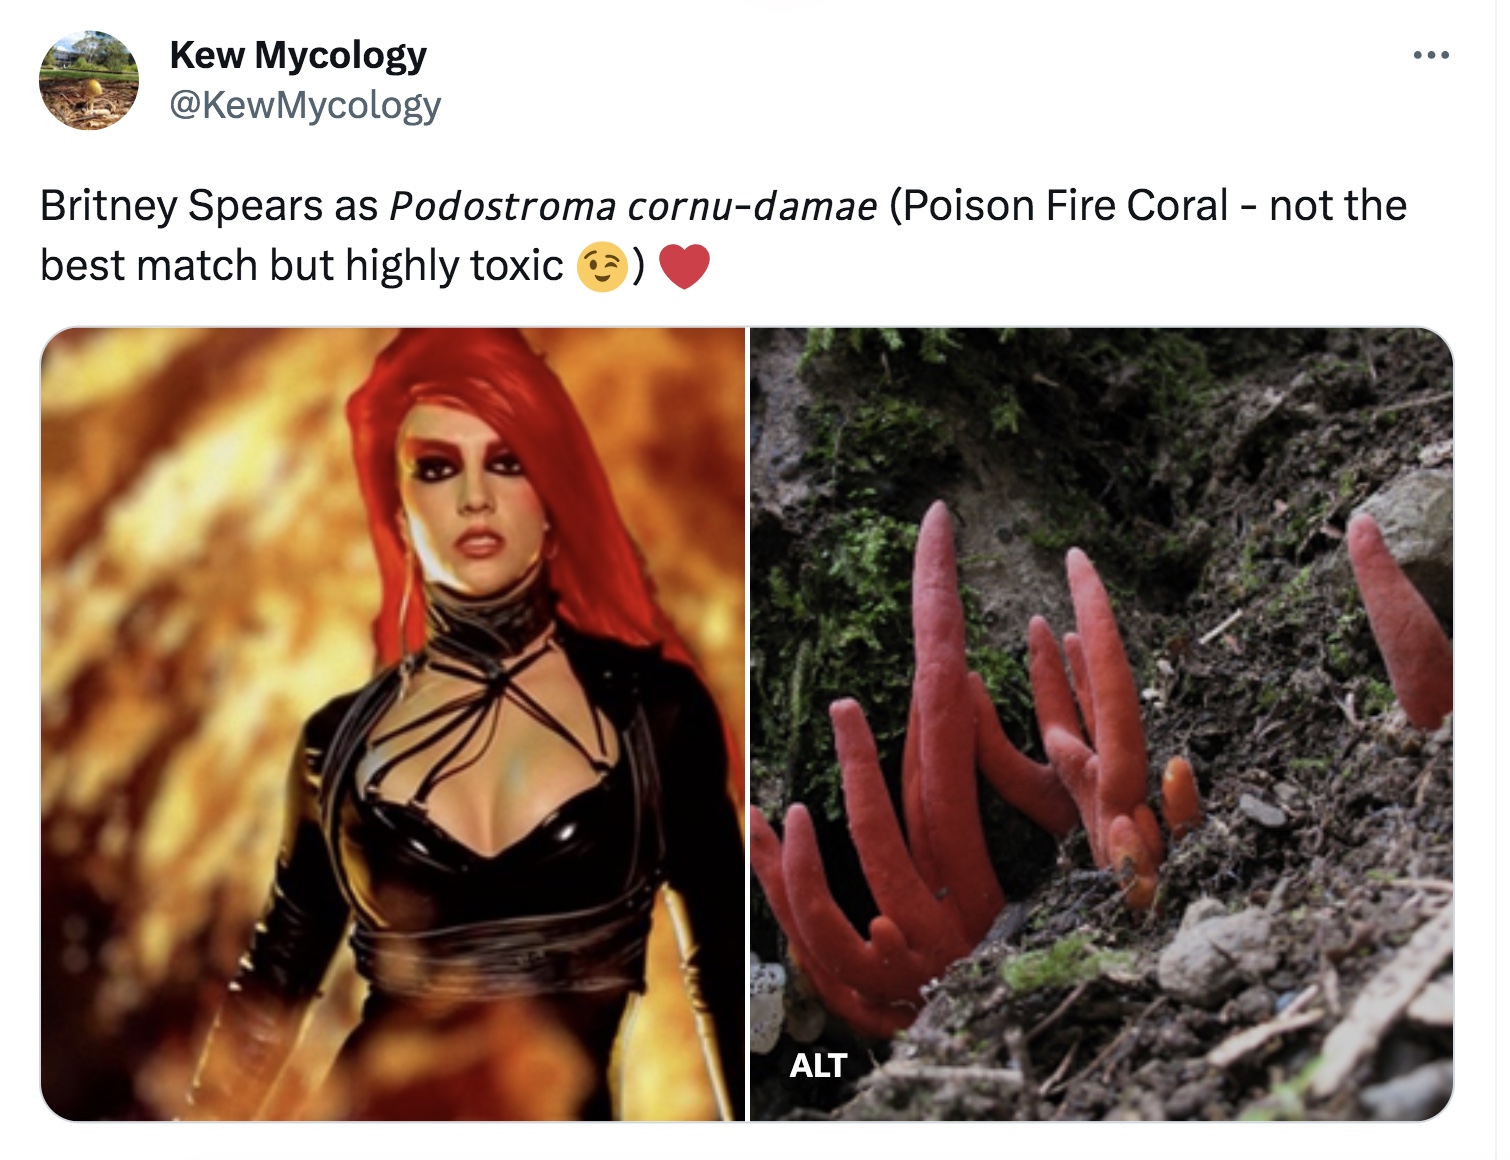
Kew Mycology/Gay Icons as Fungi
Or is that Fungi as gay Icons? To celebrate Pride Month in the UK, the Kew Gardens Mycology department came up with these fun images. Which is your favourite?


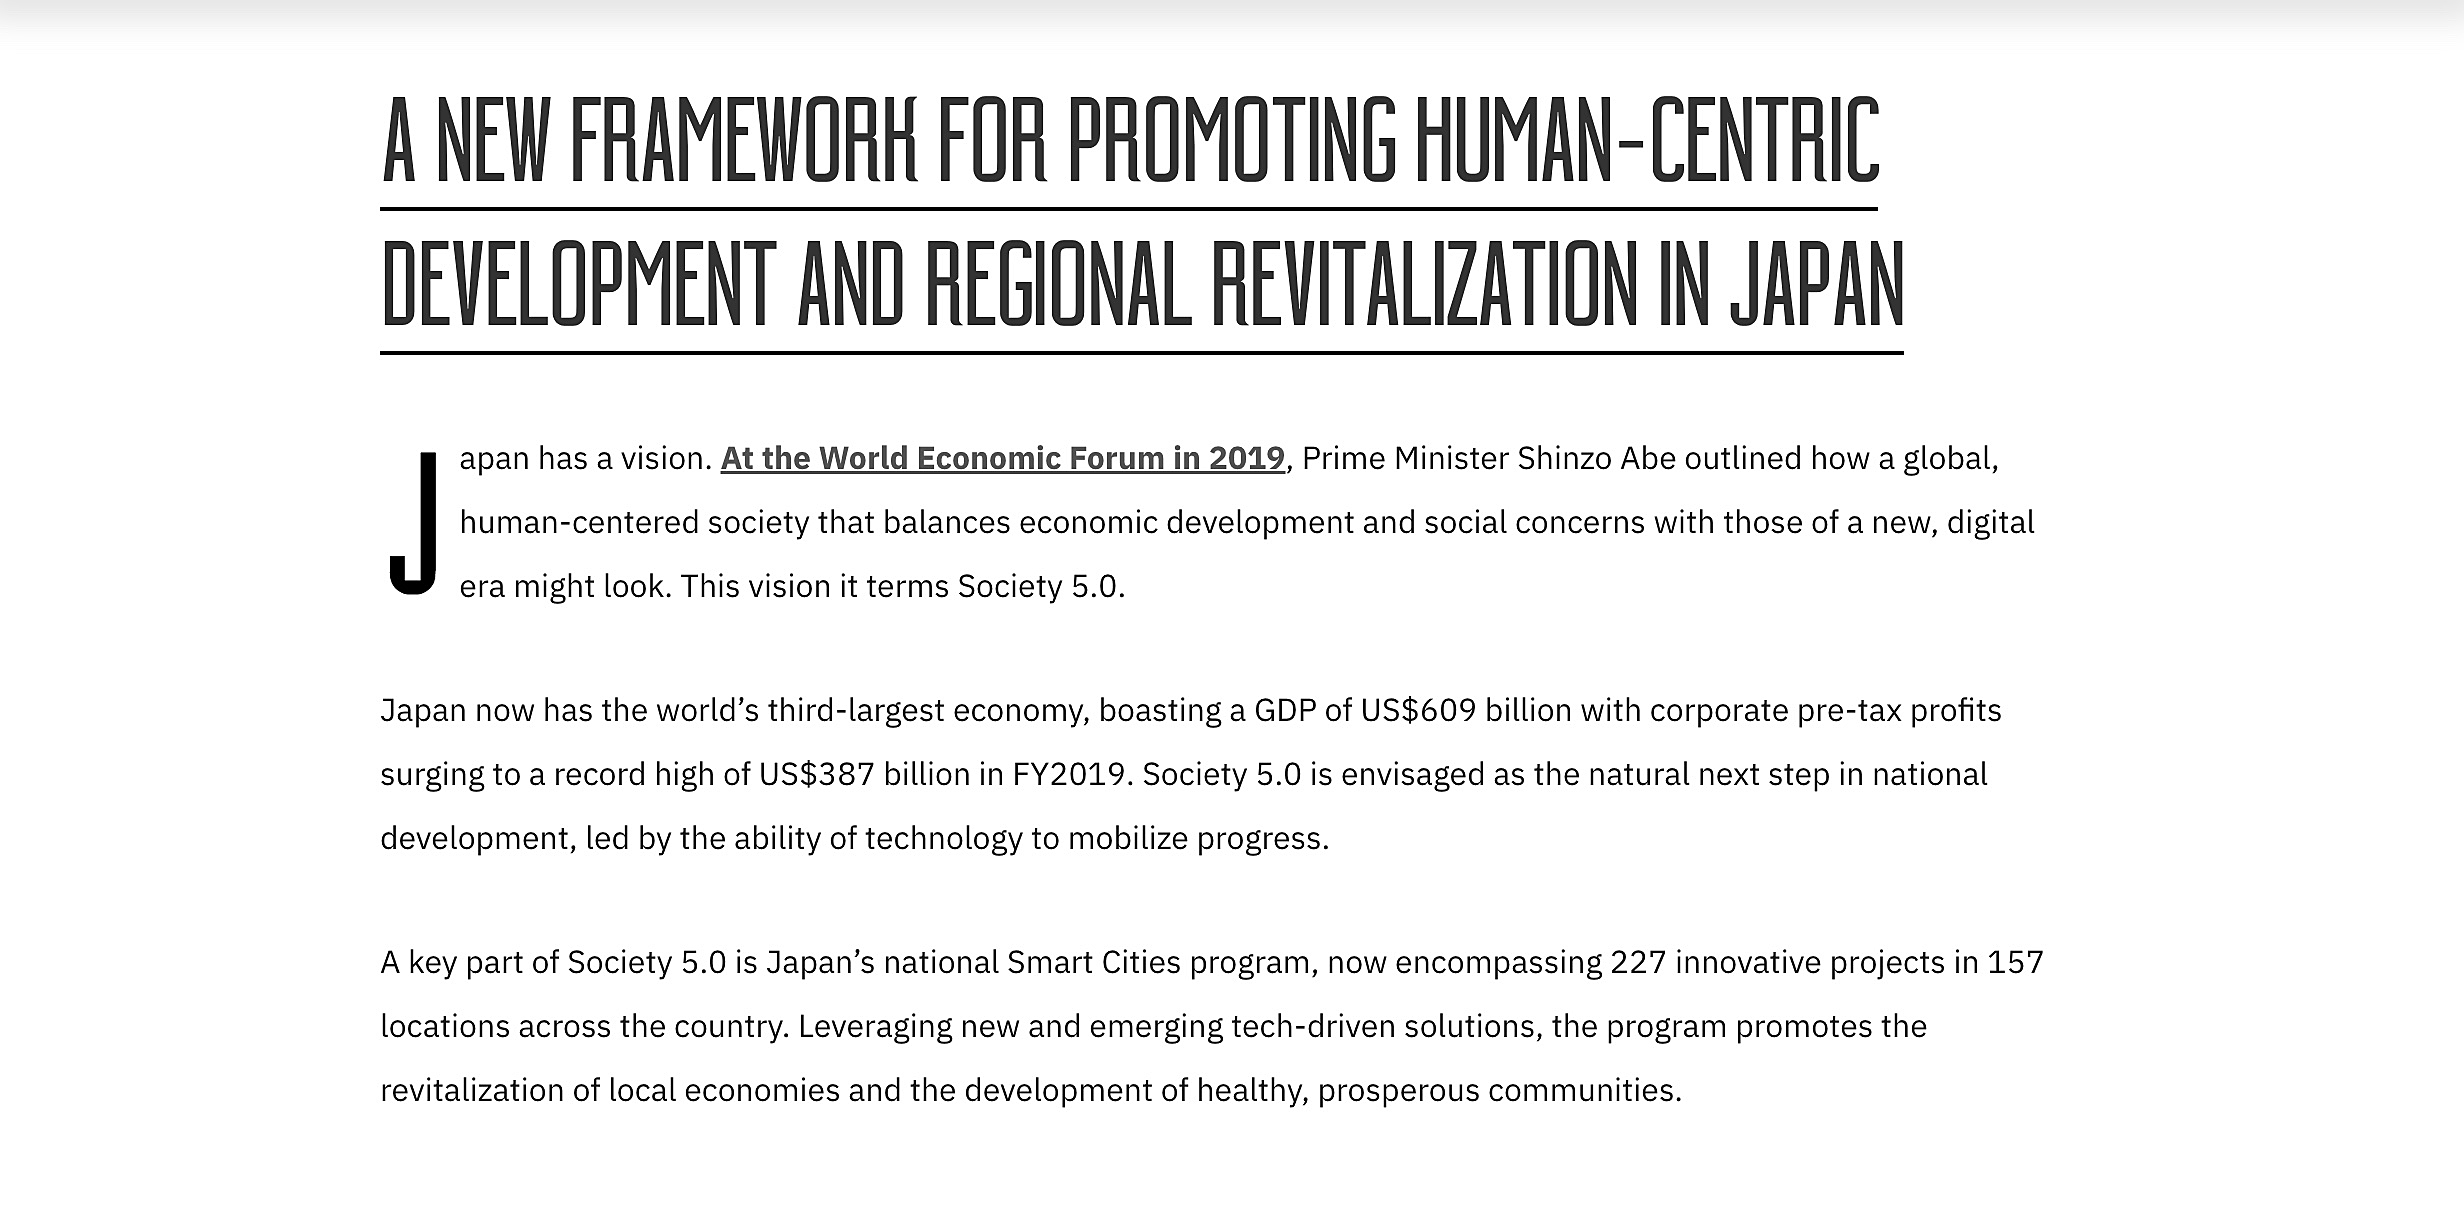
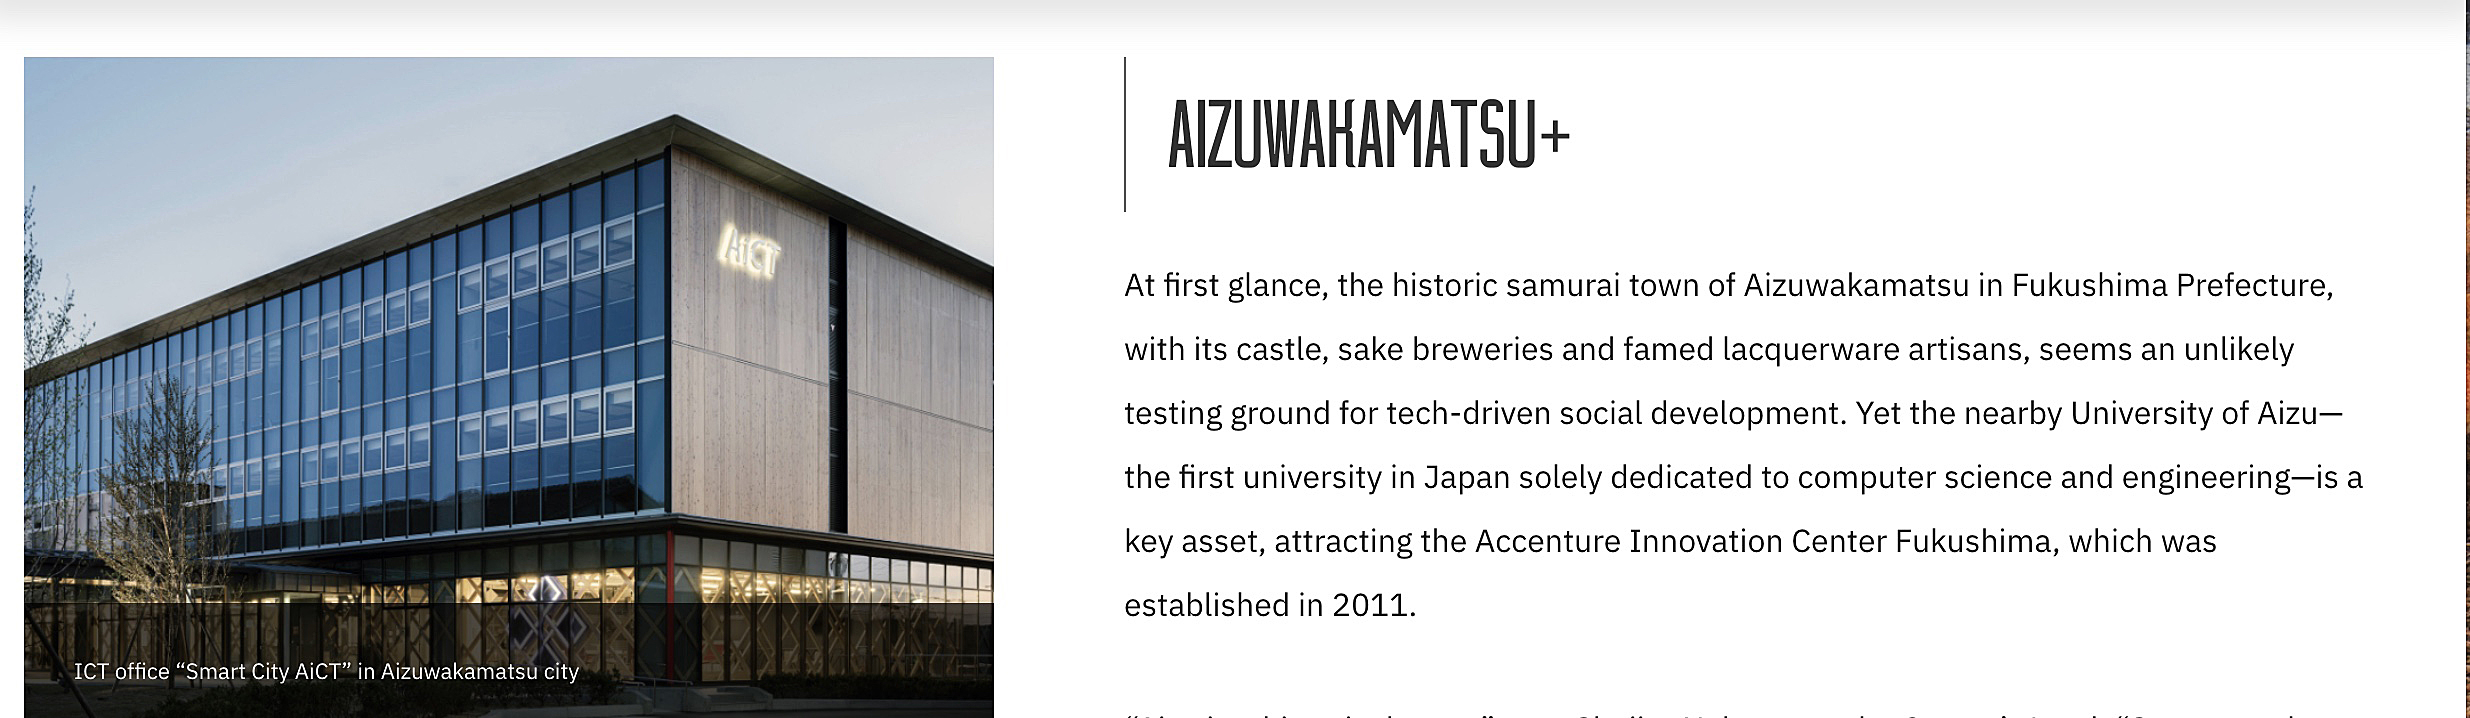
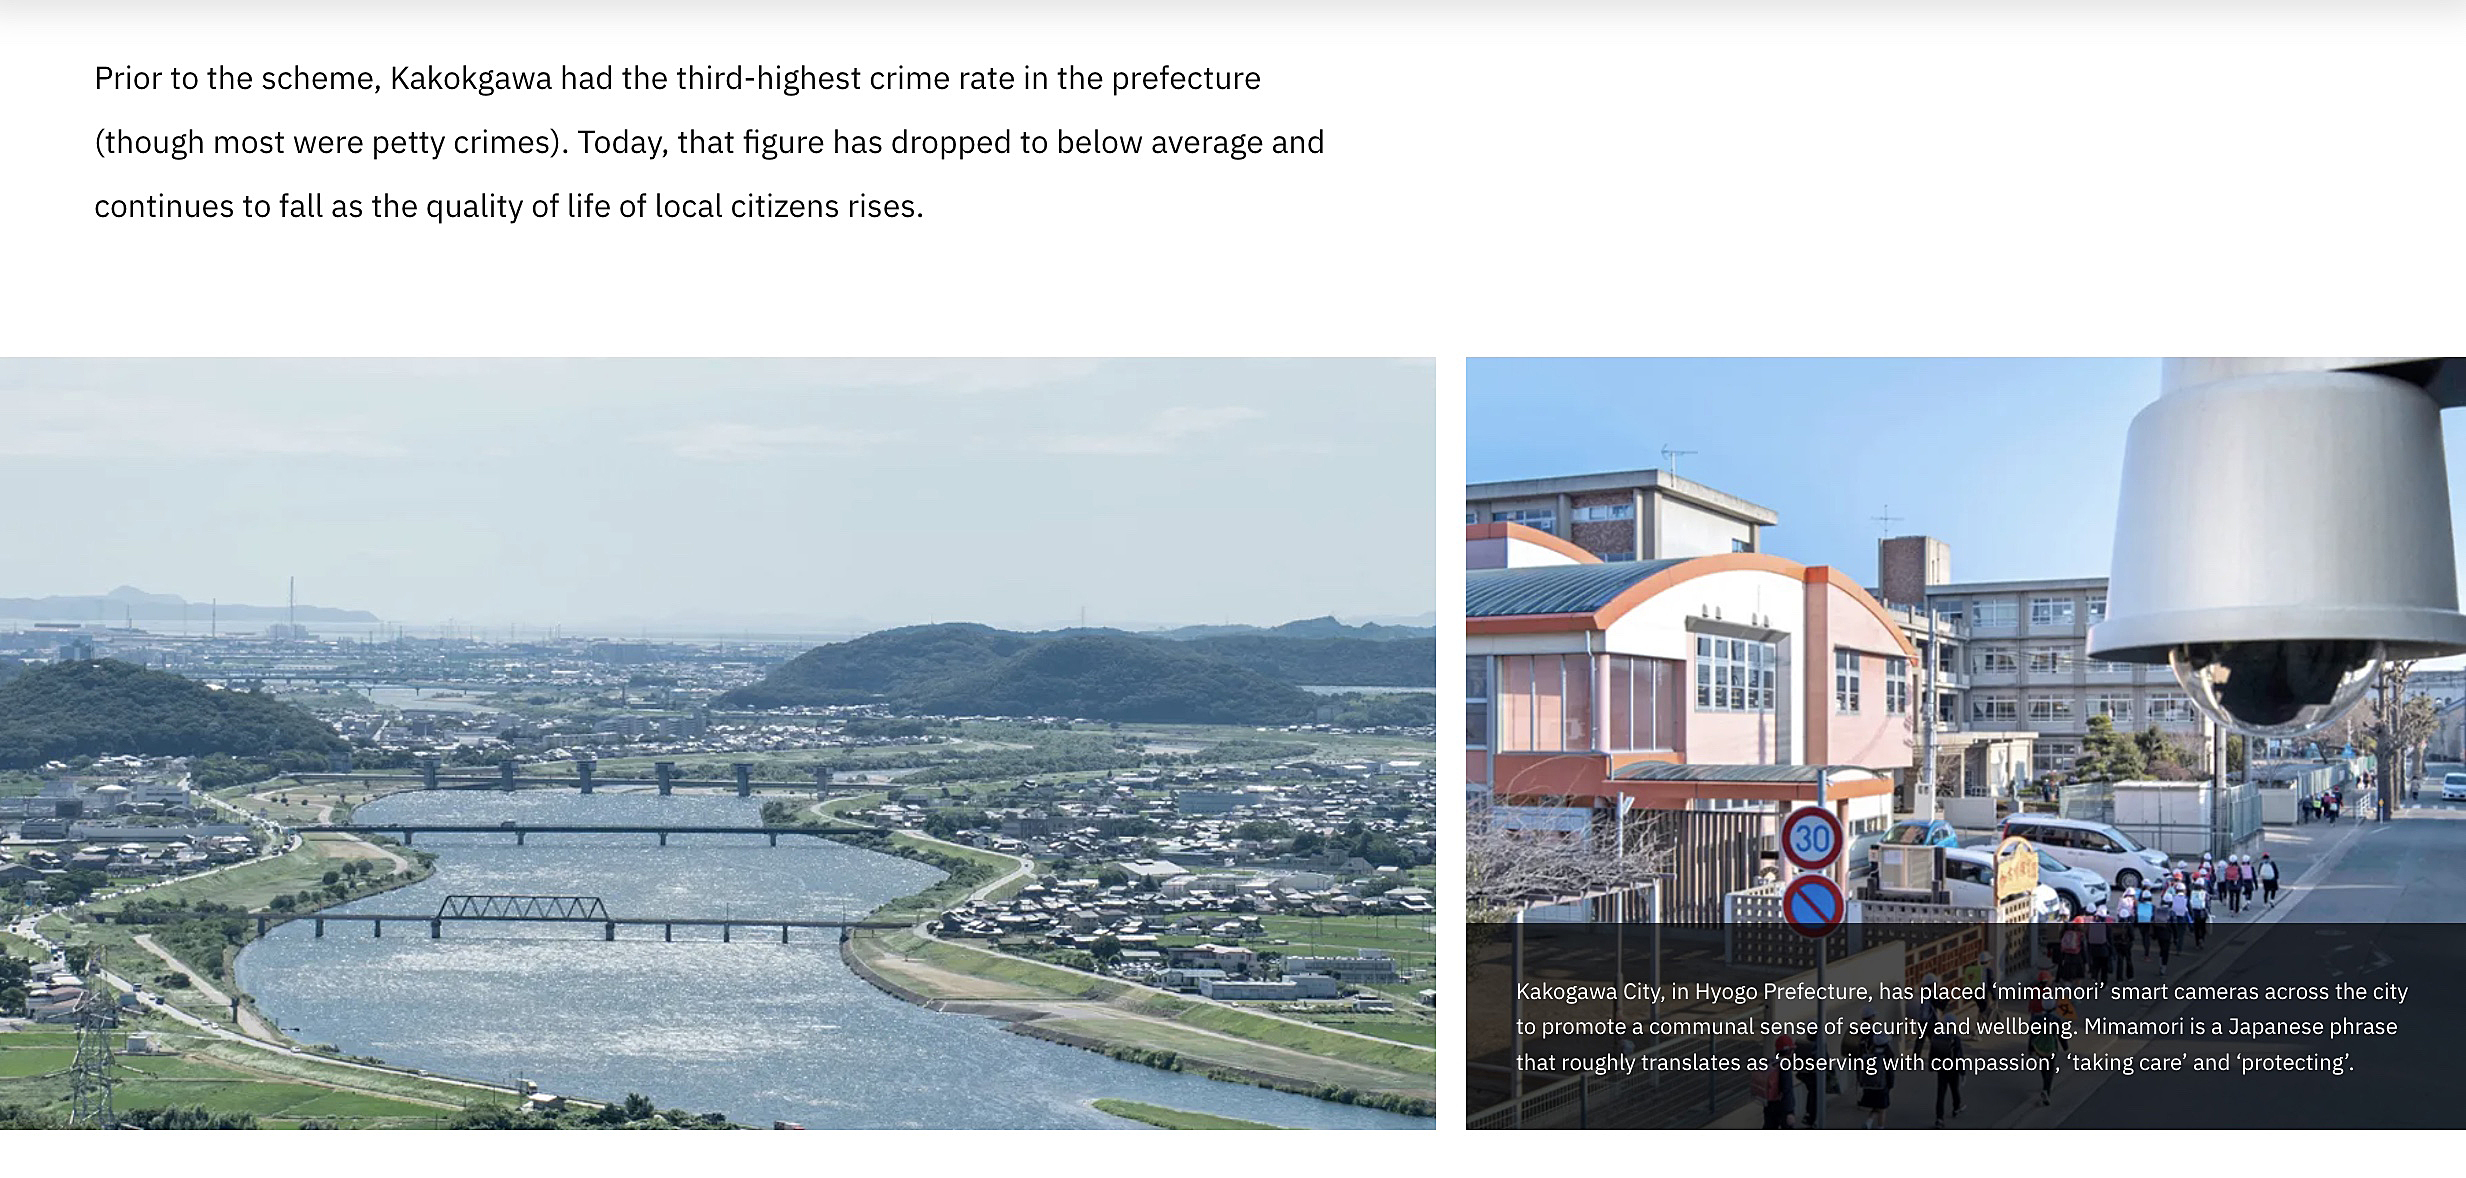
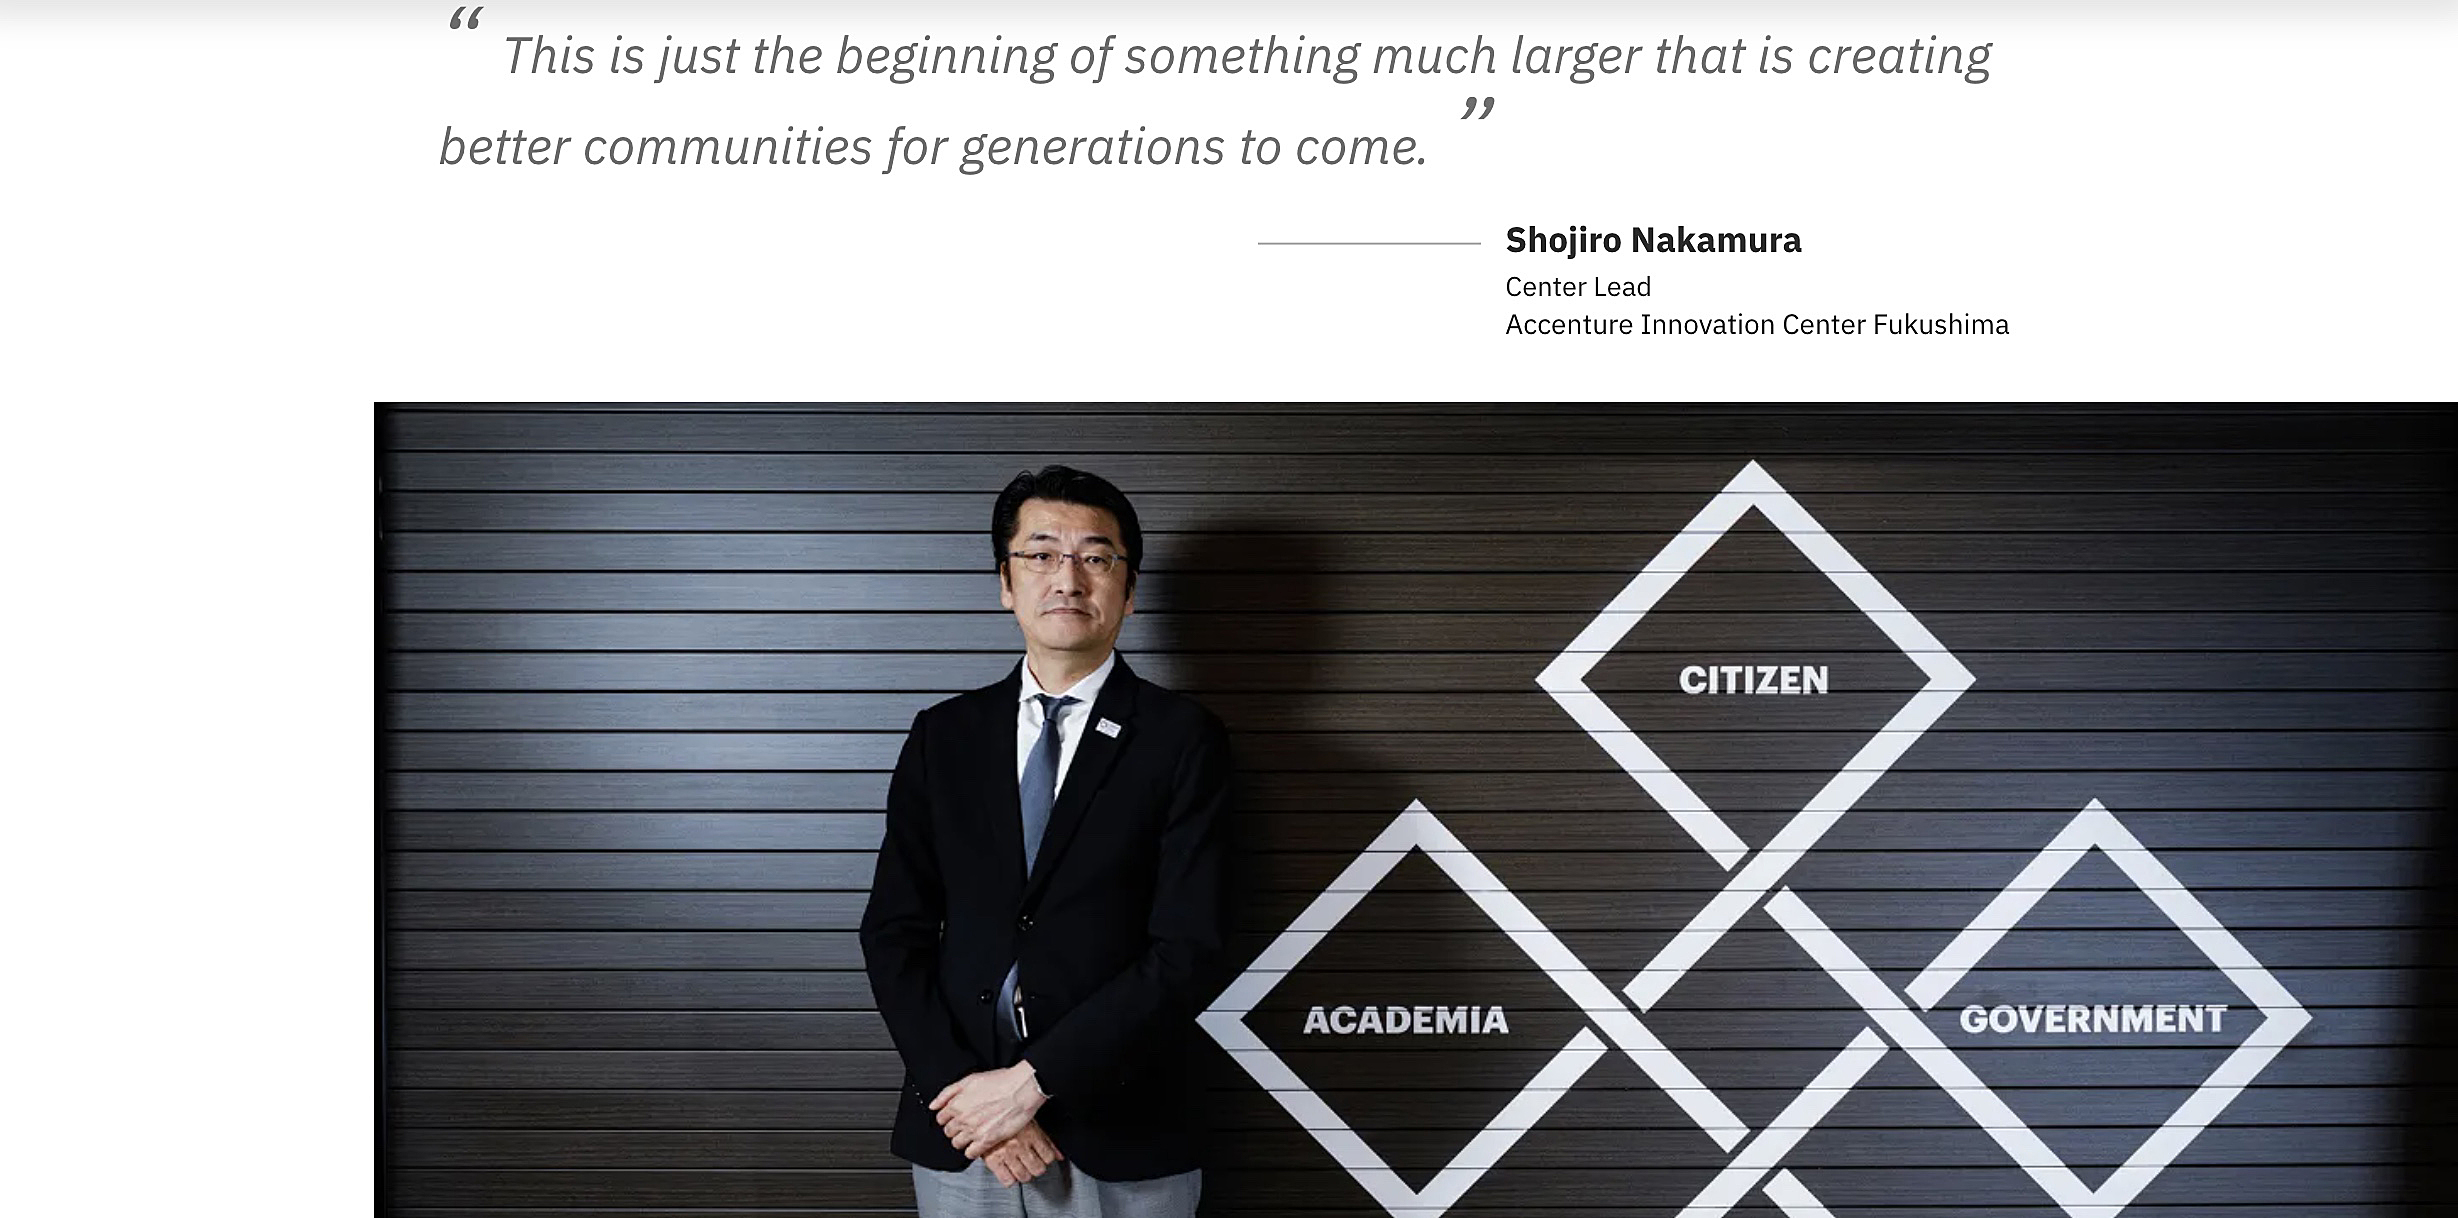
Smart Cities (WSJ/The Trust)
Here’s something I wrote for Wall Street Journal’s content division, The Trust, for those of you with an interest in such things.


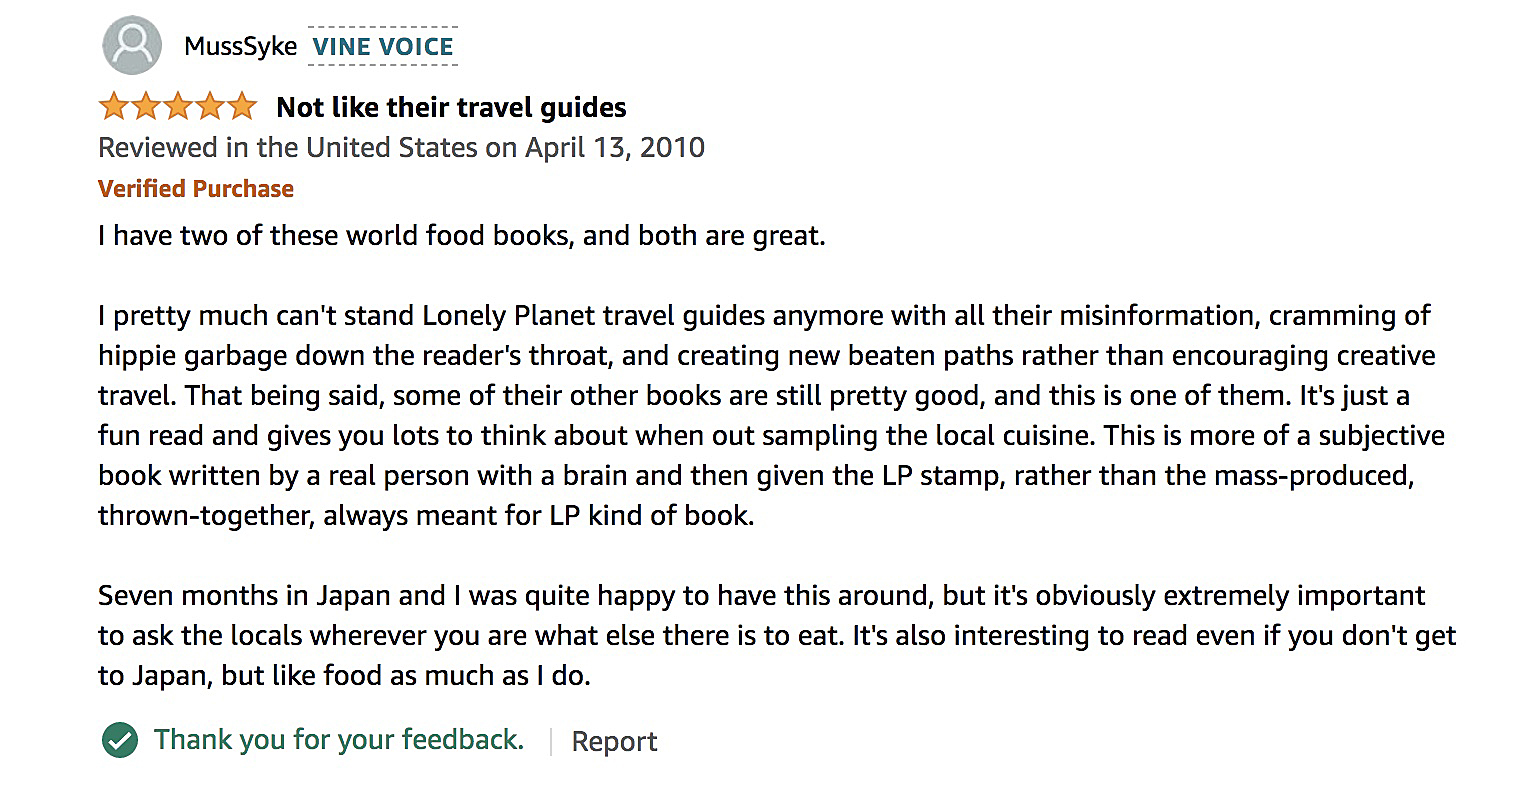
World Food Japan (Amazon page)
I spent a long time writing this book. When it dropped through the letter box I was amazed. “Who the x@#! is Yoshi Abe?” I shouted. Despite some awful editing by LP I am still proud of it. Great assistance from Mrs A throughout. If anyone else’s name was to be on it, it should have been hers.
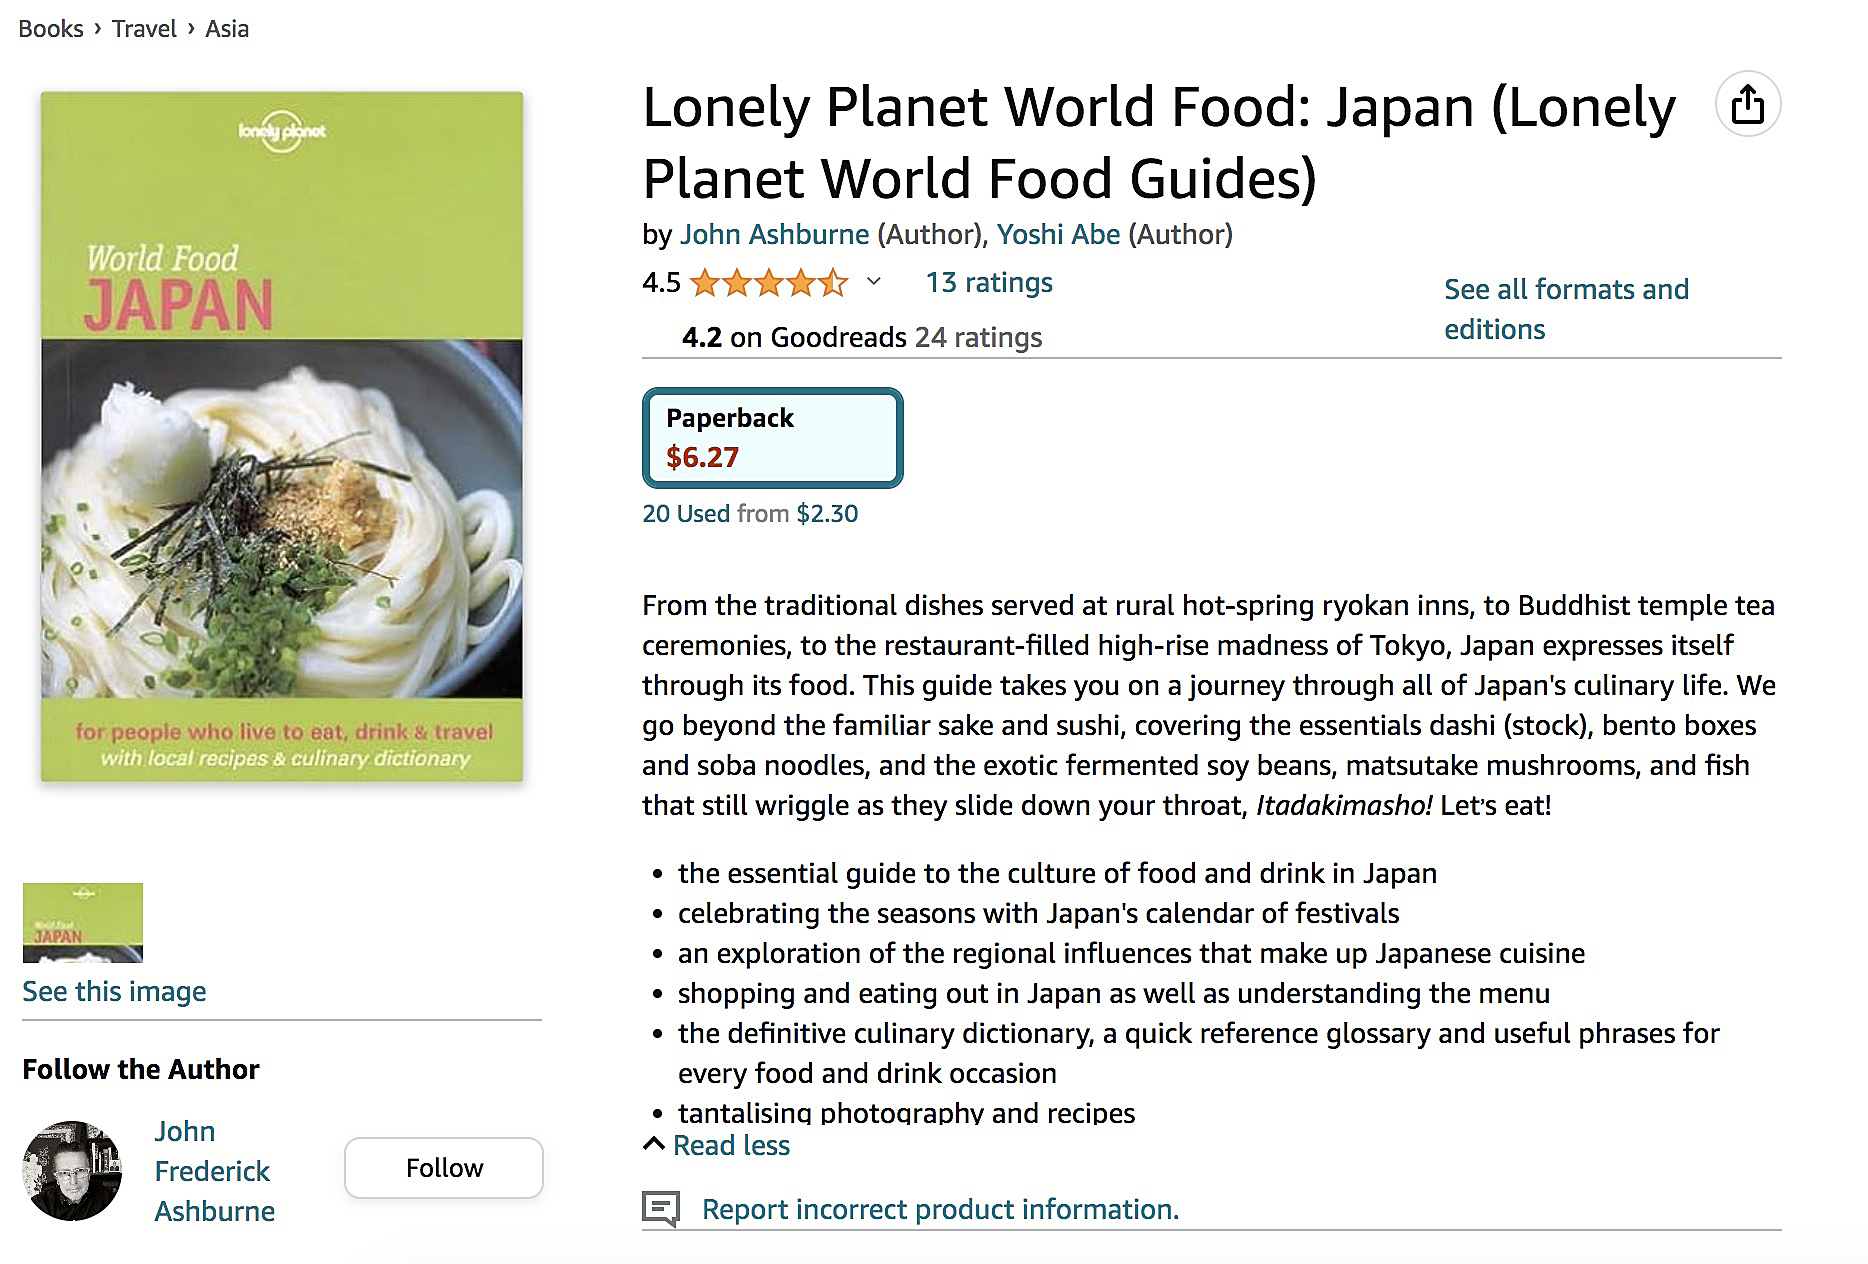
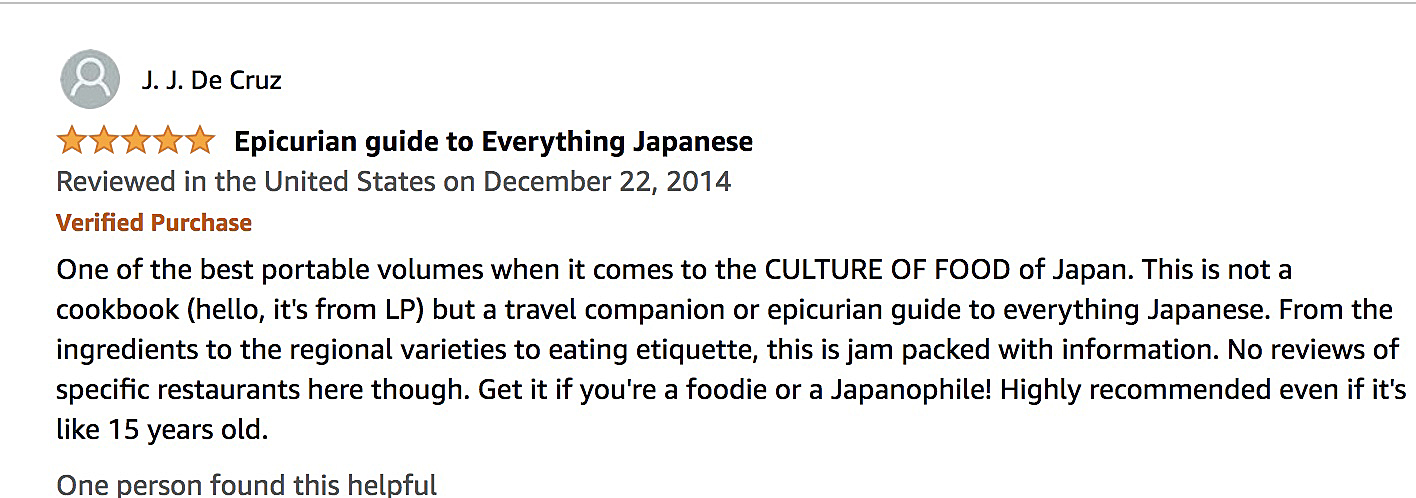
It seems that some people liked it, according to the reviews:
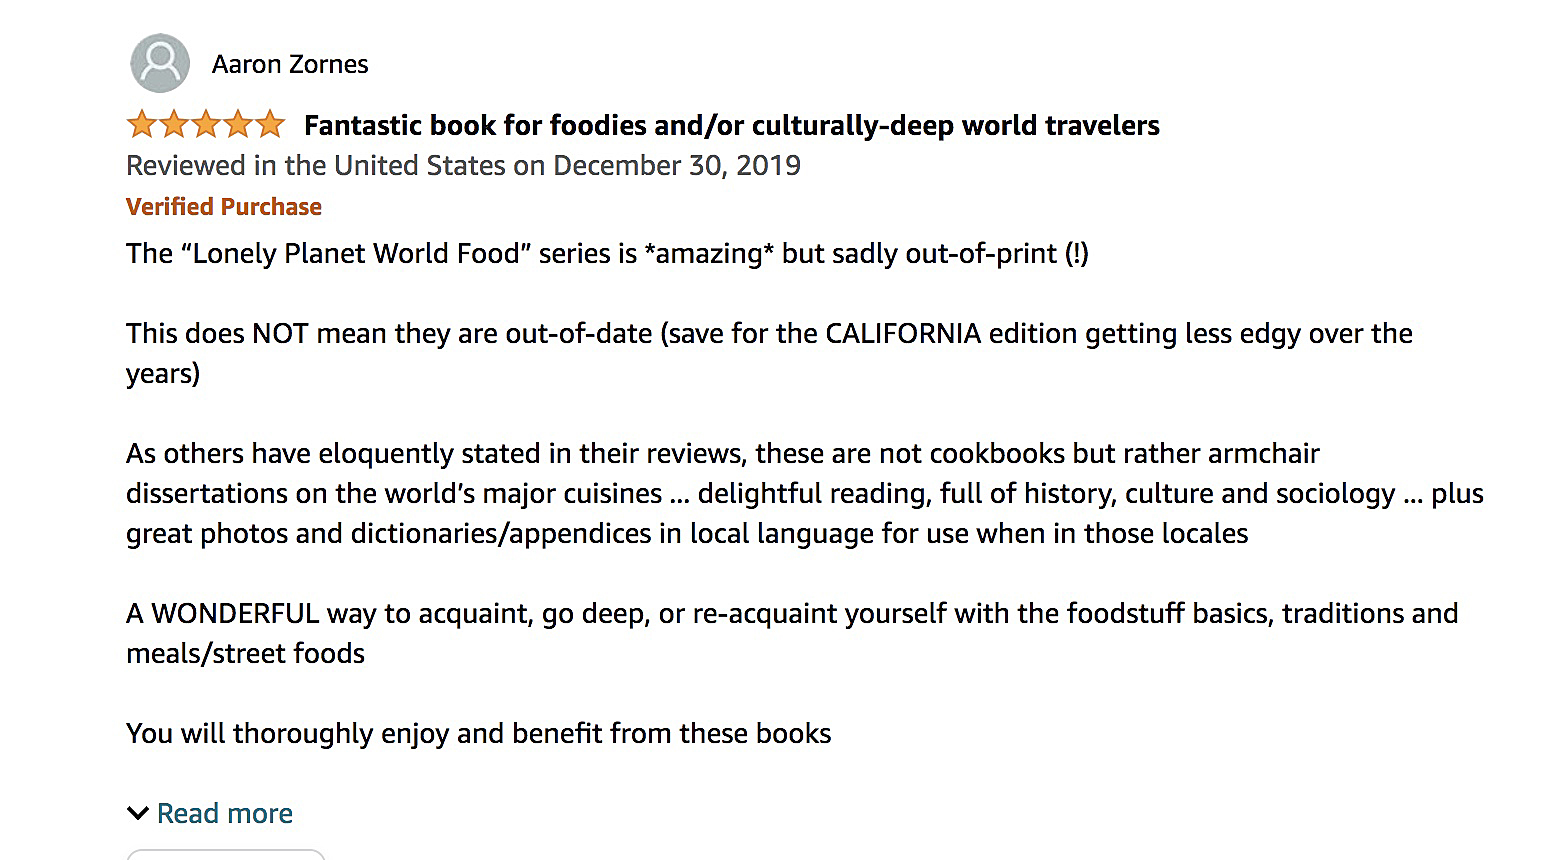
It also seems that I am a real person and have a brain!
Natto/Nihongo
The same people who translated my writing on Niku Jaga did the same for my piece on Natto.
| Natto (Fermented soy beans)There are plenty of cuisines that produce stinky, oddly textured delicacies. Japan’s is natto (fermented soy beans), marrying a stringy-gloopy texture with the smell of long-discarded sports socks. Kansai dwellers hate it, but Tokyoites lap the stuff up. We have to confess to being total converts, and even mix it with sliced spring onion and a raw quail egg (see the recipe below). The egg and onion bind the beans together, and slightly lessen the stink. Try it. When you qualify as a certifiable natto-nut, you’ll crave that gorgonzola-in-the-car-boot effect, for sure.Quoted from P.31, “World Food – JAPAN”, John Ashburne and Yoshi Abe, Lonely Planet, Australia, 2002. | 納豆(大豆を醗酵させたもの)世界には、臭くて見てくれも悪いのに美味な料理が沢山ある。日本でいえば納豆(大豆を醗酵させたもの)だ。納豆は、糸を引くほどネバネバした姿と、脱ぎ捨てたまま放置されたスポーツソックスのような匂いを併せ持っている。関西人は納豆が大嫌いだが、東京人は皿まで舐めるぐらい納豆を愛している。実を言うと、筆者らも納豆信者になってしまっている。あまつさえ、納豆に小葱のみじん切りとウズラの生卵まで混ぜるようになった(下記レシピを参照)。卵と葱は、納豆の粒と粒をくっつけて箸で扱いやすくする上に、臭みを少しだけ和らげてもくれる。お試しあれ。あなたが納豆狂い検定試験に合格したあかつきには、この、車のトランクの中に置き忘れたゴルゴンゾーラ・チーズのような効きめを心から求めてやまなくなるだろう。(訳:ピンキィ君の夫) |
http://bhn.jpn.org/nippon/natto2.htmlそういえば昔、会社勤めをしていた頃、ロッカーで着替えていたところ、後輩に『誰かロッカーに納豆持ち込んでません?』といわれたことあり... 彼女、職場でもかなりな『天然』で鳴らしていたんですが、もしかして天然のふりして遠まわしに『足くせーんだよ』といっていたのかも...
で、ワタクシの名誉の為に言わしていただくと、ワタクシの職場は組み立て現場に隣接していて、食堂や他の事務所に行くときに現場の隅を通ることがあるので、怪我防止のため『踵とつま先の出る靴、およびサンダルは禁止』だったんですよ。
そのため終業後に飲み会があると、足を洗いに行く奴(古いトイレで手洗い場が昔の小学校の手洗い場のような長い石造りの流しになっていて、みんなそこに足を上げてラインダンス状態で足を洗っていた)、お座敷に上がる前にストッキングの上にソックスを履く奴、ストッキングごと履き替える奴などが続出してました(ふっ、フットスプレーなんぞで消えるヤワな足の臭いじゃないんだよ)。
仕事の後にデートに行く奴も丸わかり。『イケイケ(死語)』の同僚などは、ばれないように毎日、足を洗ってましたっけ。時には自分の発する匂いに気づかず、仕事中に靴を脱ぐ猛者もいたりして、『誰が彼女に忠告するか』で会議を開いたことも...
で、猛威を振るったワタクシの足の匂いなんですが、不思議なことに会社を辞めた途端、ぴたりとおさまりました。歳のせいなのか、ストレスが無くなったせいなのか、ひがな一日ほとんど裸足で過ごすようになったせいなのかは謎。
どこかの靴メーカーさんが『総体これ消臭剤』な靴出してくれたら売れると思うんだけどなぁ。小林製薬さんあたり、靴メーカーとコラボレして頑張っていただけないもんでしょうか?
コレを書くにあたって、『におわなっとう』を試してみたんですけど、これって完全に臭いがないわけではないんですね。まぁ、匂いの全然ない食ベ物が美味しい訳がないのですが、私は藁苞にじかに包まれた本式『水戸納豆』が好きなので物足りなかったです。でも、納豆を健康食品として食べたい人にはいい商品なんだろうなぁ。
どうも私、嗅覚センサーが鈍いらしく(足のおかげ?)、青カビ系、ヤギ乳系チーズは好き(どちらかというと青カビ系が好き)ですし、ラムも好きです(マトンもちょっとはいただける)。でも、くさやは駄目でした。あっ、でもあれは子供のころだったから嗅覚が敏感だったせいかも。今はかなりいかれた嗅覚だから大丈夫かも? でも、焼くとき近所に迷惑が... 鮒寿司も美味しいらしいので試してみたいんですけど、これも匂いがすごいらしいですね。でも、今オトナだから...
で、納豆嫌いの夫に『”におわなっとう”臭くないらしいよ。食べてみない?』と薦めてみたら『臭いも嫌だけど、ネバネバが嫌! オクラもモロヘイヤも山芋も大っ嫌い!! 糸引く物は腐っていると思えと動物の本能に組み込まれていて、動物は拒否するように出来てるの!!』と完全に拒否されました(あんたは進化してないのか? ヨーグルト好きじゃん? あれも腐っている物の一種だよねぇ?)。納豆はまだまだ超えるべきハードルがあるようだ。でも、糸引かなくて匂わない納豆は納豆ではないような気が... あっ、大徳寺納豆は食べたこと無いんですがアレは糸引かなそうだなぁ。臭いはどうなんだろう?
ちなみに、サンドイッチ用のパンをカリカリに焼いてマスタードを塗った上に『におわなっとう』をのせて食べていたら、夫は『やめて~、それだけはゆ~る~し~て~』といって泣きながら逃げていきました。

Mick Jagger/Niku Jaga
A few years ago I stumbled across this translation into Japanese of something I wrote in my Lonely Planet ‘World Food Japan’ book. Nobody asked permission, but I didn’t mind. They did it well.
肉じゃが
| Yer common spud (jaga-imo) is much appreciated in Japan, not least in Hokkaido where the splendidly titled danshaku (“the Baron”) is preferred. It is originally arrived at the other end of the archipelago in Kyushu, in the early 17th century, when the Dutch brought it to Nagasaki. Sometimes called the bareisho (“horse-bell potato”), it is used in sunomono, aemono, nimono, oden and furai (deep fried; at McDonald’s termed furenchi-furai). A favorite with foreigners is niku-jaga – stewed beef and potatoes with onion and carrot, in shoyu with mirin and dashi. Not only is this izakaya staple tasty, it is easy to order – just ask for a rubber-lipped Rolling Stones vocalist. Works every time.Quoted from P.61, “World Food – JAPAN”, John Ashburne and Yoshi Abe, Lonely Planet, Australia, 2002. | おなじみのジャガイモも、日本でよく食されている。特に北海道では、男爵イモという優雅な名前を持つ品種が好まれている。ジャガイモはもともと、1600年代初頭に、日本列島の反対側にある九州・長崎にオランダ商人が持ち込んだものだ。ジャガイモは馬鈴薯とも呼ばれ、酢の物、和え物、煮物、おでん、ふらい等に使われる(「ふらい」というのは「よく揚げたもの」という意味で、例えばマクドナルドでは「ふれんち・ふらい」というふうに使われる)。外国人に人気があるのは肉じゃがだ。これは牛肉とジャガイモを、玉葱や人参といっしょに醤油と味醂、ダシで煮込んだものだ。居酒屋の定番メニューである肉じゃがは、美味しい上にオーダーしやすい。ぶ厚い唇をしたローリングストーンズのボーカリストを注文すればいい。必ず通じる。(訳:ピンキィ君の夫) |
http://bhn.jpn.org/nippon/nikujaga.html上のガイドブックをうろ覚えした外人さんが、日本の居酒屋で『う~ん、確か唇が特徴的なロックボーカリストだったよなぁ、あのポテト料理の名前。唇、唇~っと...Oh!! スミマッセ~ン、すてぃーぶん・たいらー、ヲ、ヒトツ、クラッサ~イ』と注文したのを、若い店員さんが『は? スティーなんとかタイラー? スティーなんとかタイラー... あっ! スチームド・タイラだ! 板長! タイラ貝の蒸し物できますか!?』と叫んで、その過程を最初から見ていた板長さん(団塊の世代でロック好き)が『そりゃストーンズじゃなくてエアロスミスのボーカルだ。まったくどいつもこいつも...』と嘆いたりする、なんてことがあると楽しいんですが。
ちなみに、これを書いている今現在、Googleで『肉じゃが ミック・ジャガー』を検索すると、なんと約1600件もヒットします。一方、『nikujaga “mick jagger”』で英文ページだけ検索すると、1件しかヒットしません。でも、『nikujaga』だけで英文ページを検索すると1000件近くヒットするので、肉じゃが自体が海外で全く無名だというわけでもなさそうですが、ミック・ジャガーに引っ掛けるなんていう発想は、ガイジンさんには非常に少ないようです。
う~ん、この著者さん(著者さんは二人クレジットされていて、そのうちのお一人は日本人のようですが、その日本人のかたは巻末の用語集だけを担当なさったと書いてあるので、本文は全部ガイジンさんのほうが執筆してらっしゃいます)、日本に馴染みすぎちゃって、おやじギャグも日本ナイズされちゃったようです。
それから、このガイドブックにこう書いてあるからって、『うィ~ッ、これがアメリカ風の注文のしかたなんだよ~、おねぇちゃんっ!! ミック・ジャガーひとつぅ!! なんてな! なんてな!』と注文しても無視されるだけですからね、そこの お・じ・さ・ま。
まぁ、飲み会のおやじギャグとして元上司がよく使っていたのが、新人歓迎会などで血液型を聞かれると(今やタブー?)『おれ? おれはねぇ、おれはねぇ、新潟!!』ってやつでした。まぁ、新人は喜ぶんですが、勤続十ウン年にもなると『血液型聞くなよ、聞くんじゃないぞ。課長言いたくてウズウズしてんぞ。リアクションめんどくさいんだよ。もう、これ聞くの何回目だよ~』と心の中で突っ込んでいたもんです。

Places I’ve Been (Japan)
I guess I’ve been around the block a bit since I arrived in July 1986. Here’s a rough map ohf my travels, either privately or writing for Lonely Planet (Japan, Edition 7; Japan, Edition 8); Best of Kansai, Kyoto Journal, etcetera. Click to enlarge. 1986年7月に来日して以来、いろいろなところを旅してきた。個人的に、あるいはロンリープラネット(日本編第7版、日本編第8版)、ベスト・オブ・関西、京都ジャーナルなどで執筆した私の旅の大まかな地図です。クリックすると拡大します

How to Make Simple Medicinal Mushroom Extracts (part one – the alcohol tincture)
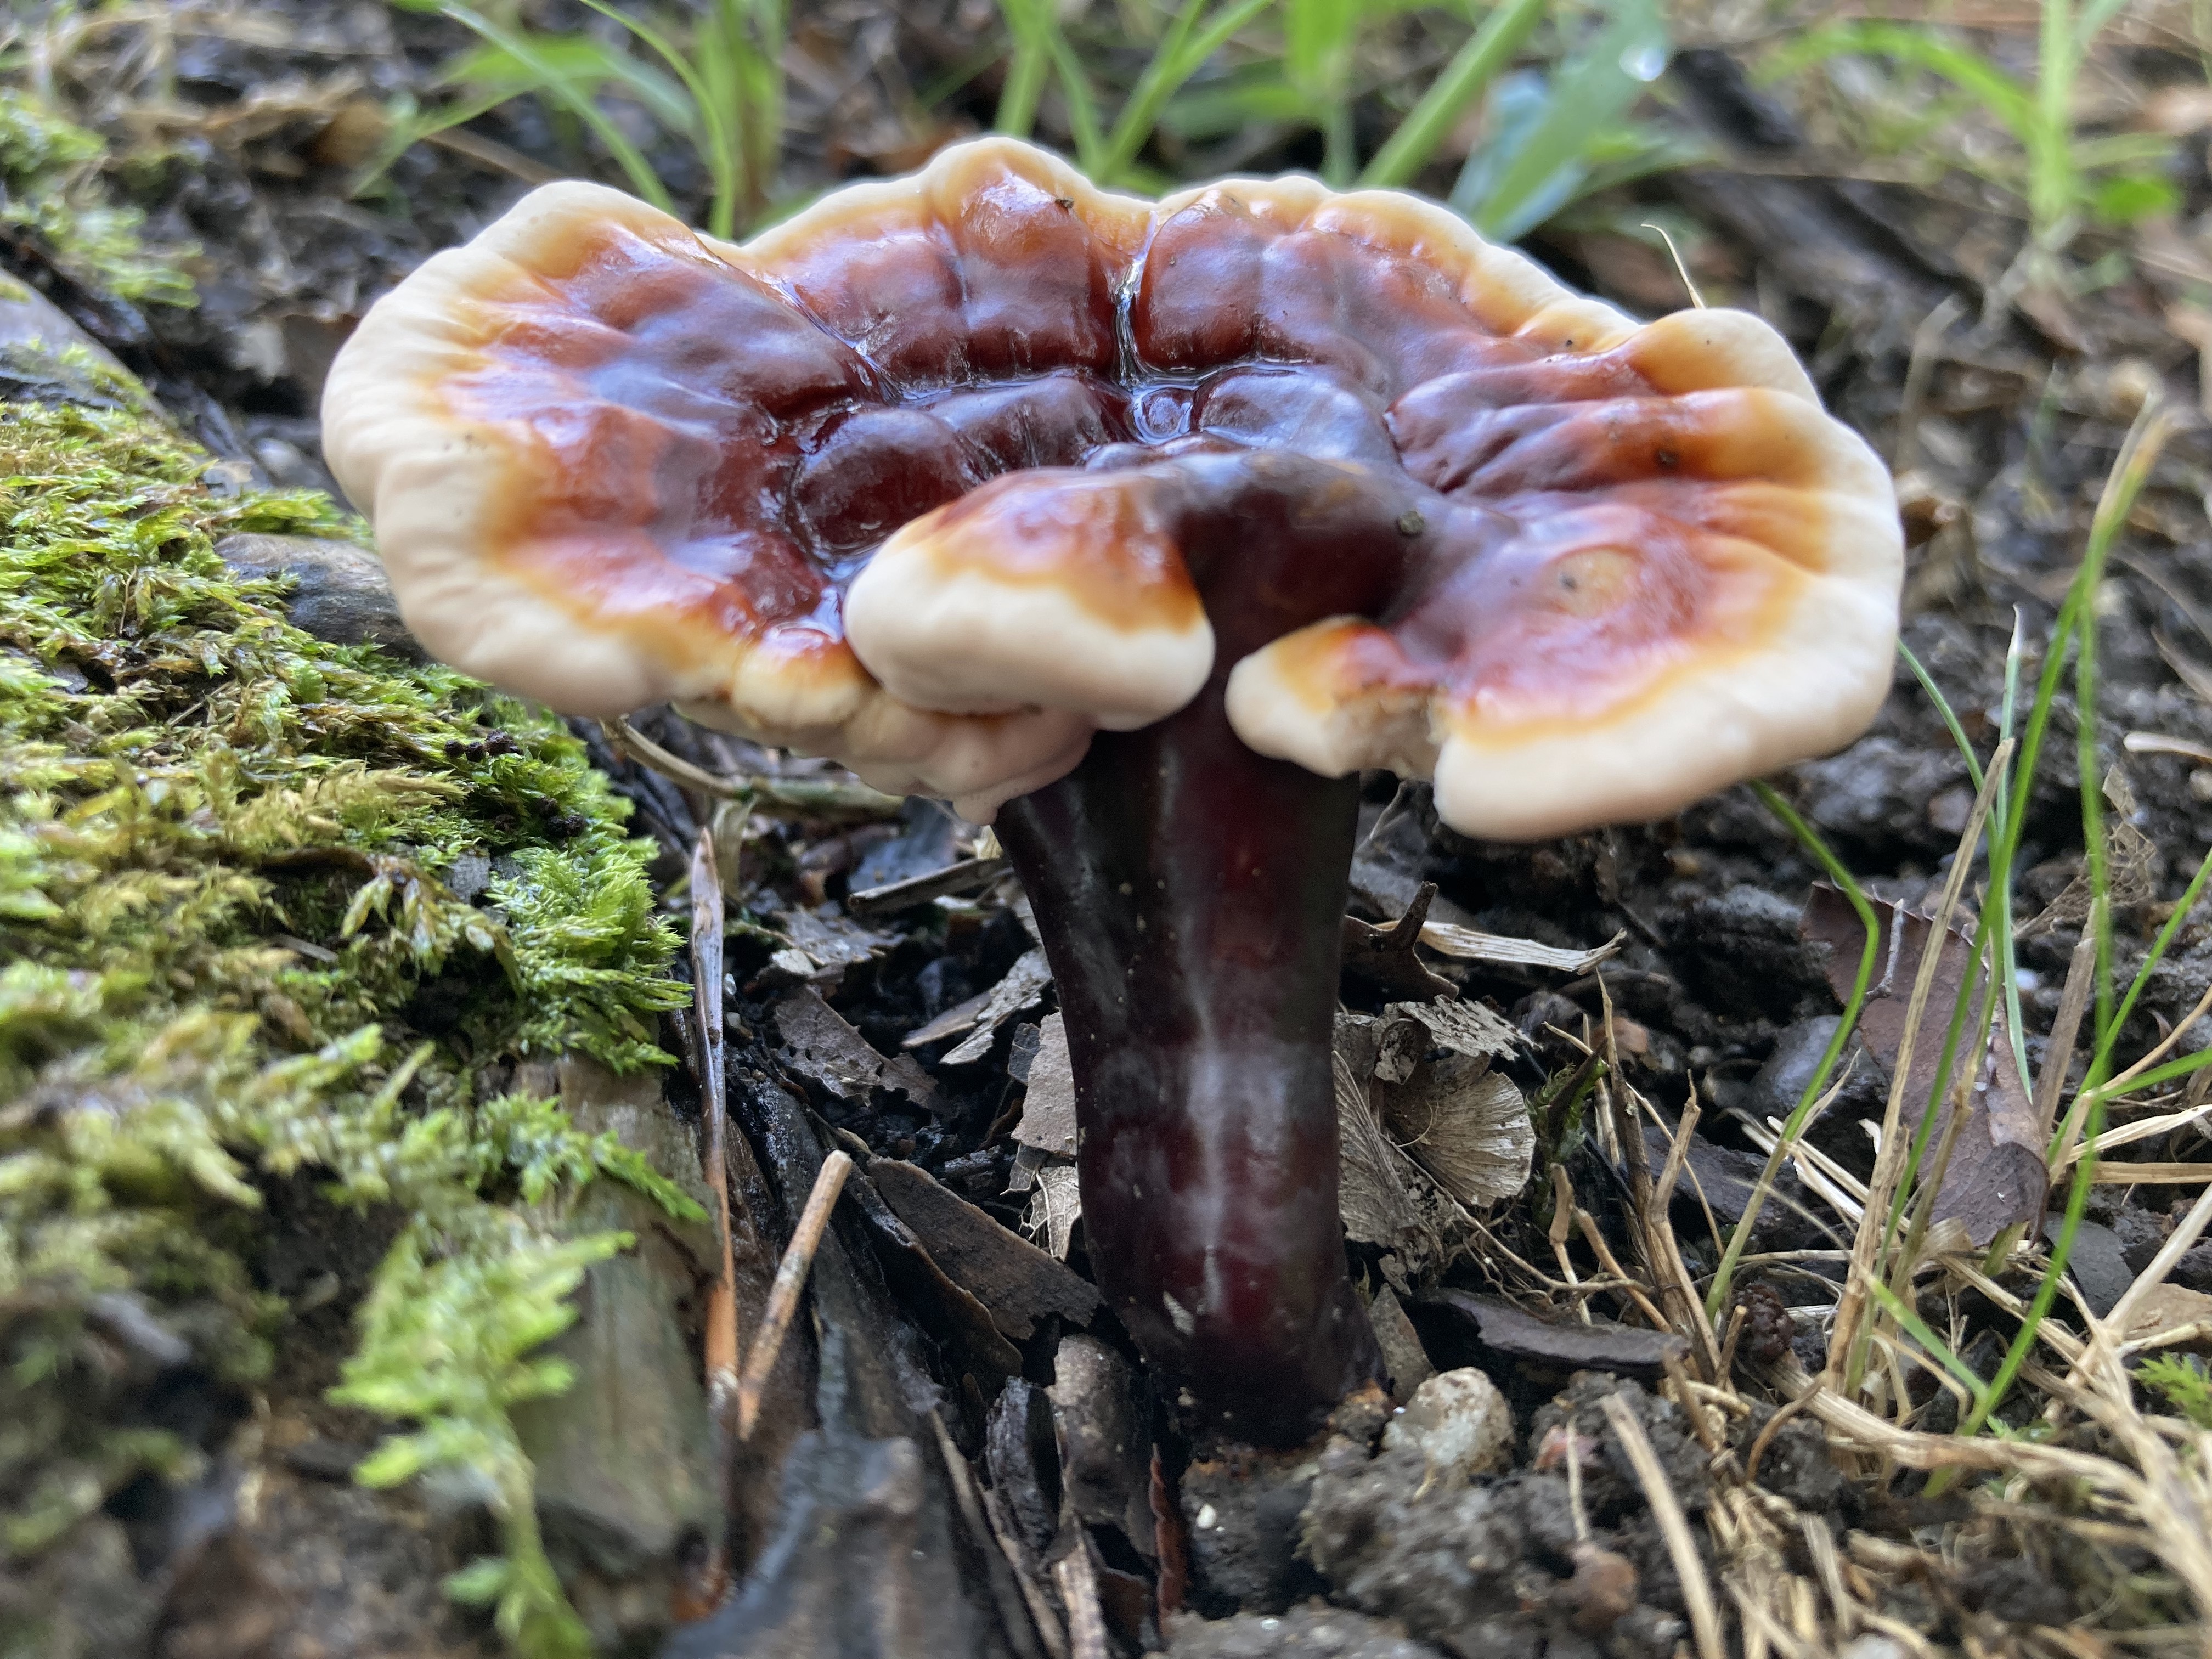
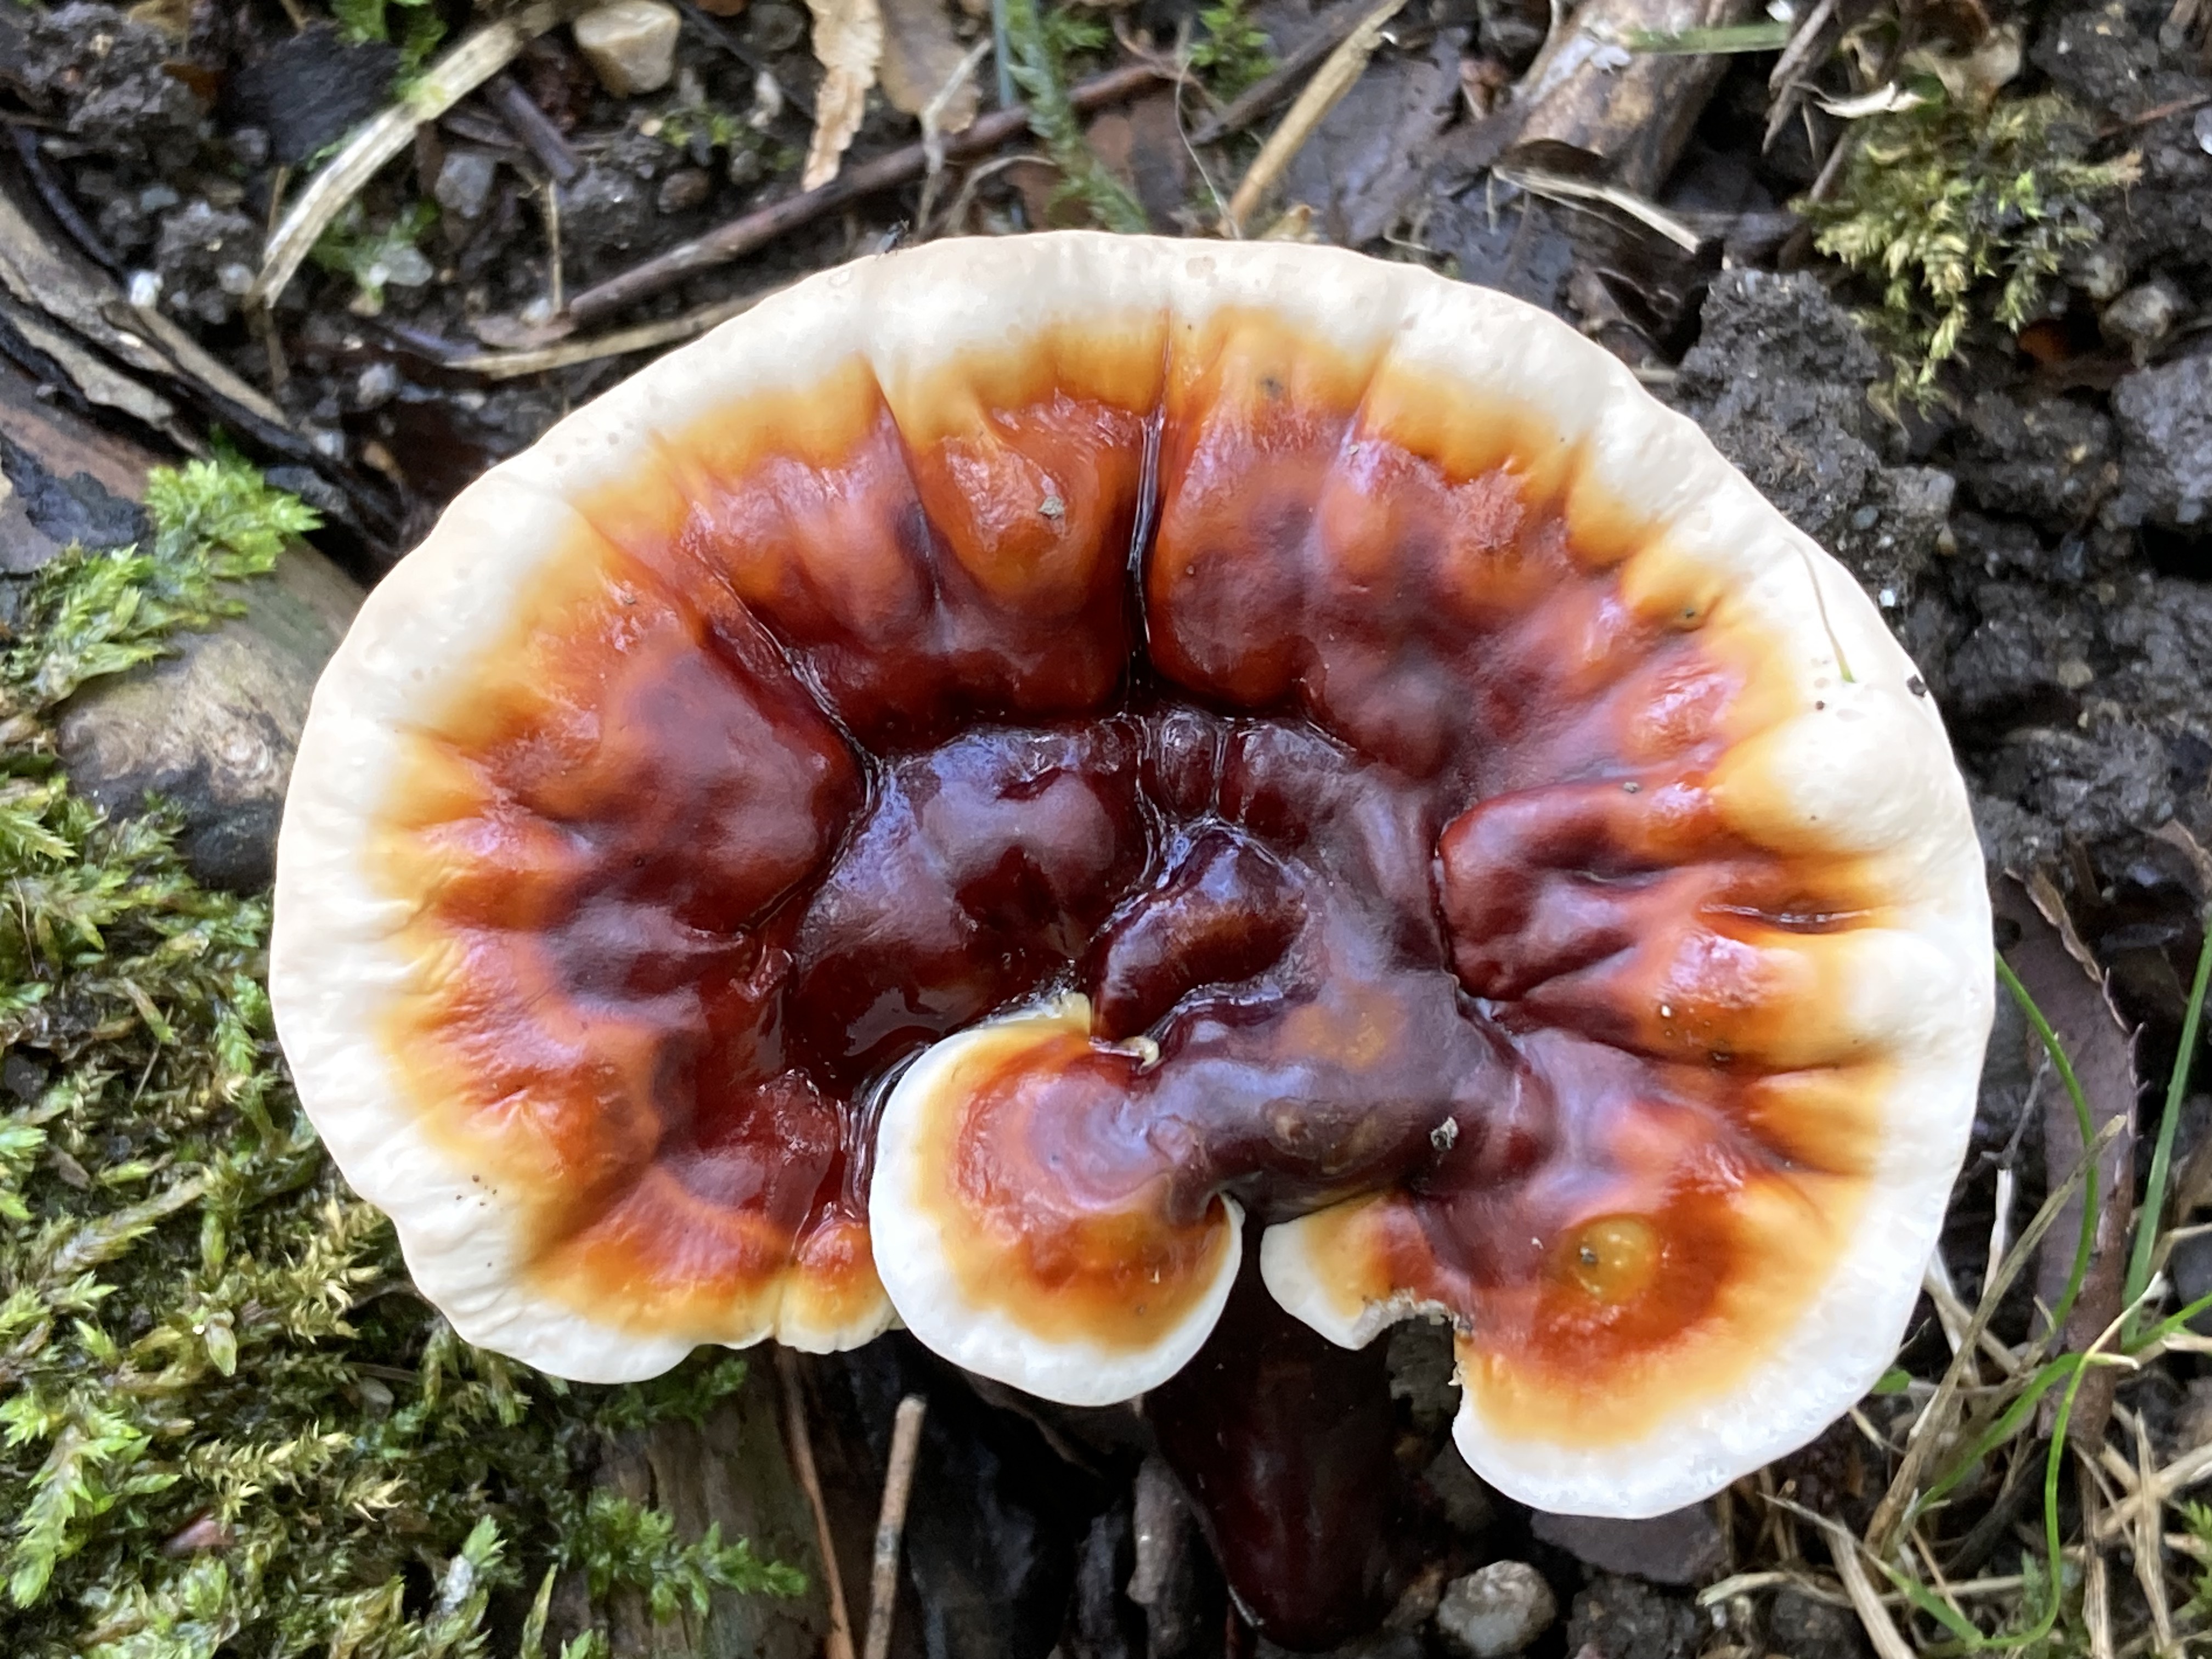
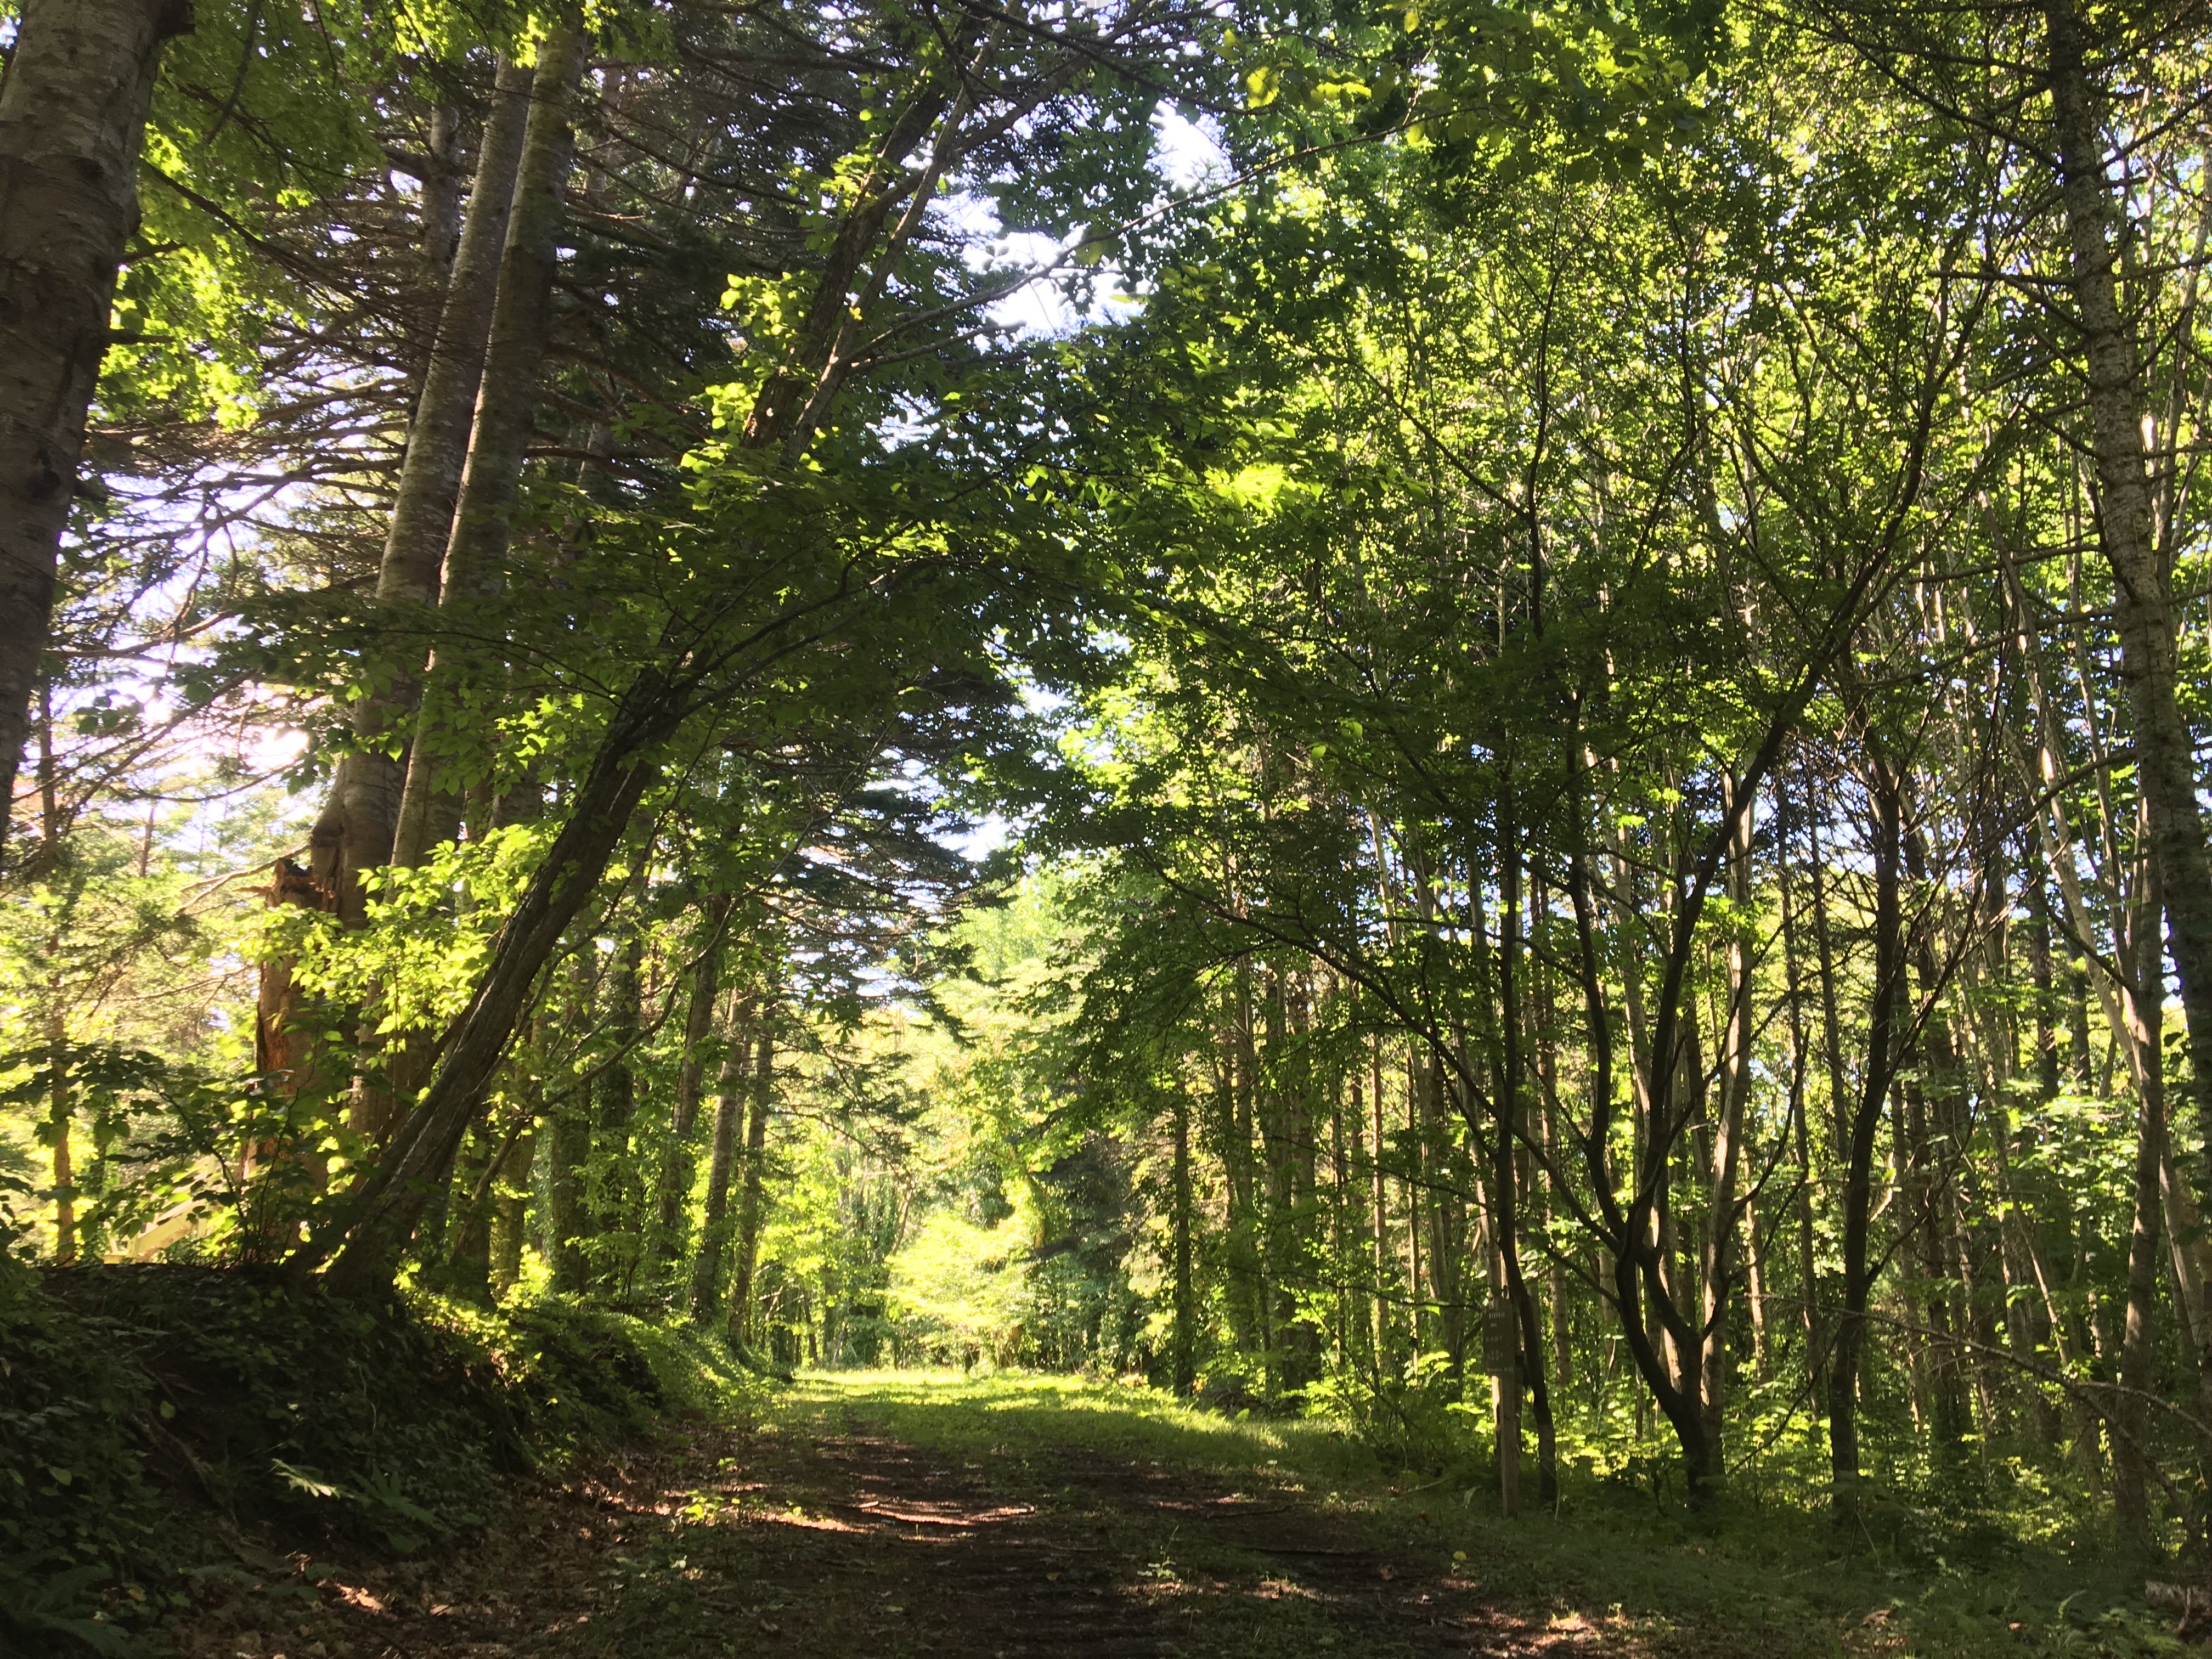
Reishi, aka Ganoderma lucidum, undisputed heavyweight champion of medicinal mushrooms. I harvested these for my extracts last July from the grounds of a forest temple here in Kyoto.
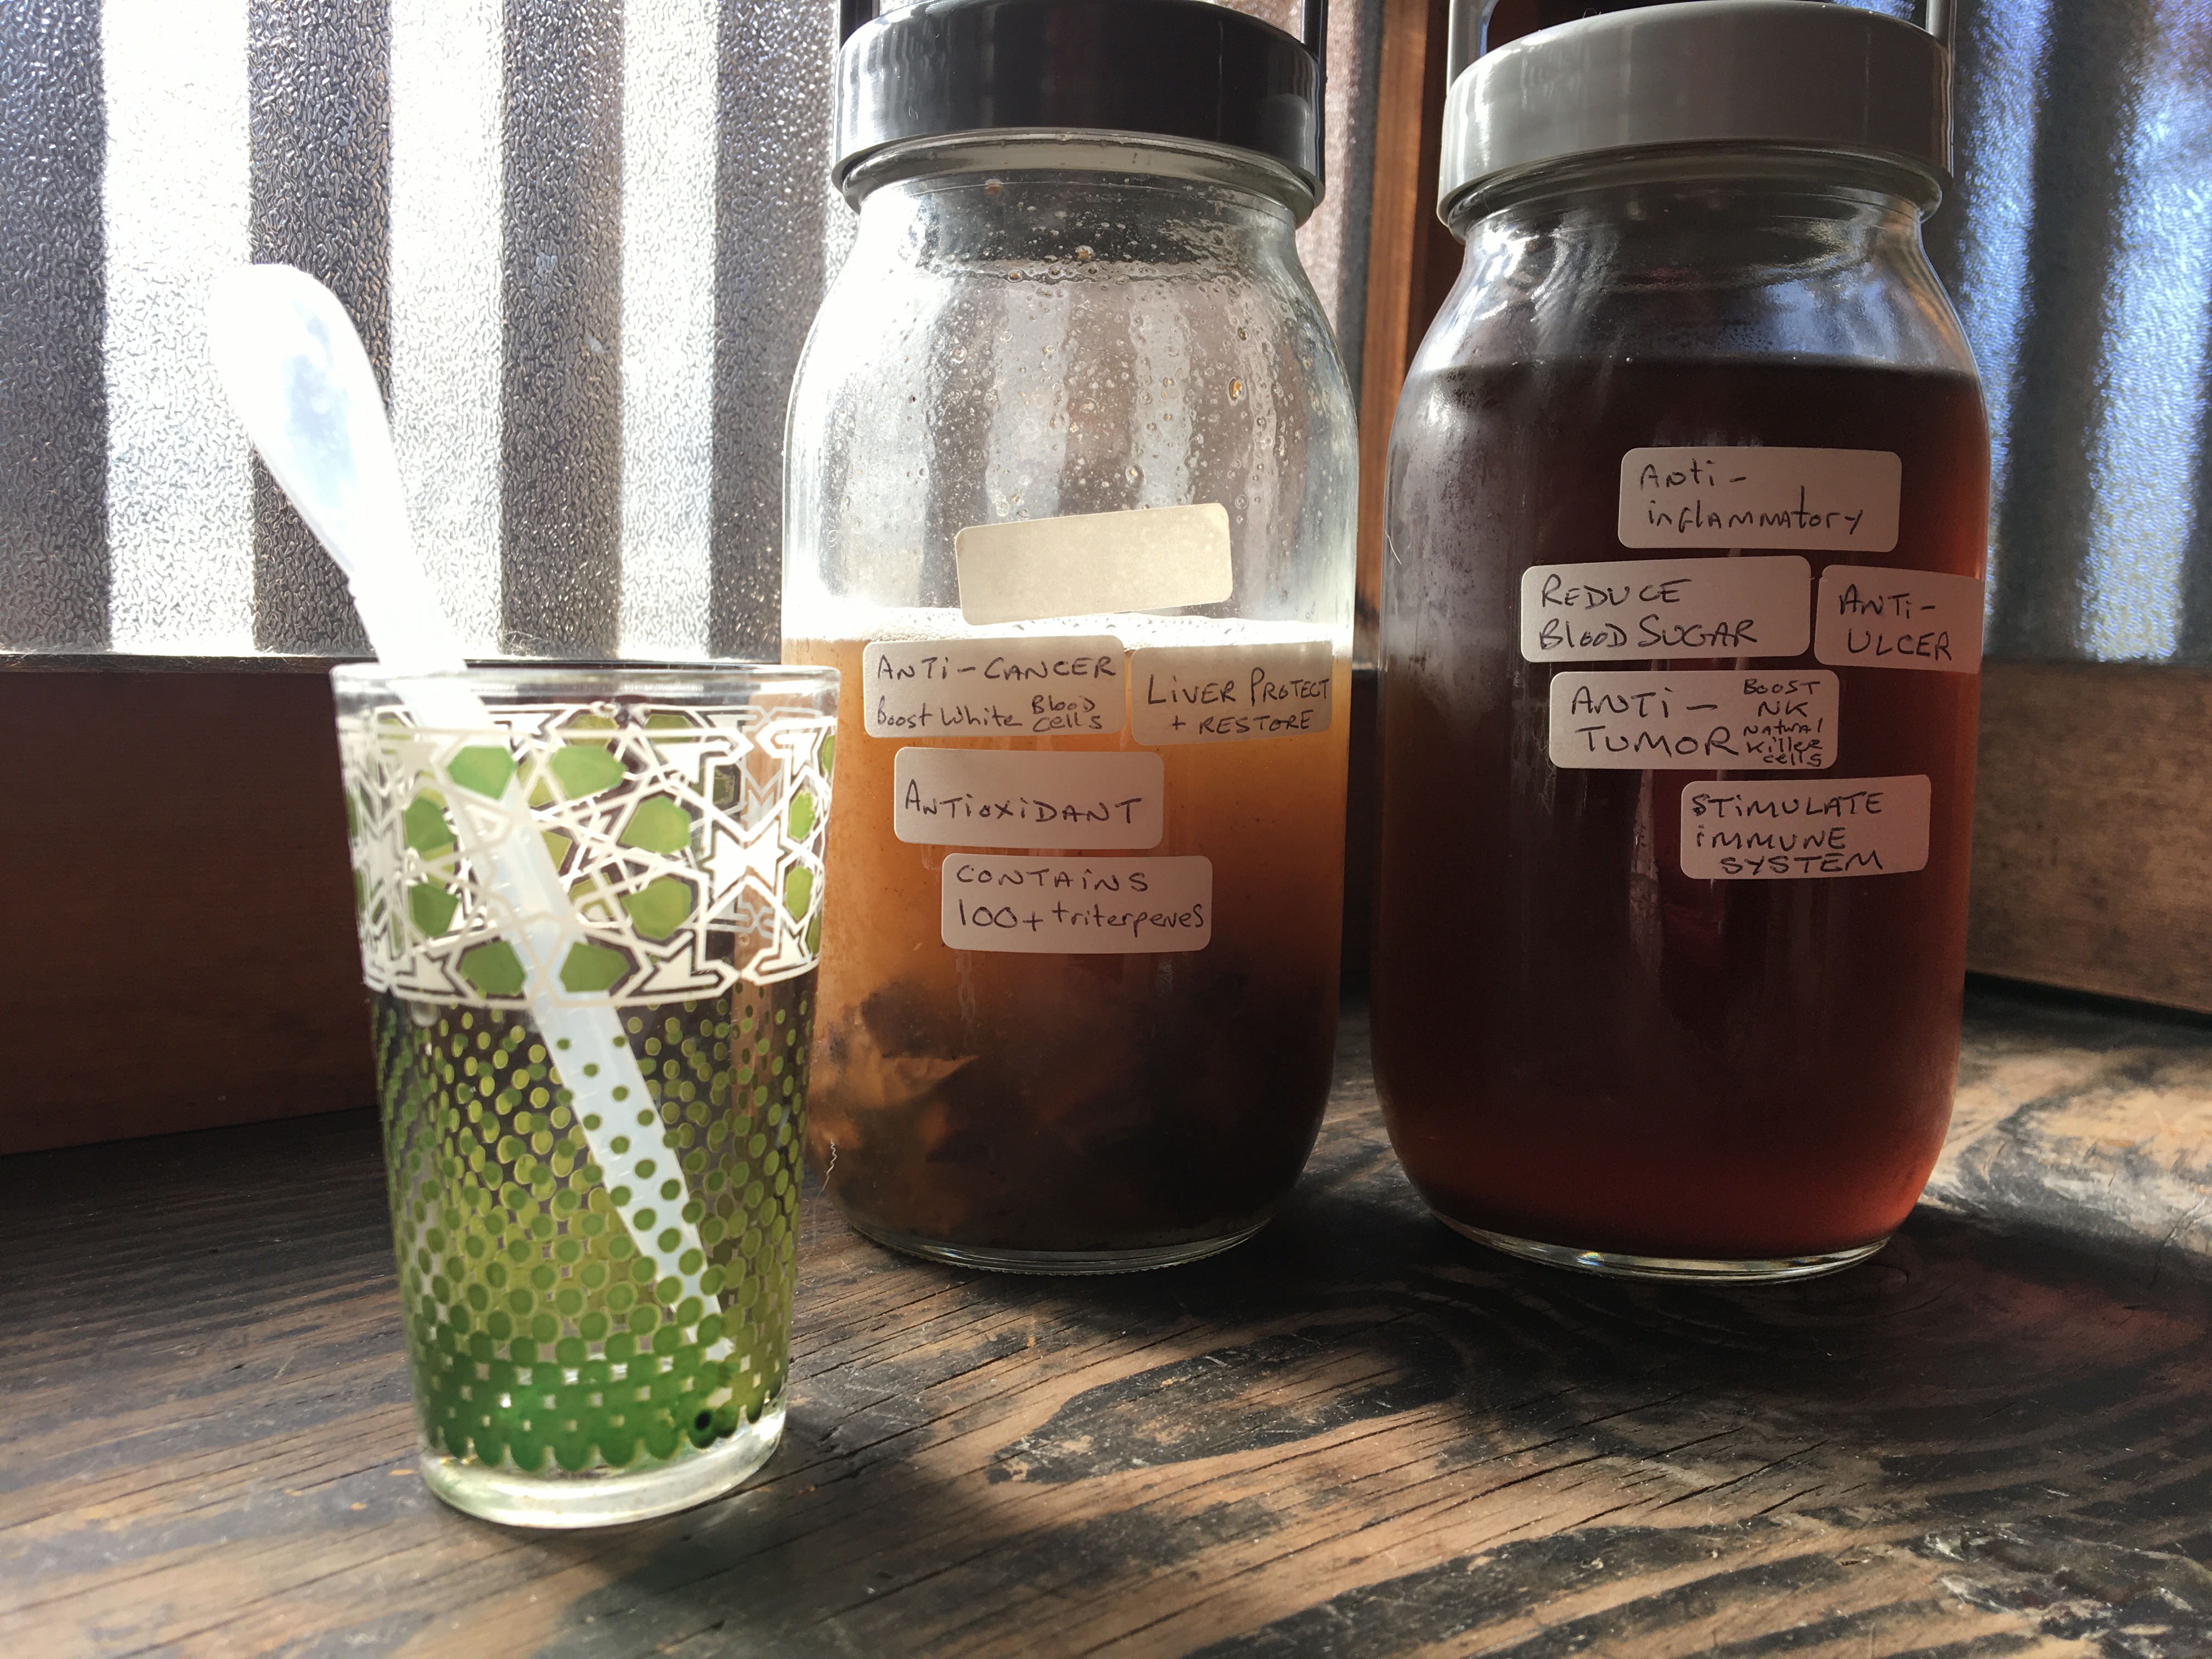
To the left, a tincture (alcohol extraction) to the right a decoction (water extraction). To get the most out of your medicinal mushrooms, combine the two in a single concoction (blend).
Greetings! If you are reading this, I take it you are interested in making some medicinal mushrooms, so here we go, I’ll outline the basics. Before we start, I should point out that I won’t be delving into complex techniques or terminology such as extraction ratios, (if you want to know about those, and bags of good info, check here), or carefully measuring out each milligramme and milliliter of ingredients. Nor am I talking industrial scale production. I’ll just show how I make medicinal mushroom extracts, for me and my significant other, here in our small wood and paper house in Kyoto, Japan. I’ll keep it simple.
By the way, it’s a long post. You might like to pull up a chair.
From start to finish the process takes about 4 weeks, less if you are in a hurry. The most complex equipment you’ll need is a big pan, or pressure cooker, and some glass jars.
Double, Double, Boil & Bubble
The method I’ll describe is what is known as a double or dual extraction. Simply put, mushrooms contain health-giving components that need to be eked out using one of two methods: boiling in water, or steeping in alcohol. If you only do one part of the two-step process, fine, but you’ll miss out on half the good stuff. More on the good stuff later.
If you are going to use mushrooms you found in the forest, don’t forget the mushroom gatherer’s timeless advice: “All wild mushrooms are edible. Once”.
Firstly, you’ll need some mushrooms. I am fortunate, living in Japan, in that I can source fresh medicinal mushrooms – maitake, shiitake, enokidake, shimeji, etc – inexpensively at farmer’s markets and organic stores and supermarkets pretty much year-round. My Kyoto house is not far from the hills, so foraging is not difficult either. I’ll write more about that another time, but if you are going to use mushrooms you found in the forest, don’t forget the mushroom gatherer’s timeless advice: All wild mushrooms are edible. Once.
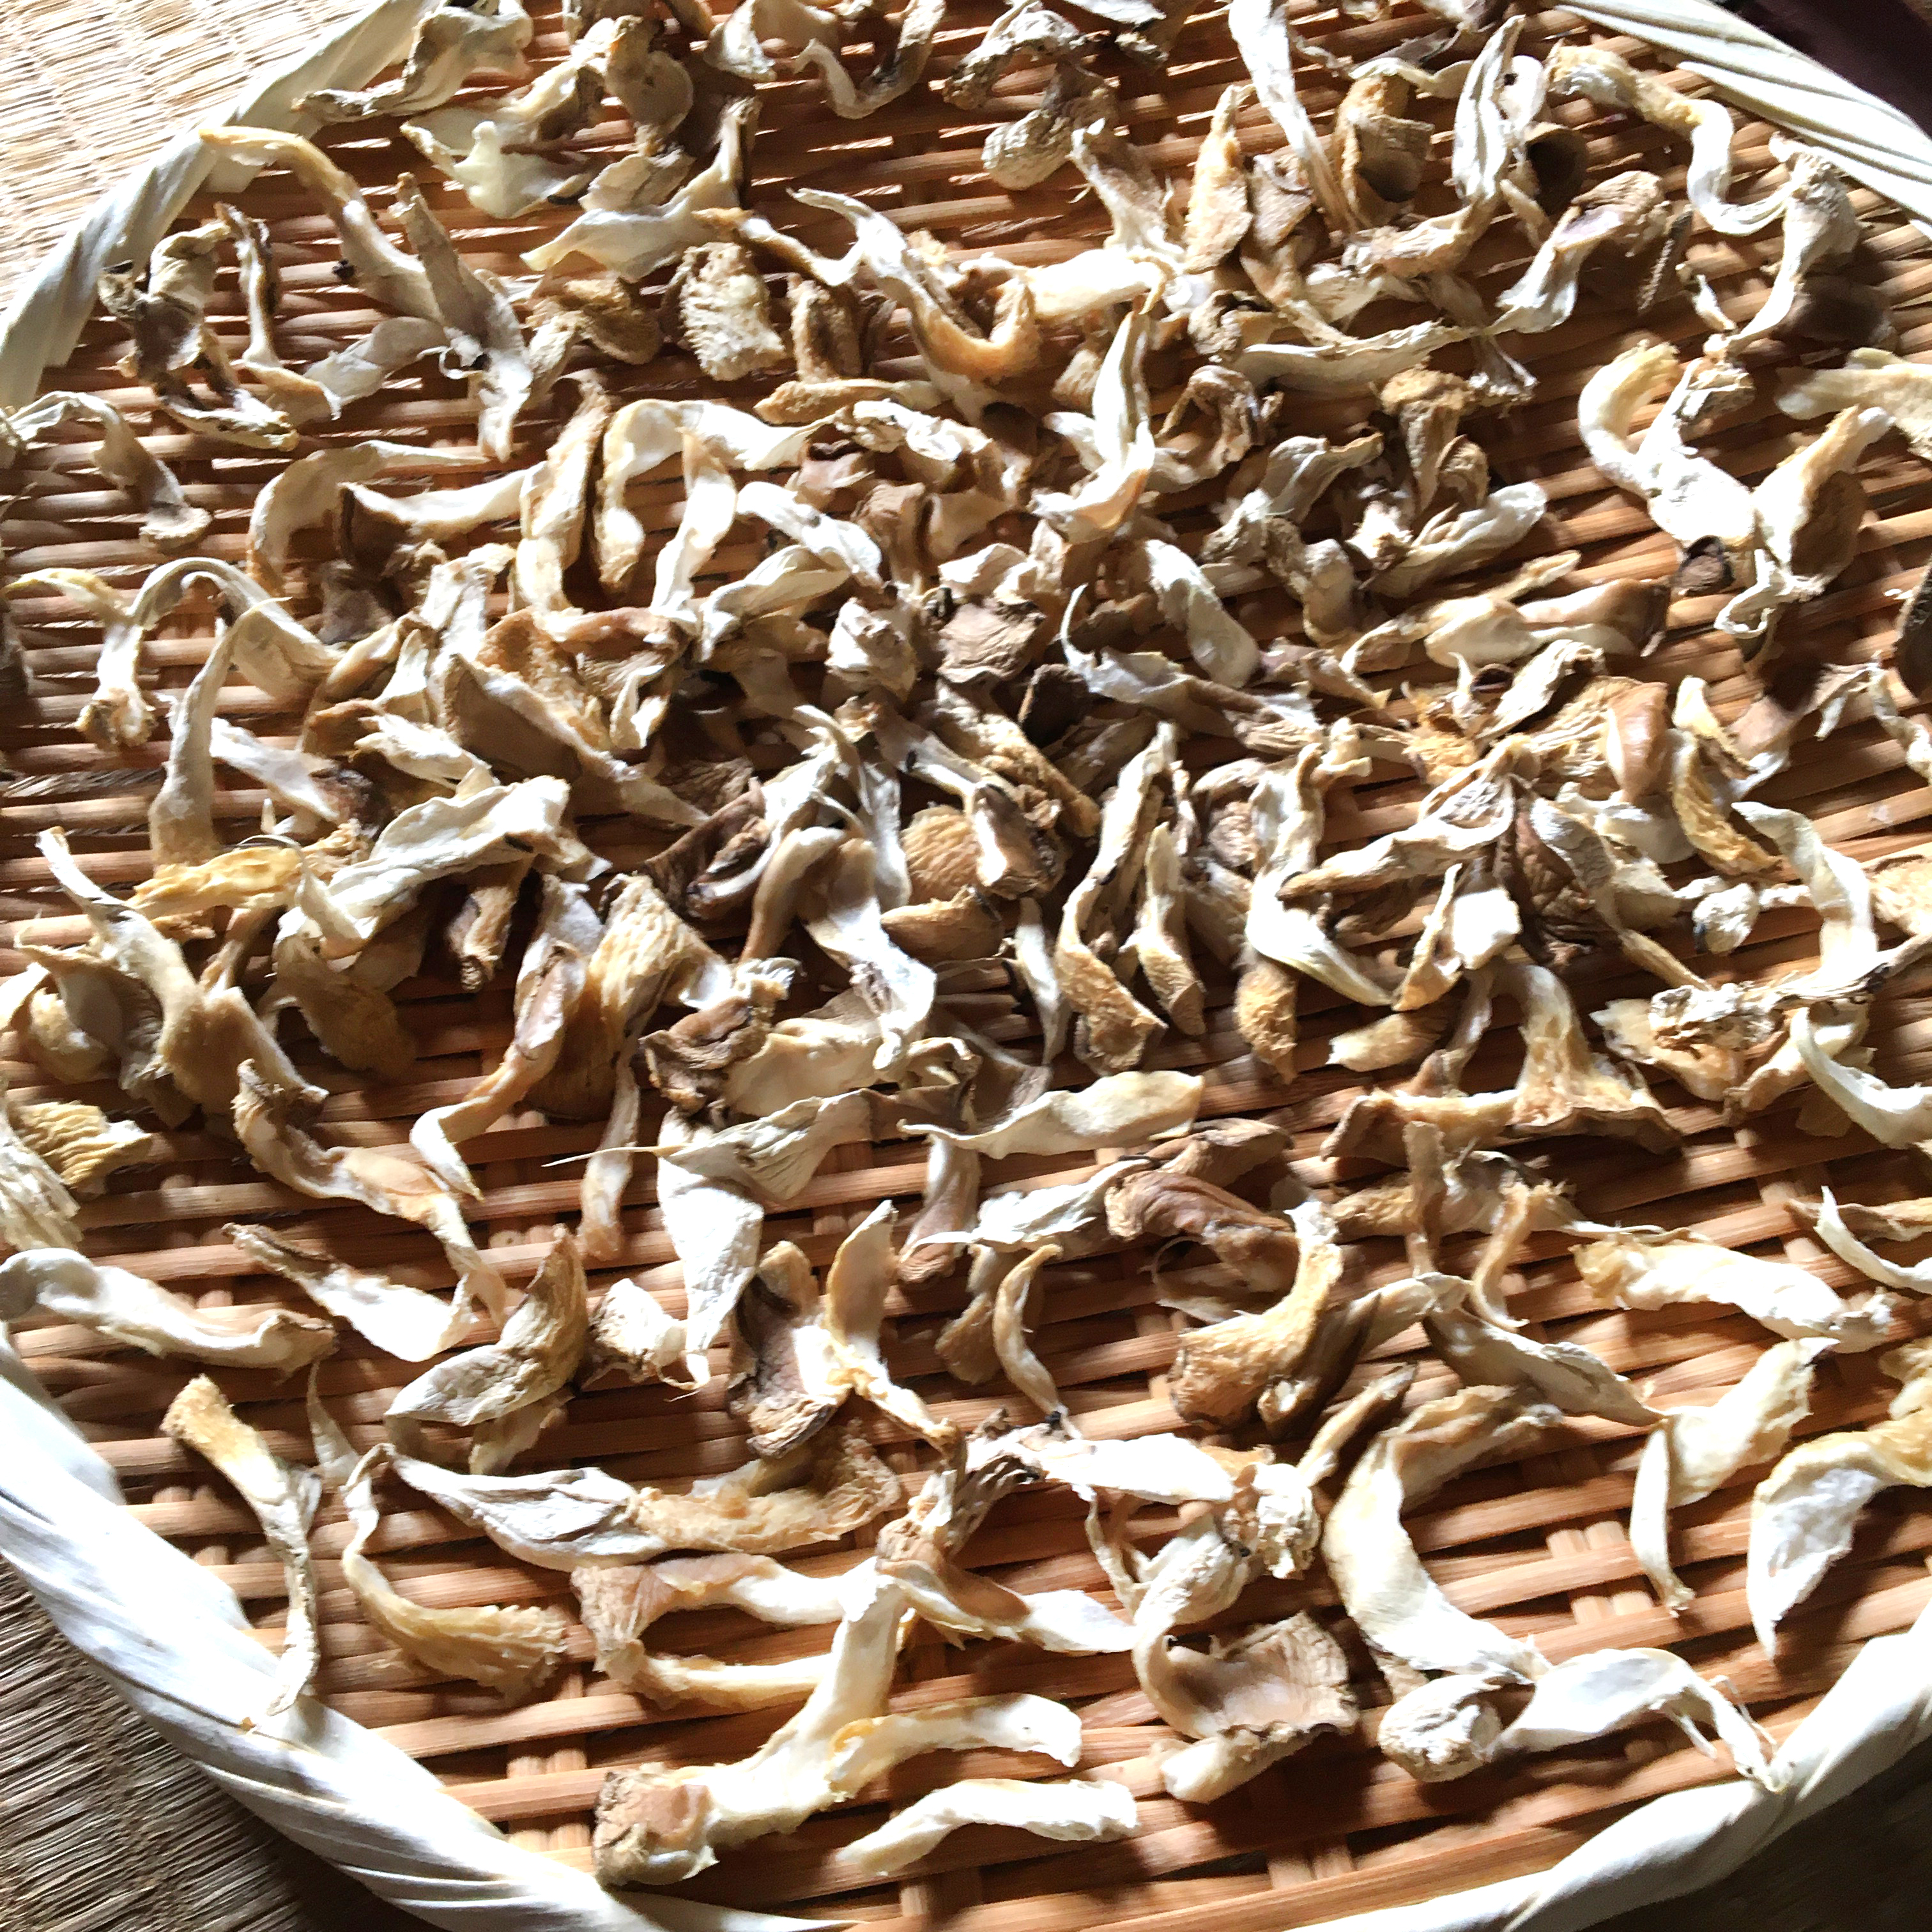
Sun drying Yanagimatsutake. Get double quantity and make a risotto with the other half. Awesome!
I almost always use dried mushrooms when making my concoctions (that’s not a rude word in these circles, by the way). Using fresh mushrooms is fine, but sun drying ups the Vitamin D content exponentially (good for vegans and vegetarians), and of course it makes storing and handling that much easier.
While we are here, drying some species of mushroom – porcini, yanagimatsutake, cèpes, boletes – then reconstituting them by adding water, makes them even tastier than when fresh. There’s a chemical explanation for this, I’m sure. I just don’t know what it is. Flavonoids? This man likely knows the answer.
First, take some Mushrooms
So, here we go. First, take your mushrooms, make sure they are clean, chop them into small pieces, dry them, and you are ready to go. Sounds easy, right? Well, it is, unless of course one of the mushrooms you have chosen happens to be or good friend, the incomparable, Ganoderma lucidum or reishi. These are seriously tough mushrooms. Literally tough. Not so long ago my mushroom comrade in arms Irish Tom and I managed to splinter an electric saw blade trying to slice up a particularly feisty example.
Look for grain to cut across when slicing reishi. The first cuts across the cap are the toughest. Across the slice is easier.
A simple way to get around the problem is to buy ready-cut reishi chips, or commercially-produced dried mushrooms which are generally easy (easier, more accurately) to slice. For the latter a good heavy-handled knife is handy, as is a hefty chopping board on a stable surface. Experiment slicing across the cap until you find a ‘grain’ that is easier to follow. Even with store-bought reishi, expect to work up a sweat. You might like to play some relaxing music. Or thrash metal. For a super hard shroom from the forest you’ll need a saw.
Fortunately, many dried mushrooms are easy to make smaller, and often you can pull them apart by hand – a very satisfying feeling (or is that just me?) – or cut them with kitchen scissors. Some crumble to the touch.
The choice of mushrooms is pretty much up to you, and of course you can include different mushroom species in one concoction. If you are creating a medicinal mushroom extract to suit a particular health condition, or to protect in advance against a certain ailment, then you can tailor your mycological ‘mix and match’ to suit. I’ll write on which mushrooms are most suitable for which conditions here at a later date.
Steep, then Boil (or, if you fancy it, boil, then steep)
To recap, we are looking at a duel extraction process here, with two steps, using alcohol and water. That is to say, steeping the mushrooms in alcohol (making a tincture) and boiling the mushrooms in water (making a decoction). You can do this with the same batch of mushrooms. Indeed, this is the least wasteful approach, and the most cost effective. You get more out of your mushrooms this way.
However, if you decide to make a tincture with one batch of mushrooms, and a decoction with another set of mushrooms – the other half of your harvest, perhaps – and keep them separate, that’s fine too.
 There is some debate in which order you should do the dual extraction. I’m a steep first, boil later guy. Some dudes go for the boil, then steep. Huh? It’s a bit like Jonathan Swift’s debate over which end you should eat your boiled egg from. I guess I’m a Big Endian, Steep Firster. There is evidence that both processes, whichever you choose, may slightly reduce the effectiveness of the second step, but for our purposes, the difference is negligible. My reason for steeping in alcohol first is that it is easy, and I’m putting off the (only slightly) less easy bit till later.
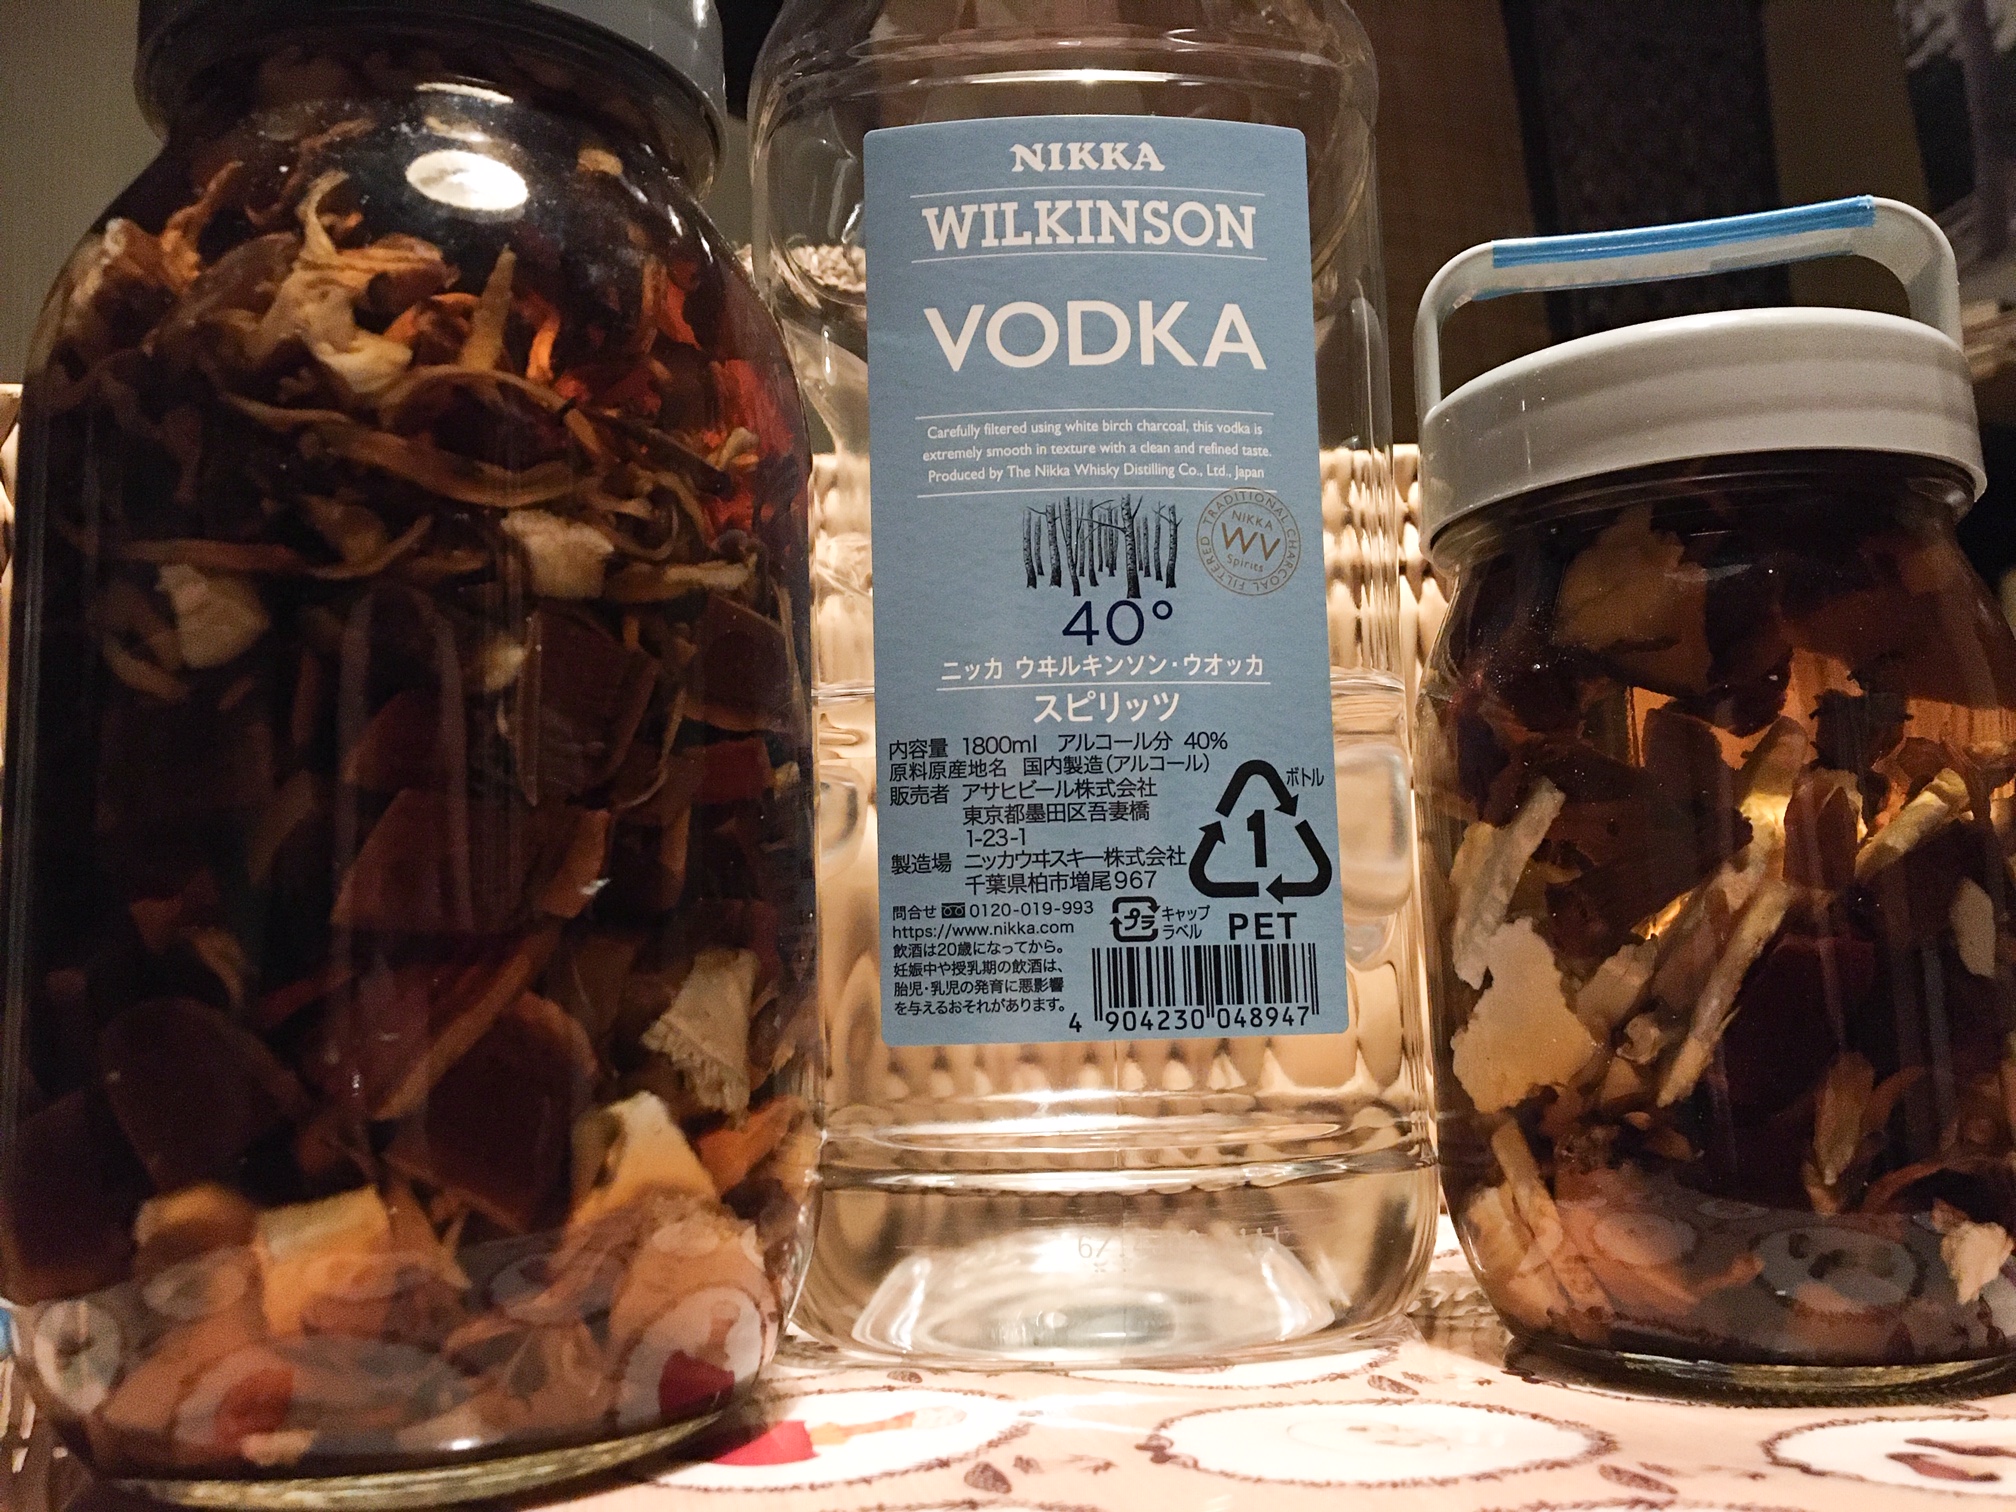
First step: steep your mushrooms in alcohol. 40% – 50% proof vodka is just the job.
Making the tincture (at last, I hear you say)
Clean a large glass jar, and fill to the half way point with your mushrooms. Then fill to the brim with 40~50% proof vodka. Try to not let any air remain. As you’ll see from the above, there’s no point in splashing cash with fine quality alcohol, as your final concoction will taste of, well, mushrooms. With reishi in there, bitter mushrooms.
A jar with a handle on top is, well, handy, as you can easily agitate it, that is to say, shake it up and down like someone possessed. To get the most from your mushrooms it is recommended you do this daily, but it’s not a catastrophe if you forget. Whilst agitating I suggest you put on a Pointer Sisters record and pretend to yourself you are doing a 1980s aerobics workout. Just don’t let anyone see you do this. If you are reading this in Japan, Seria has perfect jars at ¥100 a pop.
Leave your medicinal mushrooms in a cool, dark place for 4 weeks, agitating daily. That can include making ‘F#c% Trump!’ placards and encouraging youth to vote. Over time the mixture may cloud, but worry not, that’s normal. A water extraction clouds even more so.
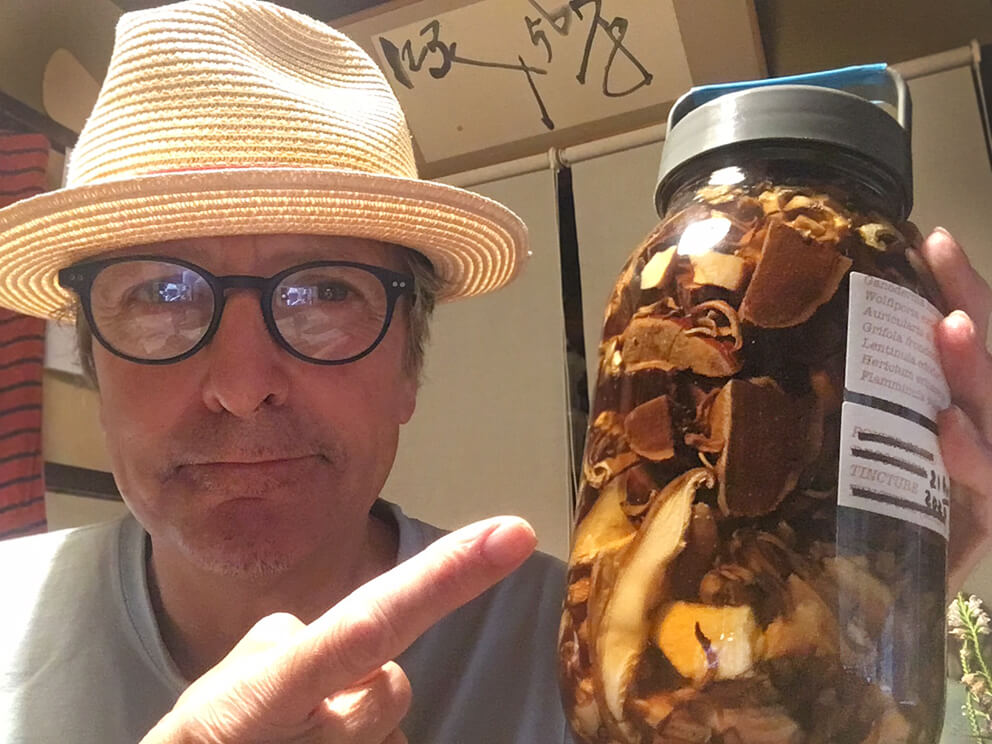
I recommend you label your jars with the date laid down, the type of mushrooms within, and whether the contents are a tincture (alcohol) or an extraction (water). It’s easy to forget, if you don’t. You can scrawl on them with a marker pen, or print dainty labels. I like to label mine in, er, Latin. Yes, I know the ‘Pretentious, moi?’-ometer just broke off the top of the scale, but I like it. There’s also another reason for using scientific names, which I’ll get to in another post sometime. Et voilà, your tincture.
Come back here in four weeks for the next exciting installment, aka, How to Make Simple Medicinal Mushroom Extracts (part two – the water decoction).
Store your tincture in a cool, dark place for about four weeks, agitating daily. Yeah!
Still alive and kicking
It’s been a long while since the last post, but just mentioning I’m still here, still in Japan. look forward to new adventures.
Help us to Help Nepal – Please Sponsor Me on our May 31st Walk 2015 KAMOGAWA 10km スポンサーウォーク


Our Nepali friends carrying relief supplies into the quake-stricken Nawakot province

Our little girl Laxmi at the Laliguras Childrens’ Home in Kathmandu
English follows Japanese.「2015 KAMOGAWA 10km スポンサーウォーク」 日時:2015 年 5 月31 日(日) コース: 三条̶北山̶三条の鴨川沿い約10km 途上国に住む子供の教育や生活の支援を目的に鴨川沿い10km を歩く 「KAMOGAWA 10km スポンサーウォーク」を今年も開催します。このイ ベントは2005 年に始まり、今年で11 年目を数えます。ご存知の通り、先 日5 月25 日にネパールで大きな地震がありました。私たちが支援を続けて いるカトマンズの孤児院「Laliguras Children’s Home」も、孤児院の子供 達にけが等の被害はなかったものの、建物等が損傷し、近隣に住む人々も 様々な被害を受けました。今年は、例年寄付を送っているジンバブエのエイ ズ孤児支援NPO「Zienzele Foundation」に加え、この孤児院に、できるだ け多くの寄付金を届けられればと思っています。

Quake Damage in Navakot
「スポンサーウォーク」は日本ではあまり聞き慣れないイベントですが、欧 米では一般的によく行われているチャリティイベントの形式です。参加者 (「ウォーカー」)は、自分が目的を達成する(今回は10km 歩くこと)の を支援してくれる「スポンサー」をできるだけ多く募ります。「スポンサー」 は、「ウォーカーが目的を達成したらスポンサー料を支払う」ことをウォー カーに約束し、支援金額はスポンサーが決めます。イベント後、ウォーカー は自分のスポンサー全員から支援金を集め、それが寄付金となります。 2 005 年に行われた第1 回「ウォーク」では、参加者は19 人。少人数なが らも約50 万円が集まりました。そして、毎年、参加者数、スポンサー数、 寄付金ともに増え続け、昨年は参加者56 名、スポンサーのべ741 人、集ま った額は、1,221,200 円になりました。 これまでの寄付金は、主に、ジンバブエでは子供たちが学校に通うための費 用、ネパールの孤児院では学費、生活費に使われてきました。特に2006 年 度はスポンサーウォークと秋に行ったチャリティコンサートで集まった金額 を合わせ、ジンバブエでフィールドワークを行うためのミニバス購入費用を 贈ることができました。(2011 年にも、もう一台購入) 昨年は、この2 団 体に加え、ラオスの妊婦とインドの子供達を支援する団体、カンボジアで行 われている二つのプロジェクト、ネパールの村の図書館プロジェクトにも寄 付をしました。 このスポンサーウォークは、基本的に友人どうしが声をかけあって行う小規 模のイベントです。そのため、宣伝費や運営費はなく、寄付金は、送金費用 を差し引いた全ての金額が振り込まれます。こんな小さなイベントですが、 皆様のご支援で、途上国で暮らす多くの子供たちやその家族の暮らしを変え ることは可能です。 生まれや育ちがどこであっても、安全で快適な 生活を送る人としての権利は世界中の誰もが持っているはずです。ぜひ、ご 協力をお願いします!


2015 Kamogawa 10km Sponsored Walk Date: May 31st, 2015 (Sunday) Course: Approx. 10 km (Sanjo to Kitayama and back to Sanjo on the banks of the Kamogawa) The “Kamogawa 10km Sponsored Walk” started in 2005, making this the 11th year of this event. Following on from last year, we will hold the “Walk” in support of the “Zienzele Foundation”, an NPO that supports AIDS orphans in Zimbabwe, however, given the terrible news from Nepal on May 25th we will now be sending a great deal of the money to help our friends at the Laliguras Children’s Home repair their damaged building and lives and also help their neighbours. In Japan, sponsored events are not as common as they are in western countries. For those who are not very familiar with the method, here is a quick explanation. A walker collects “sponsors” (as many as possible) who are willing to support him/herself to achieve the target (walking 10km for this event). The “sponsors” then pledge to “pay sponsor money to the walker in order to achieve the target.” (amount is decided on by each sponsor.) After the event, the walker collects the money from all his/her sponsors, and hands it in. On the first “Walk” in 2005, there were 19 walkers and they raised over 500,000 yen. Since then, the number of walkers and the amount of money raised has increased.

In Kathmandu
Last year, there were 56 walkers and they raised an amazing 1,221, 200 yen from 741 sponsors. Nearly all the money we have raised so far has been used for educational fees for the children in Zimbabwe and the educational and living costs for the children in the Laliguras Children’s Home, Nepal. In 2006, we combined the “Walk” money and the money raised from a charity concert in the autumn, and donated the money to the Zienzele Foundation in Zimbabwe to purchase a mini bus to be used in their fieldwork efforts. Last year we donated an extra 300,000 yen to help pregnant women in Laos and Indian school children, and also gave money to two projects in Cambodia and a village school library project in Nepal.

This sponsored walk is a small event that is organized around a group of friends. Therefore, there are no expenses incurred for promotion or operating costs, and all the money raised (except for sending fees) will be donated directly to the supported organizations. With your help, we hope to help as many children and their families as possible in the developing world achieve a better standard of life, now and for the future. We are all brothers and sisters in this world, and we all deserve the same quality of life regardless of where we were born and who we are.
Organizer: Kevin Ramsden

Nuwakot before the Earthquake
Here’s my article on S.Pellegrino’s ‘Best Restaurant in Asia’ for Destinasian
I hope you can read this OK.
Thanks to Narisawa-san’s remarkable generosity I sampled ALL of the below in a feast which lasted around three hours, an incredible experience. These are my pics:

Squid, succulent and sublime

‘Evolve with the Forest’

Fugu

Horse Crab Gelée

Langoustine

Rockfish, oh boy

The legendary ‘Soil Soup’. Yes, it is made from soil, from atop a Nagano mountain, no less

Pork, Okinawan style, in a dashi of konbu and seasnake. It was awesome.

‘Winter-Spring’

Hida Beef in charcoal. Yes, you eat the charcoal too.

Oyster baked in, you guessed it, charcoal

Suppon, snapping turtle

Koshu, aged sake, reminded me of Armagnac

Il Maestro, Yoshiro Narisawa
If anyone would care to come to a Photo Exhibit in Kyoto (and one or two parties), this Saturday, please feel free…

It is a low key affair. If you come to the Pot Luck party (4pm to 7pm), please bring along a tangerine or something.
Hope to see you there.
京都市左京区 カフェアルバイト募集!Cool cafe coming soon!

京都市左京区修学院 cafe Foodelica アルバイト募集中


I Have Seen the Face of God
Well, not quite. But something almost as awe-inspiring. The V-12 Jaguar engine at the business end of an E-type. Ye Gods Have Mercy.

Happy Birthday Private Eye – 50 Years Young
Some favourite covers over the years:


Send me your faves.
Honenin (after Hockney)

Imitation being the sincerest form of flattery and all that. Hockney was a Bradford lad too, don’t you know. This was intended as part of a series of temple images where I play with perspective in an attempt to get that Zazen meditation feel. The series currently stands at… two.


